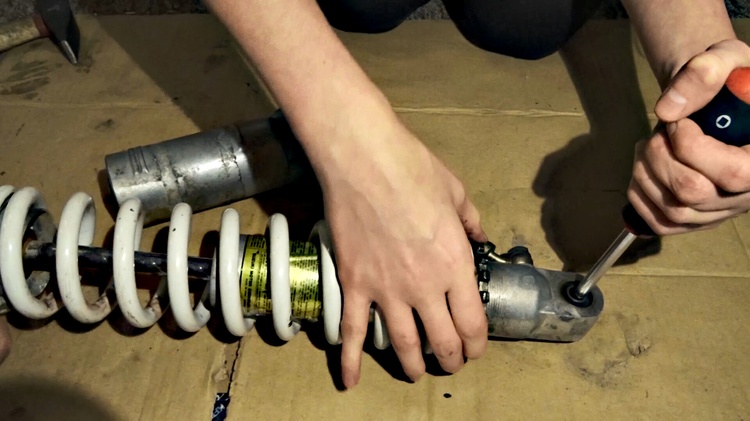
If we've already rebuild the DR rear shock than there's nothing else to do than to check and rebuild the front forks too. It should be more easy than the rear shock rebuild. So without further ado let's make the DR front forks great again.
What do we need for DR350 front fork rebuild?
To complete the rebuild we need:
- a little more than 1l of 10W fork oil
- dust seals
- fork bushing kit
- fork boots
From the tools we have to have at least:
- some screwdriver
- basic set of sockets for wrench
- impact wrench
- tape
DR350 front fork disassembly
We start the disassembly with loosening two clamps holding the fork boot and take it off.
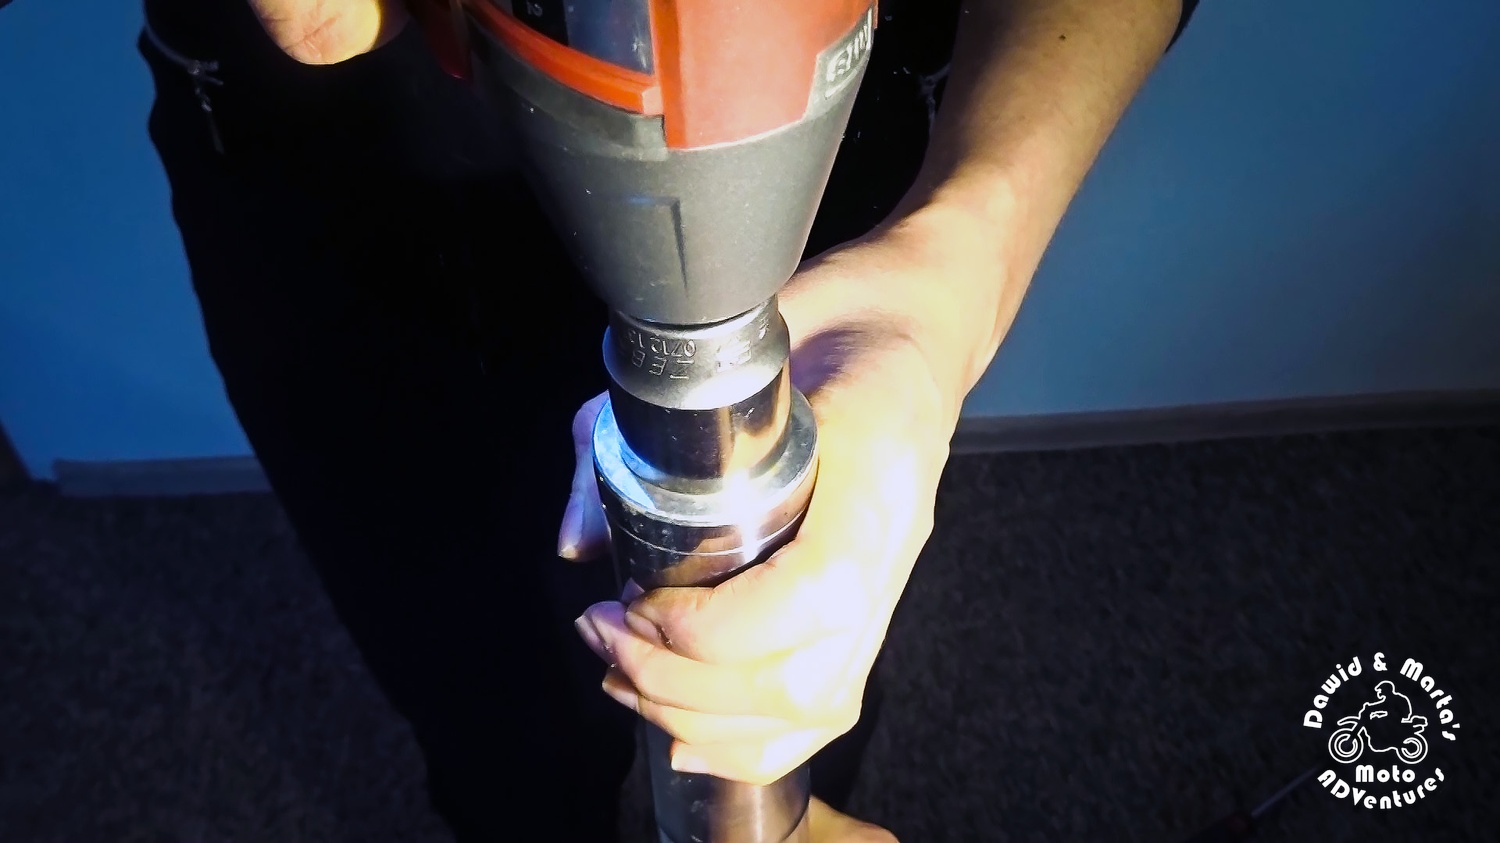
After that we unscrew the fork cap.
In case you don't have an impact wrench, leave the fork mounted to triple clamp in the bike and then try to uscrew it with a socket wrench by hand.
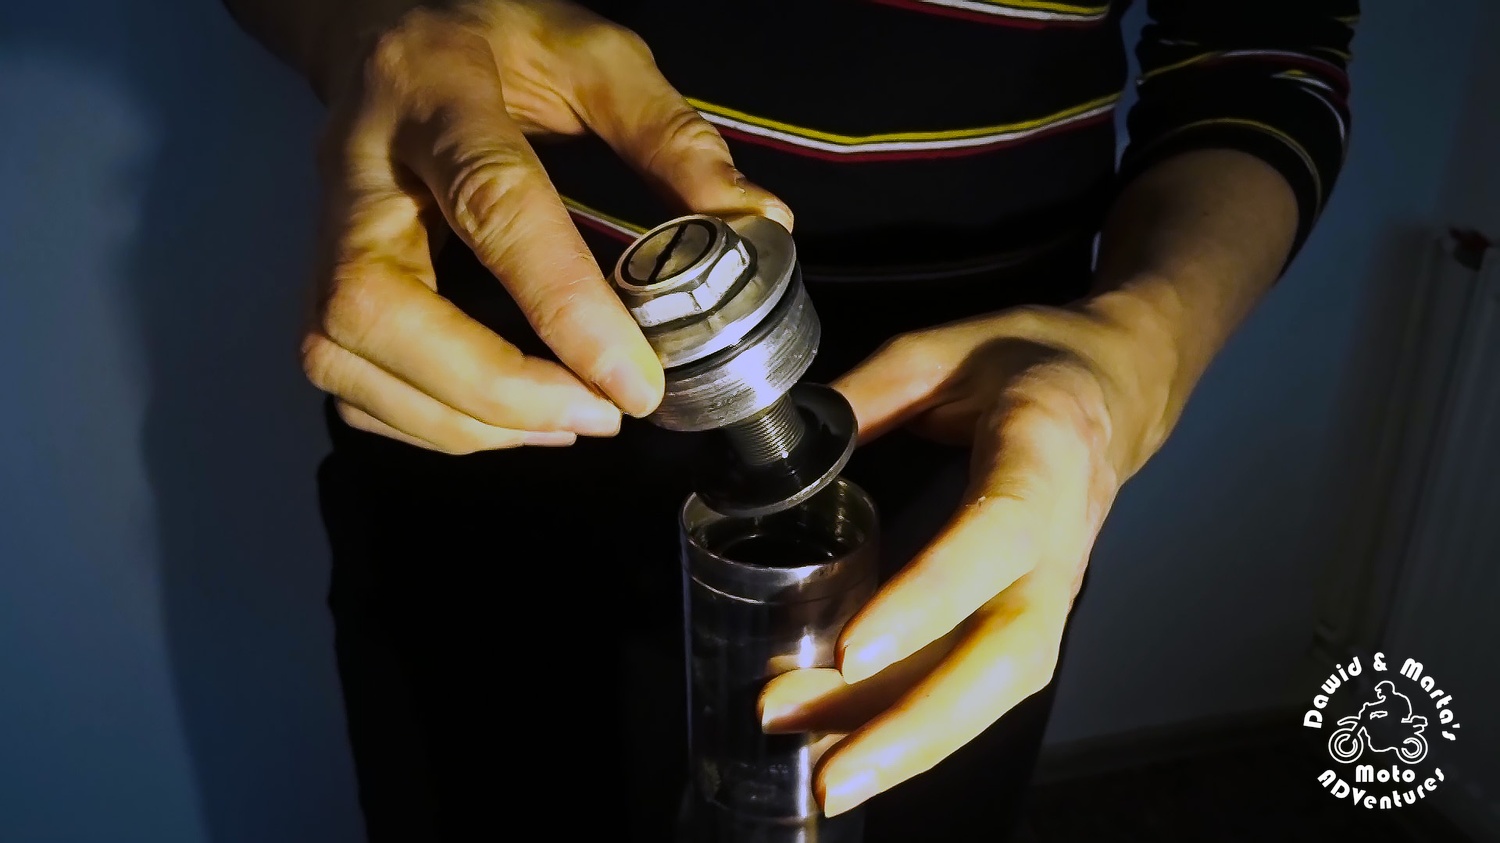
After unscrewing the cap, we can take out the spring.
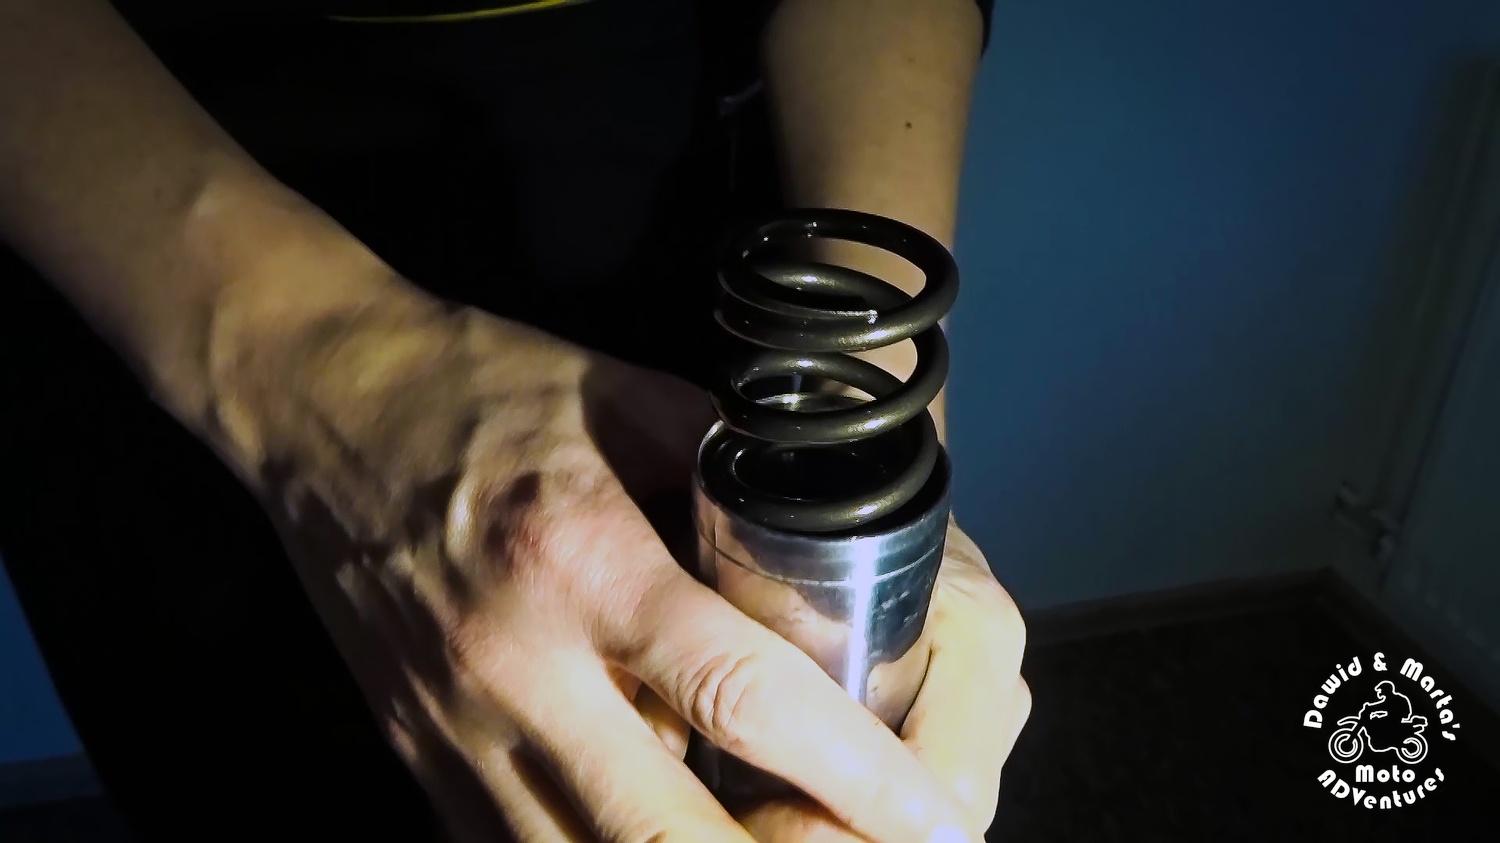
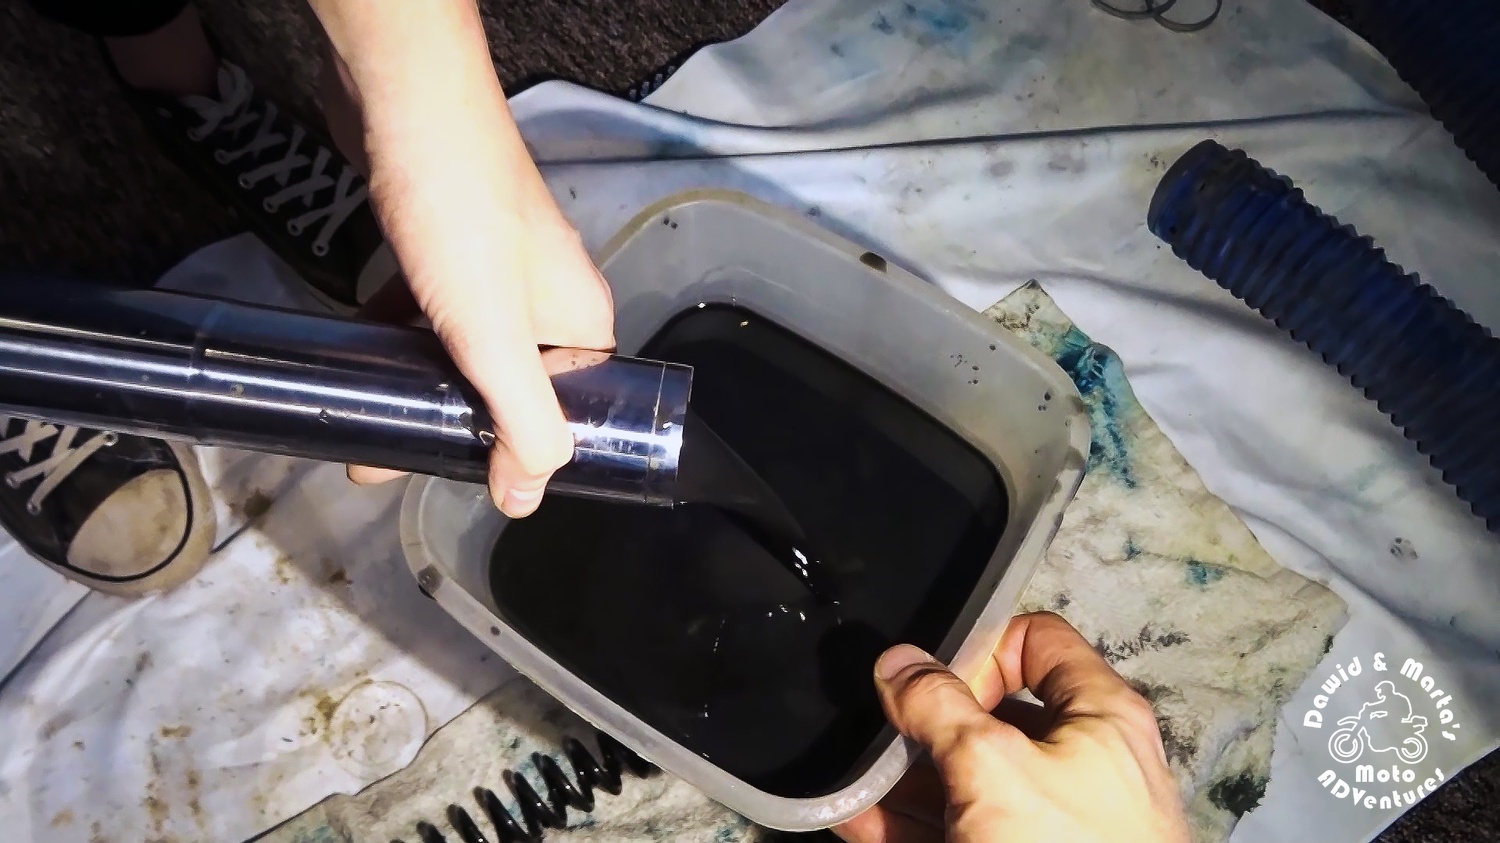
When the spring is free, we can pour the old nasty oil out.
To get rid of all the remnants of it, we can slide the shock up and down.
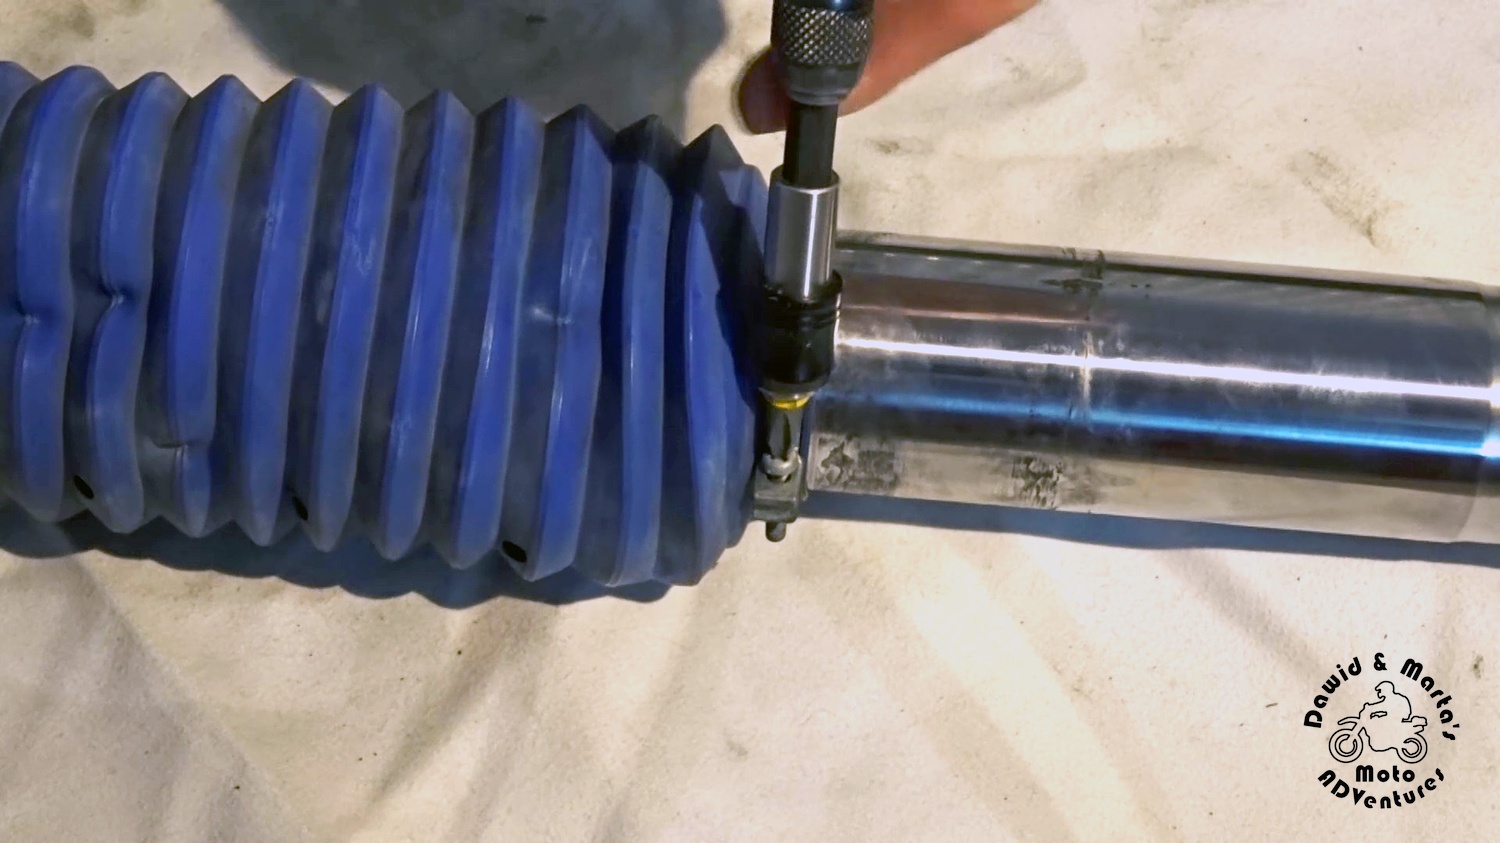
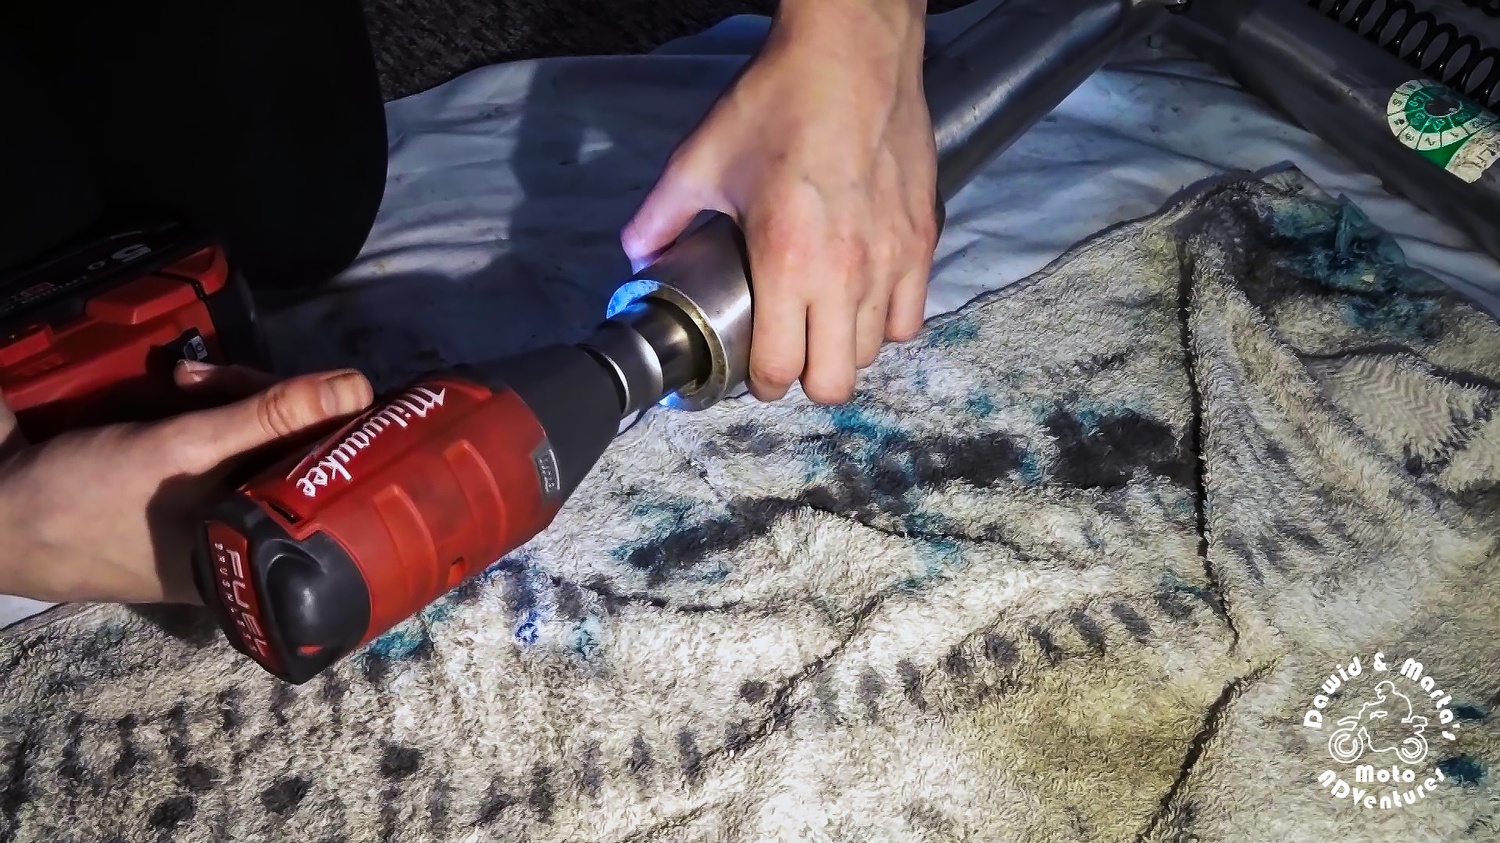
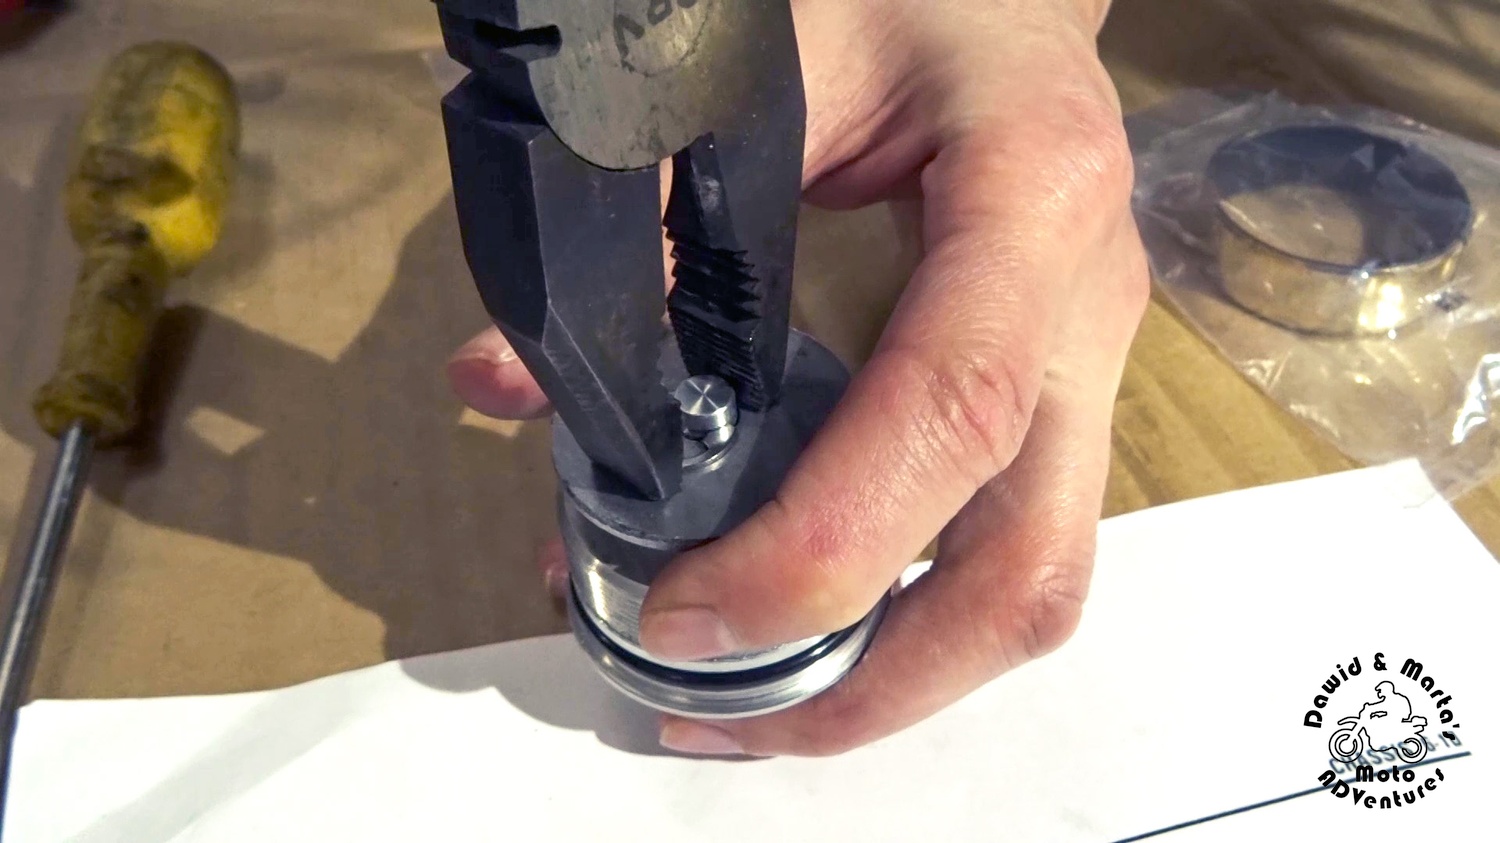
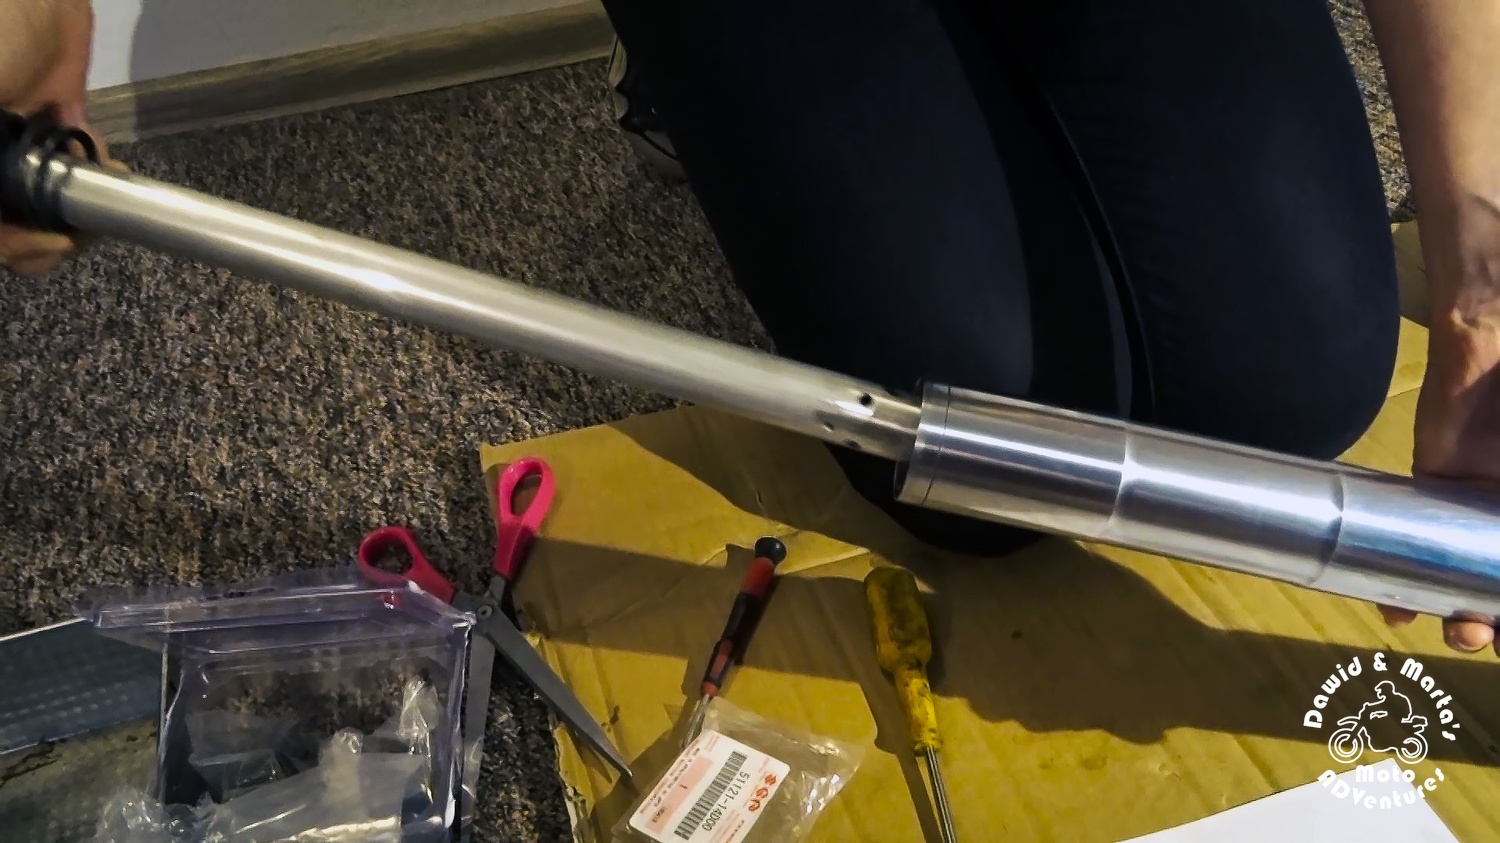
Next we remove the rubber cap securing the dumping adjuster.
After that we remove the dumping rod bolt, which is also an adjuster. Impact wrench comes in handy here too.

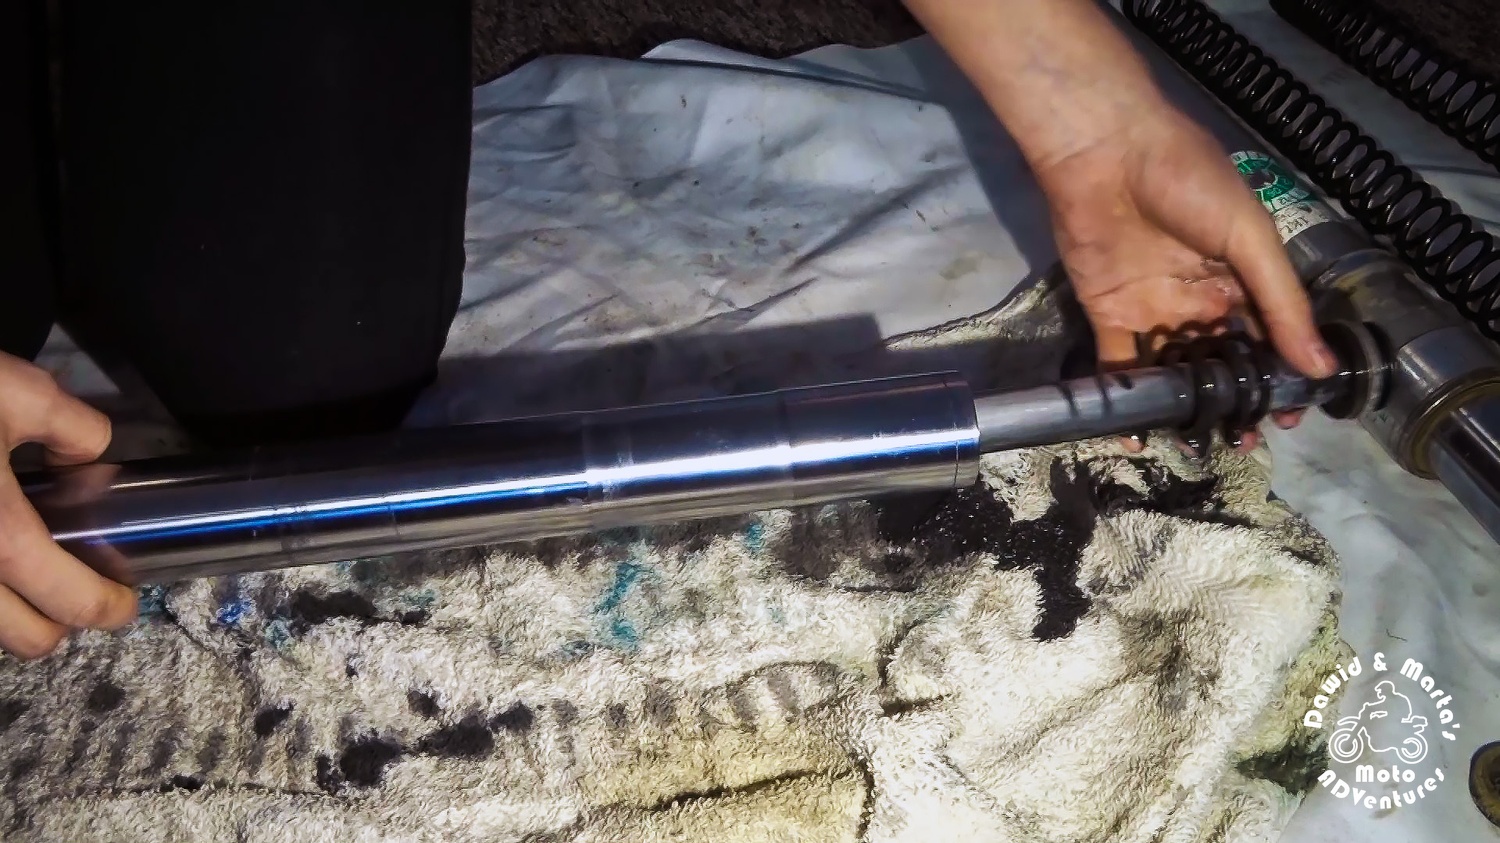
Then the dumping rod inside the fork should become free and slide out.
If it doesn't, slide the shock up and down couple of times as it might got stuck a little.


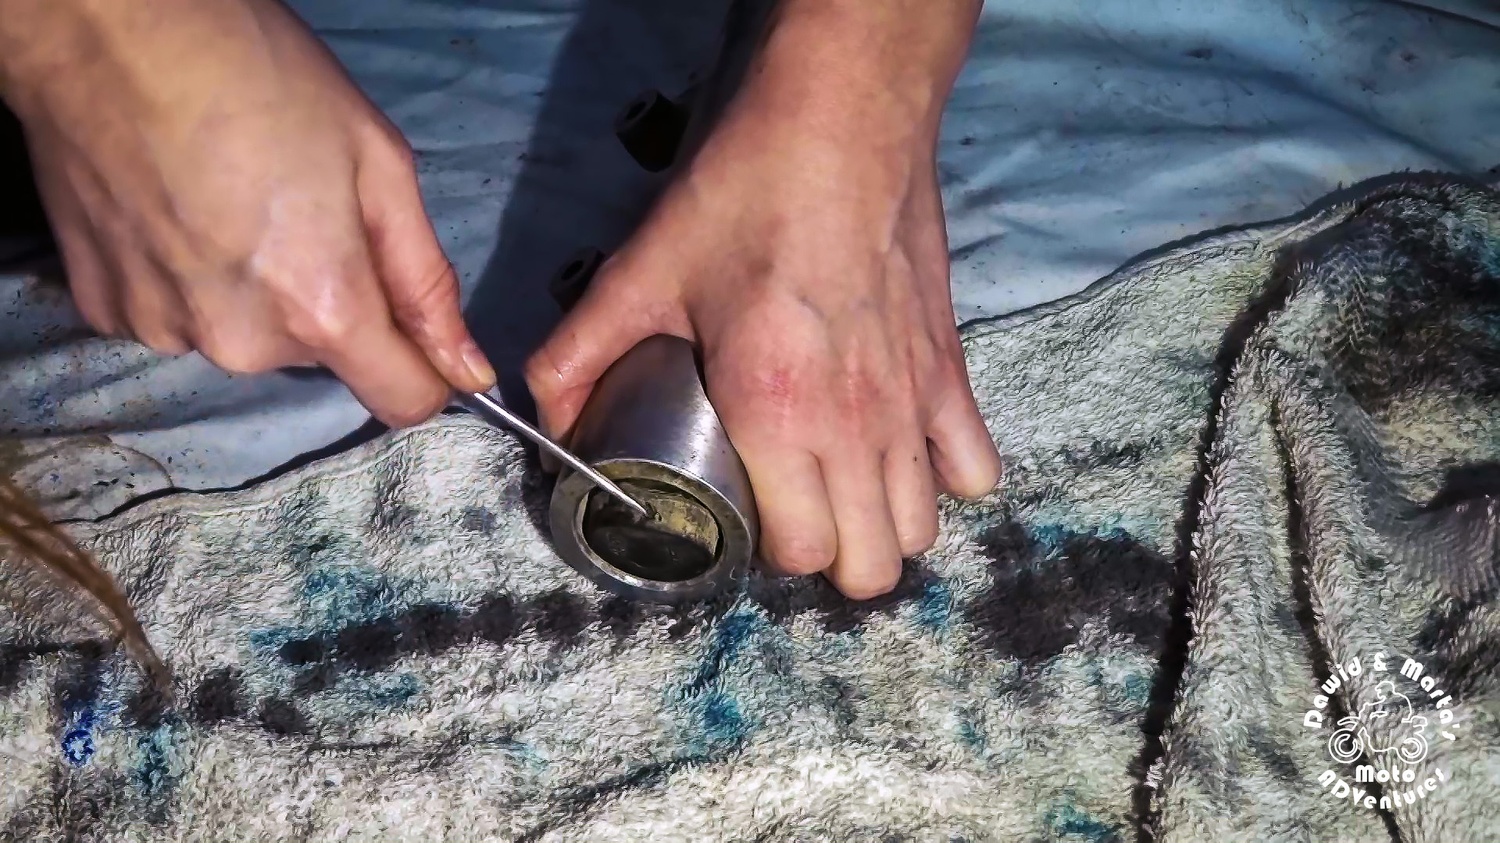
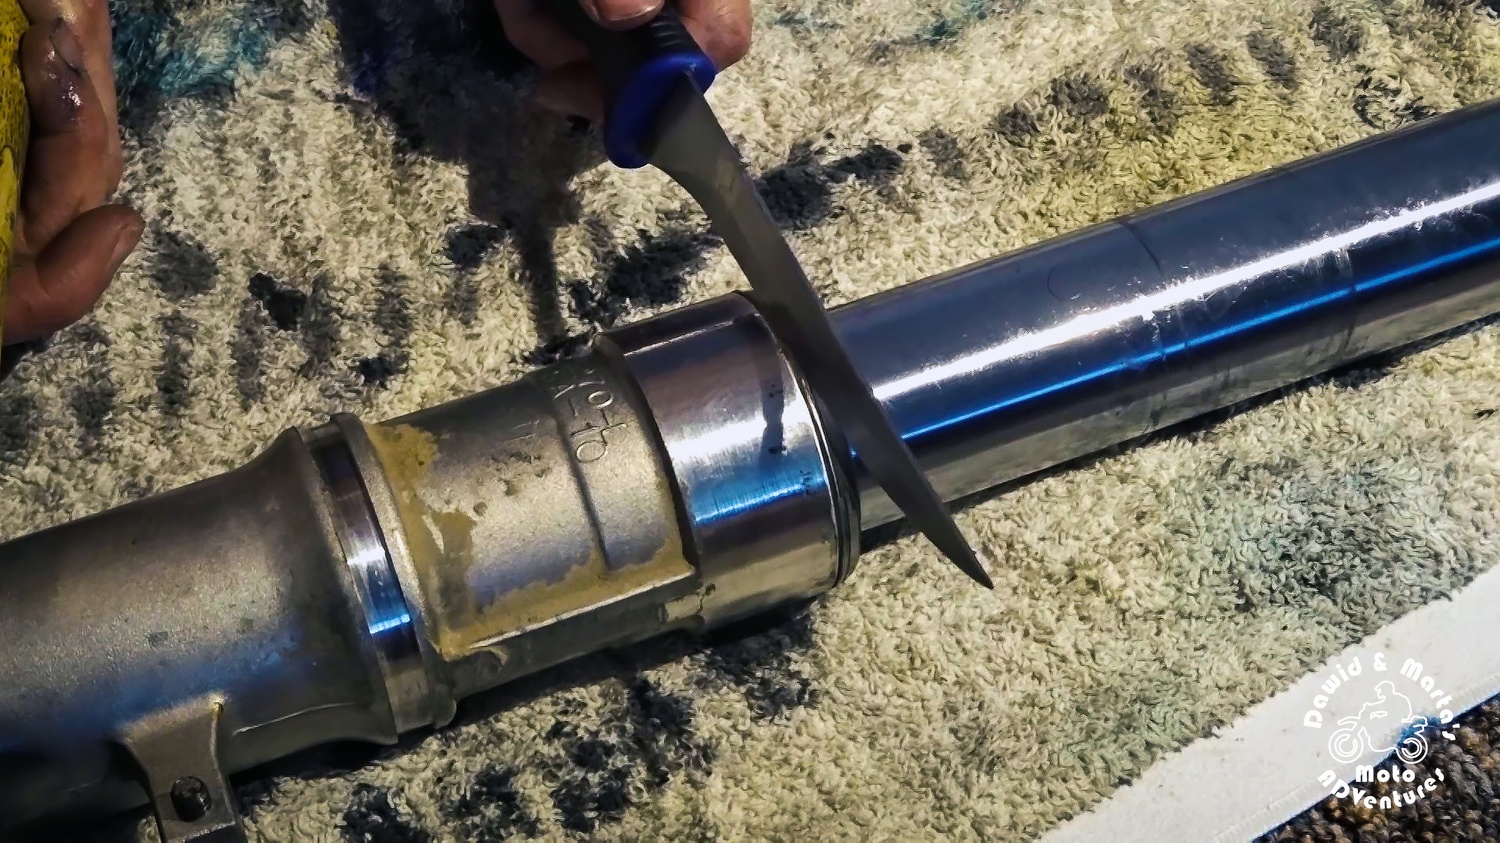
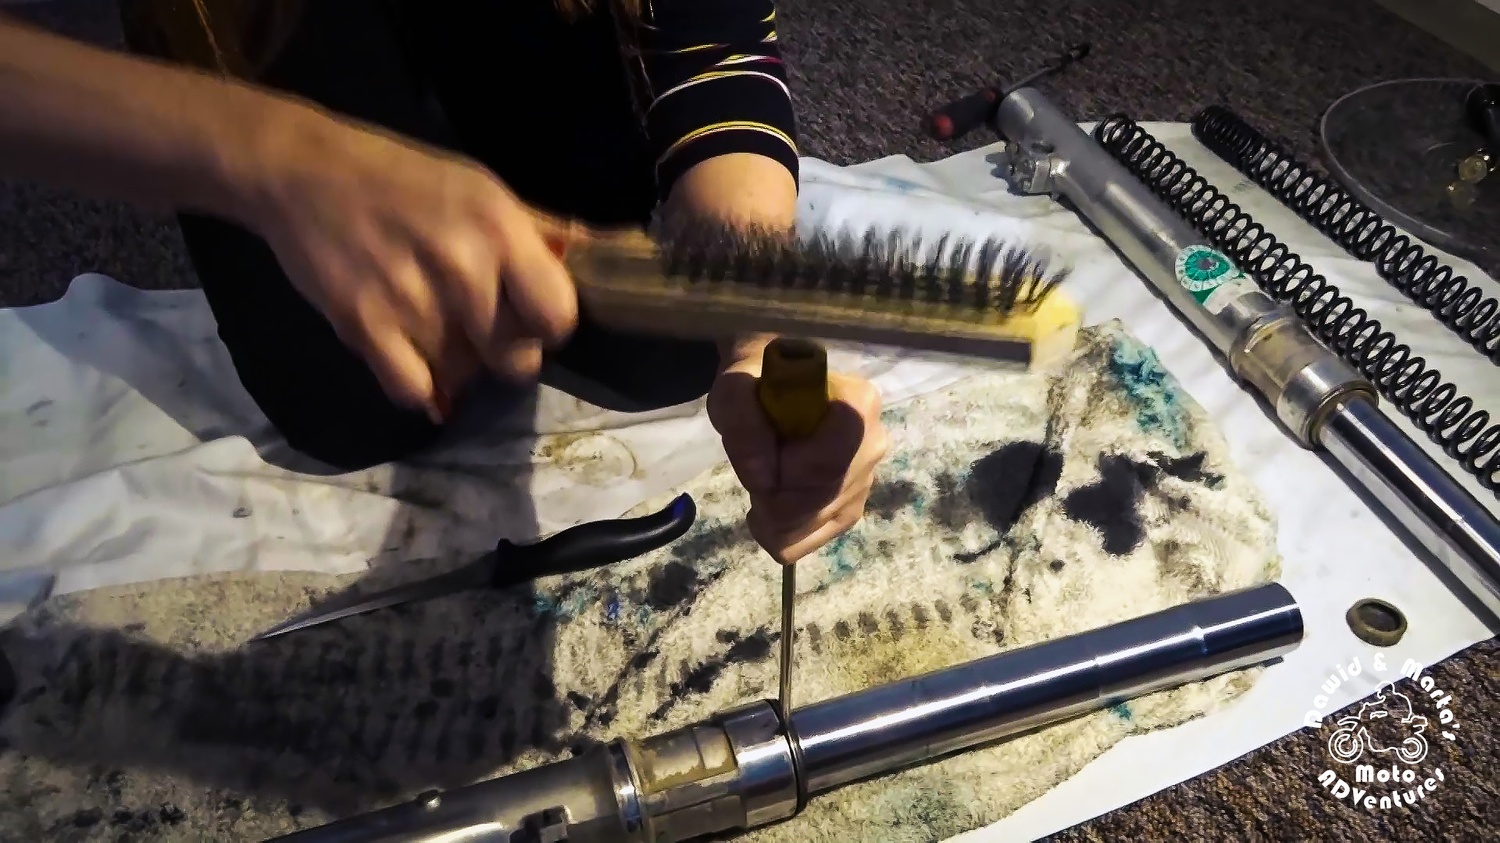
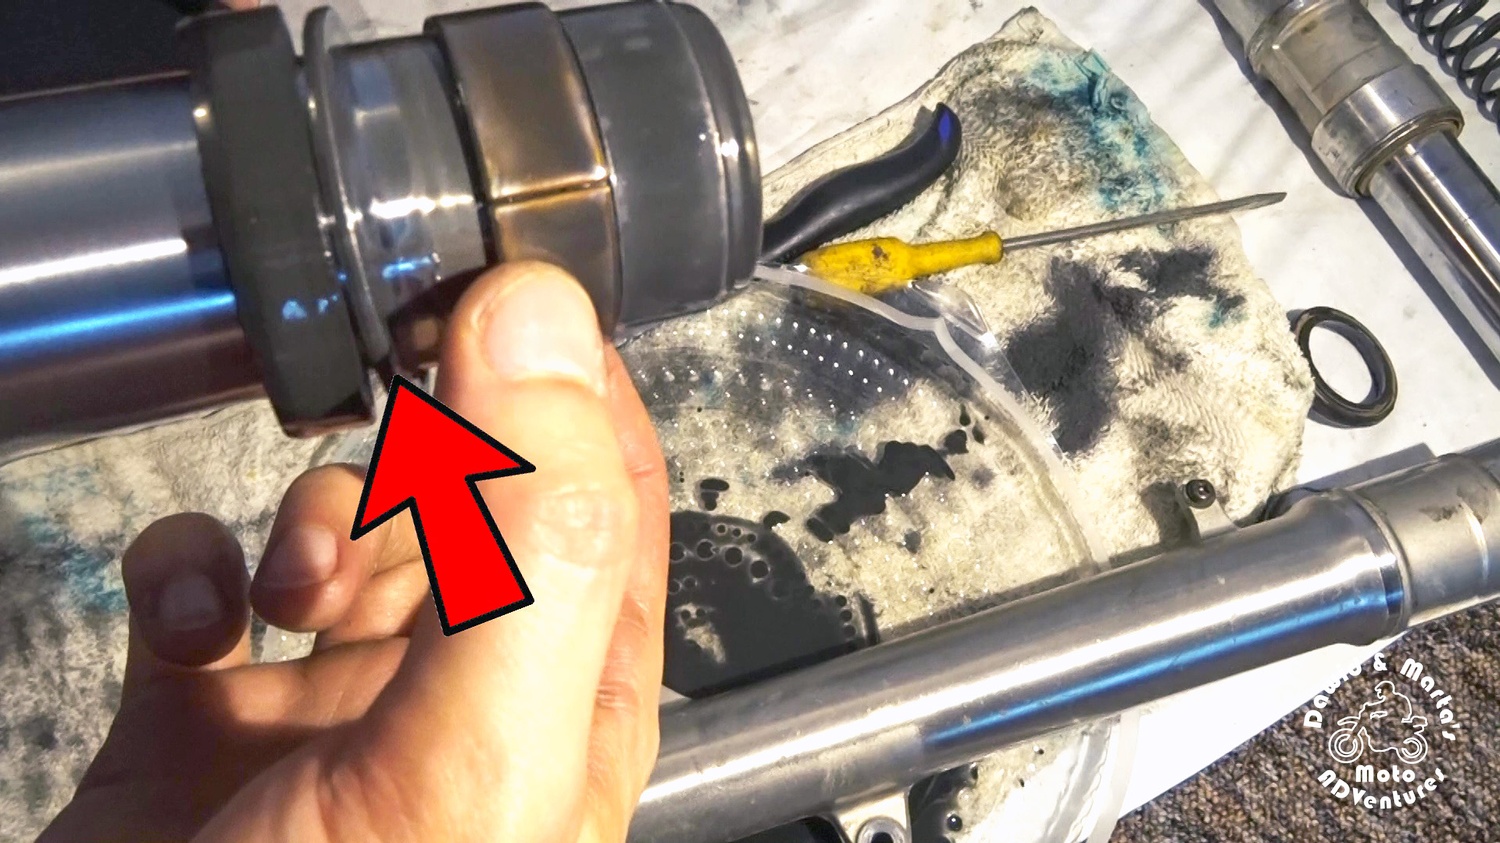
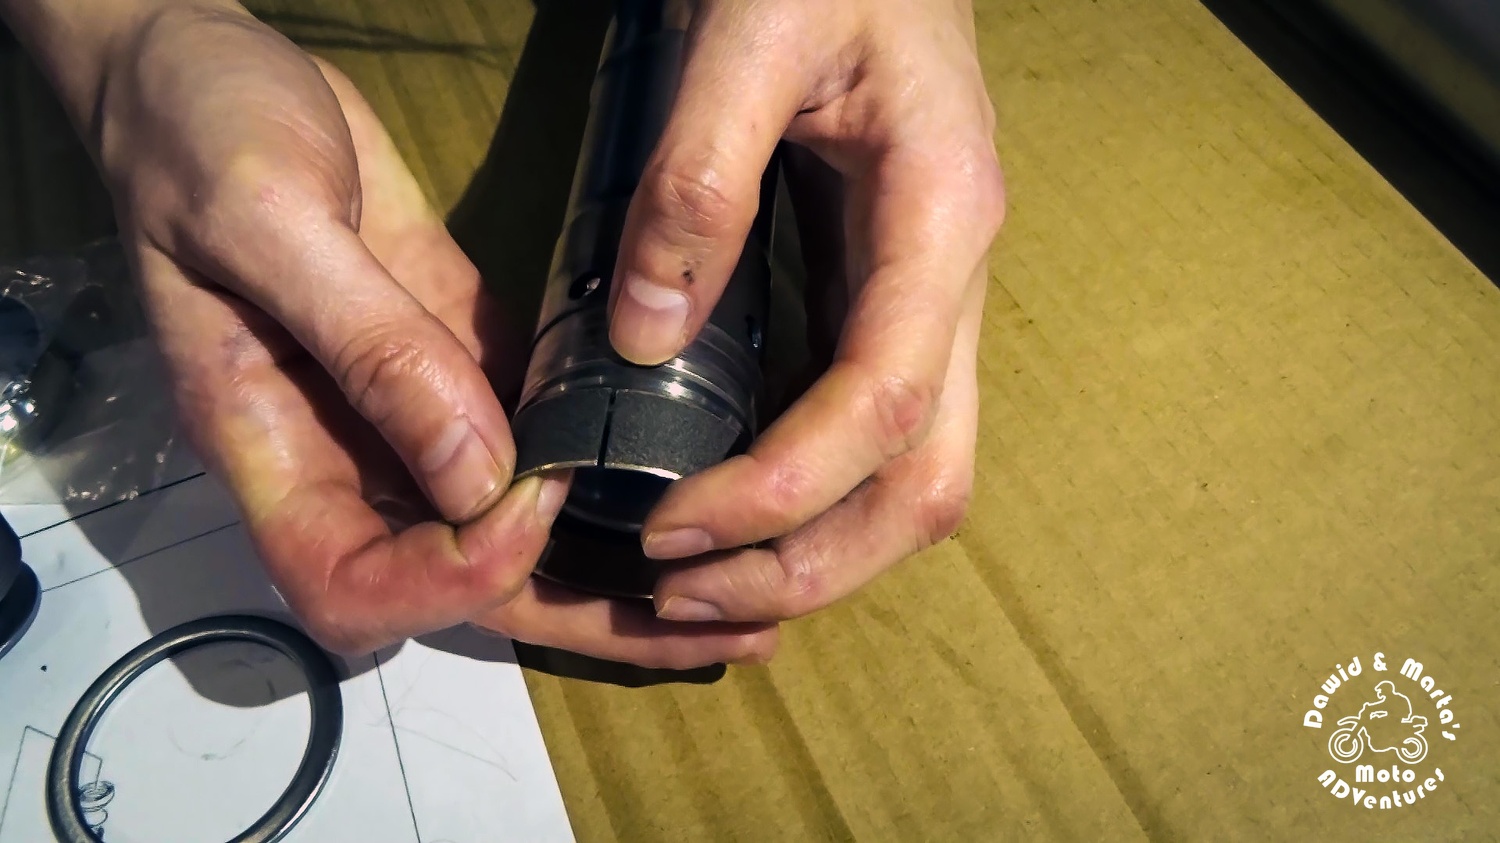
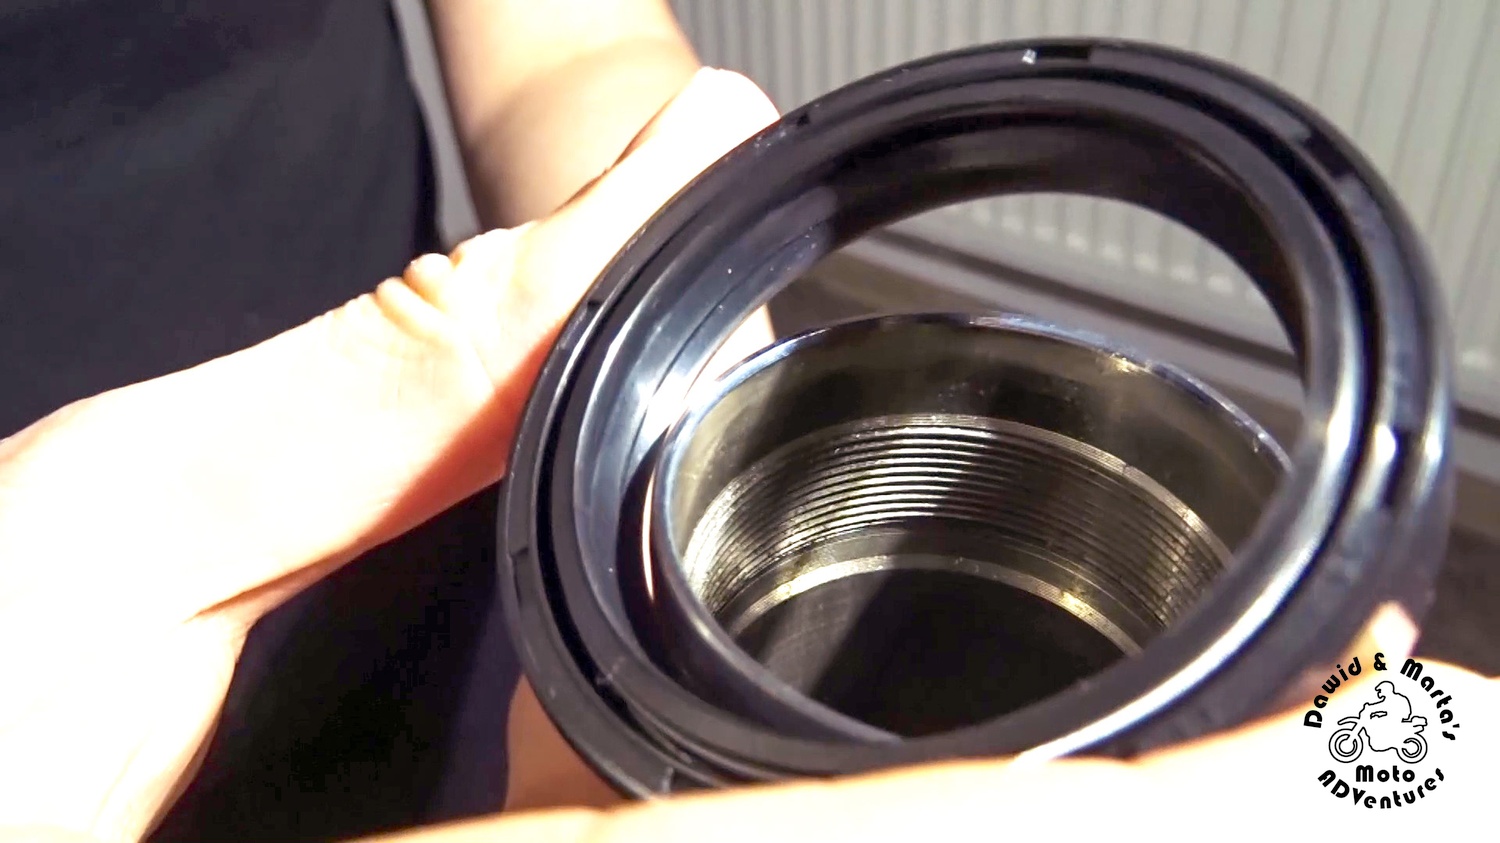
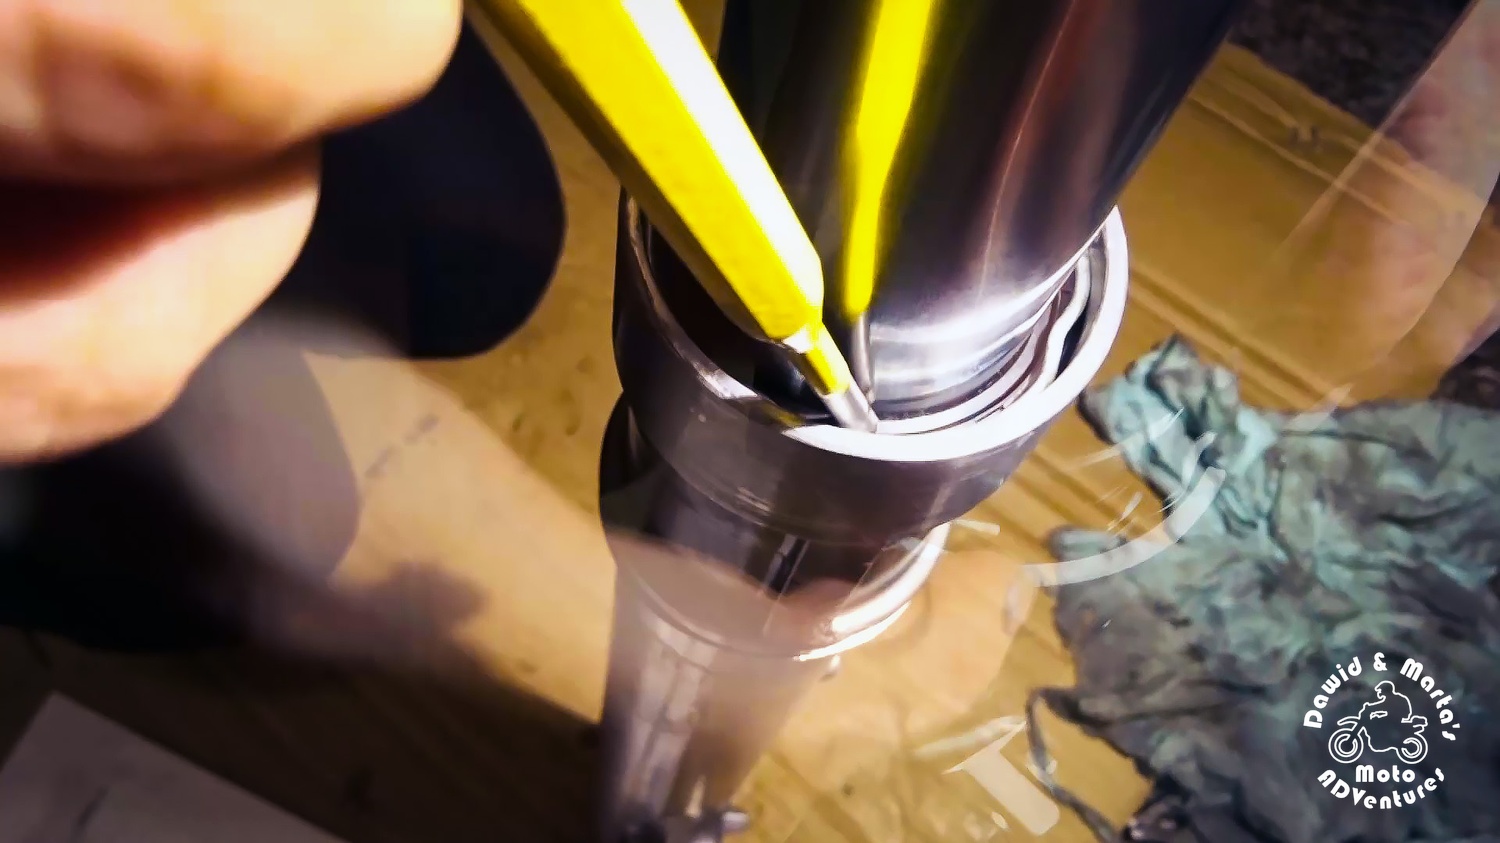
When the dumping rod is out, we can remove the dust seal.
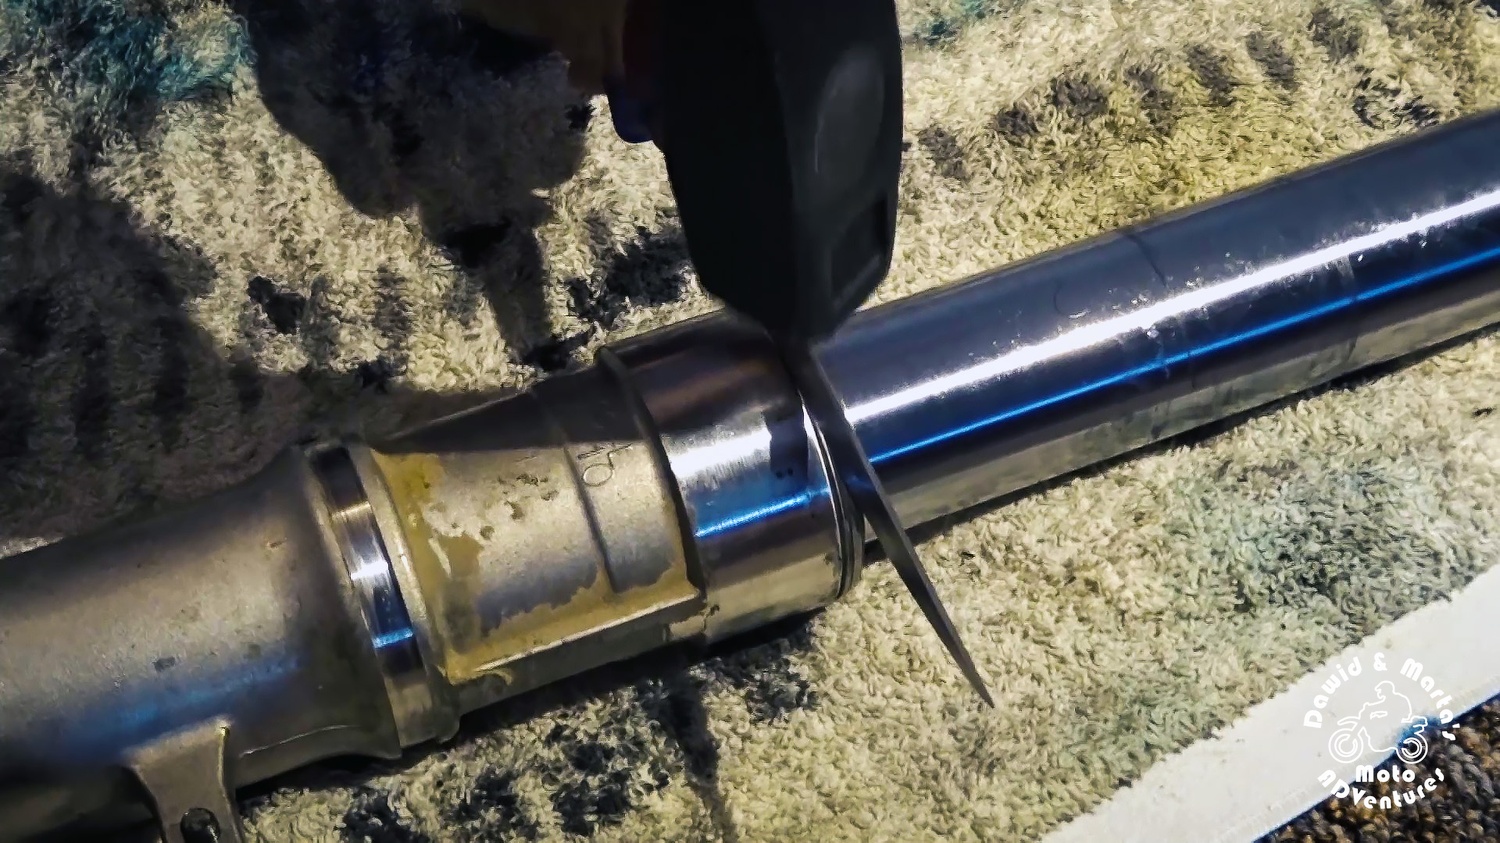
To do it I press an old knife between the seal and the fork slider and punch the knife gently with a hammer. Just don't punch it with all the strength you have. Punch it little by little and rotate the fork every few punches.
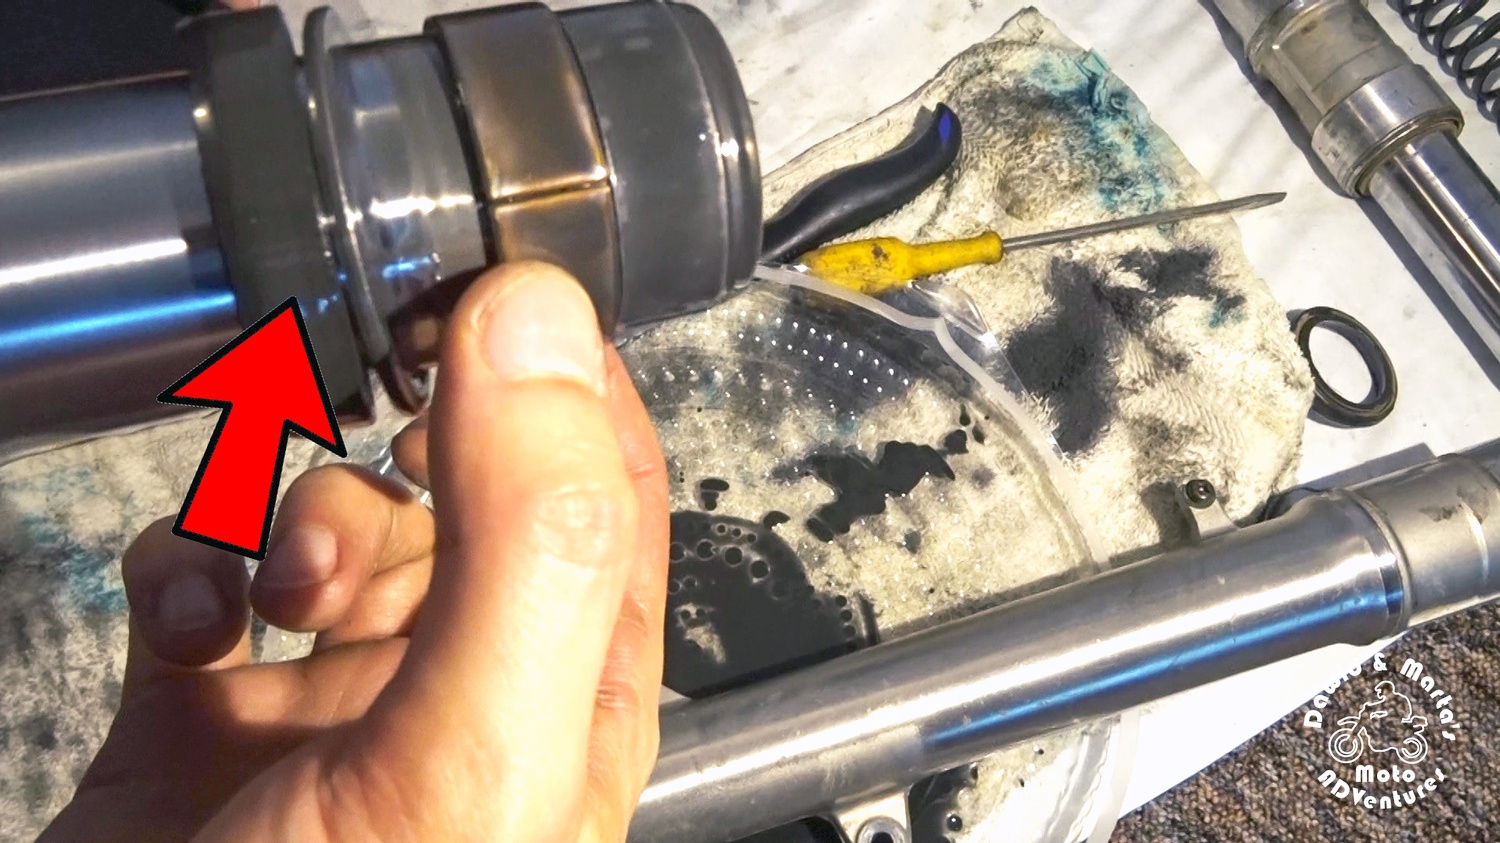
When there is more space we can change the knife (or other thin, but rigid object) to a screwdriver and repeat the process until the dust seal goes off.

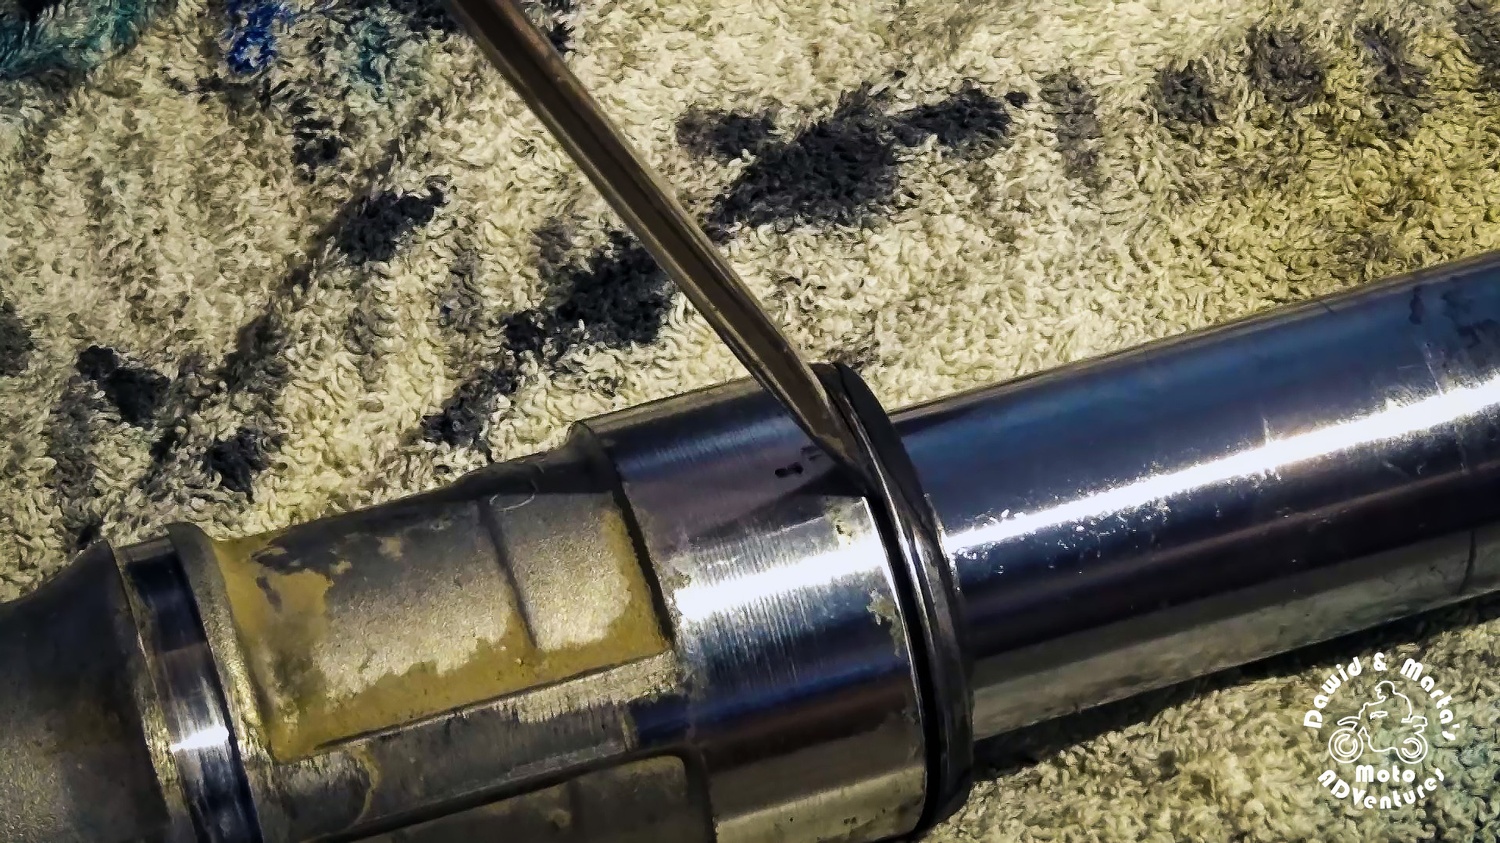
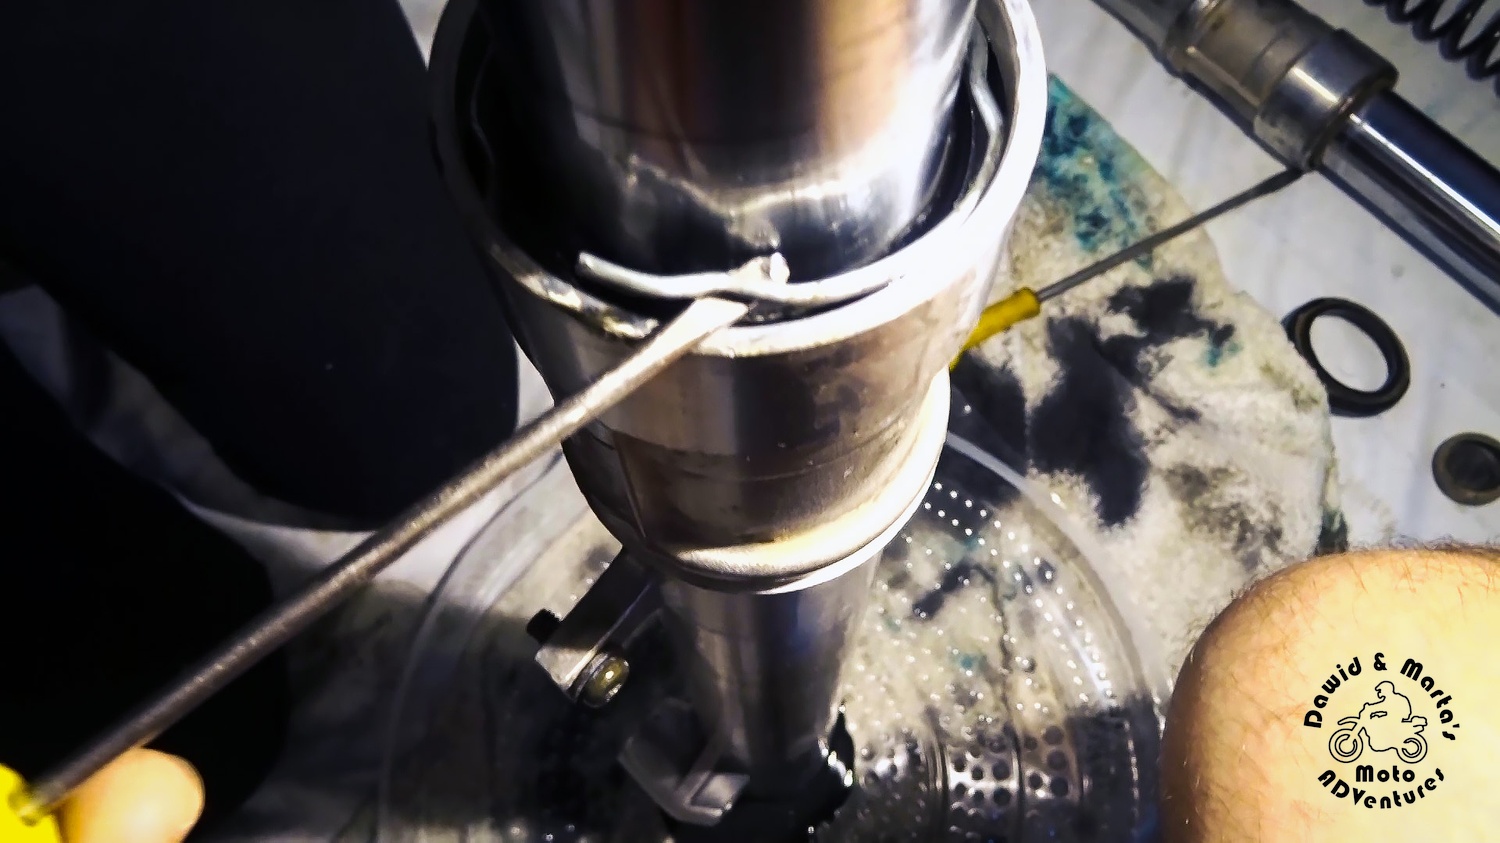
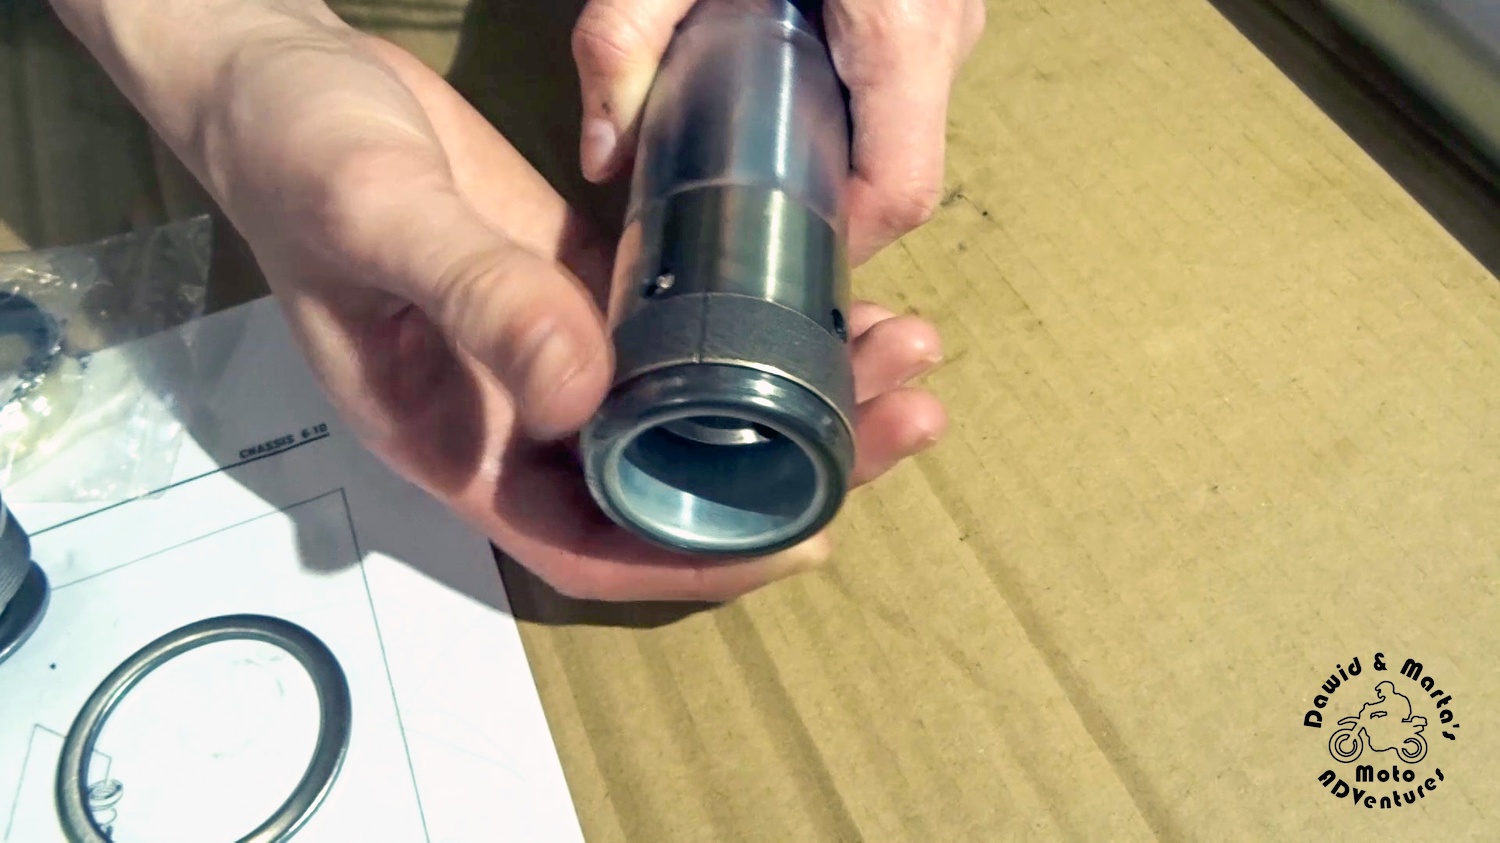
After that we can grab a flat, small screwdriver and take out the snap ring, which is siiting in a groove beneath the seal we just took out.
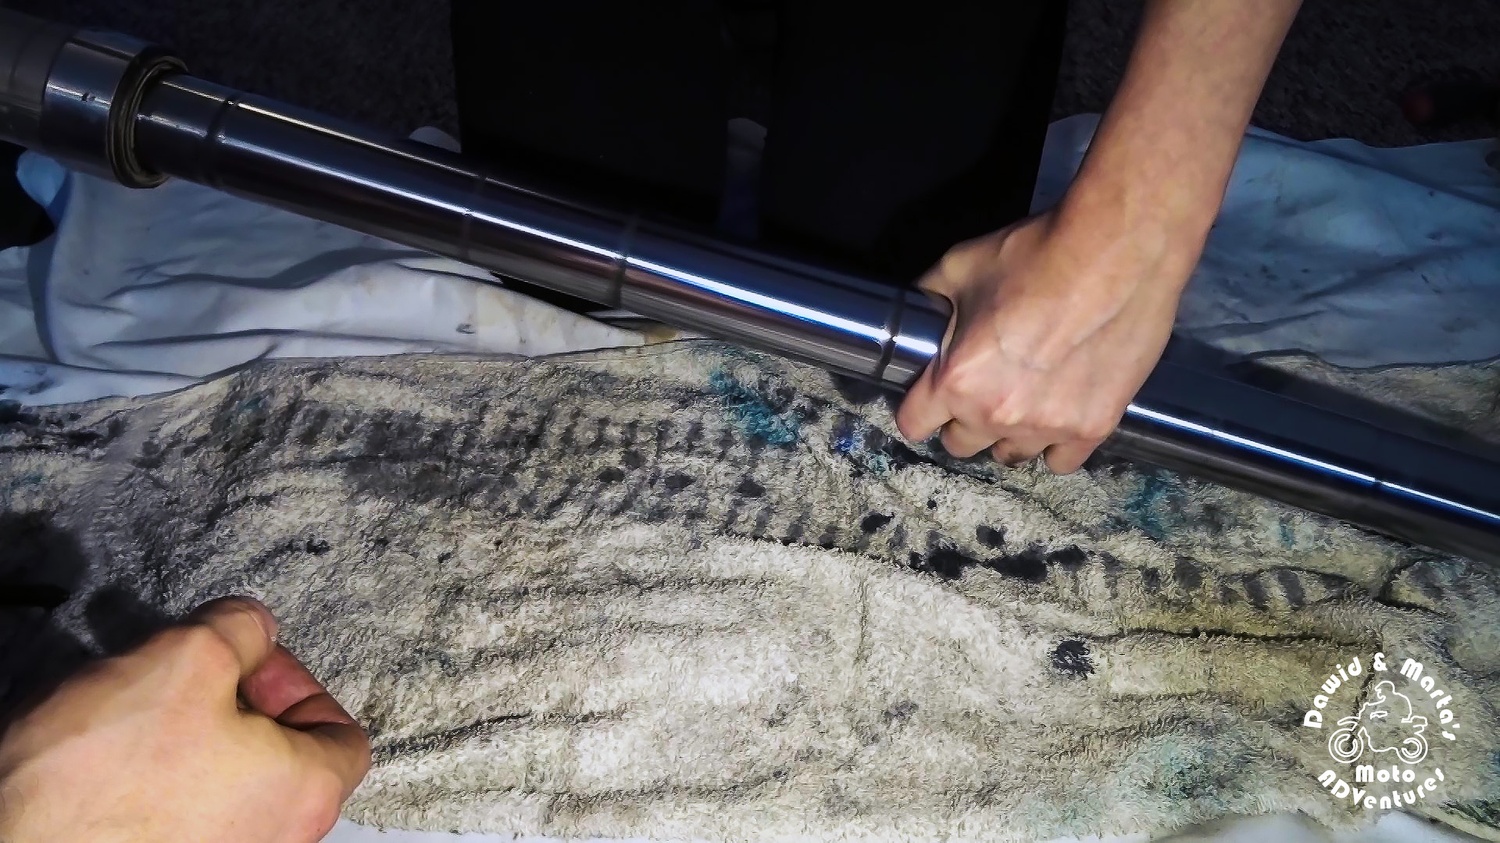
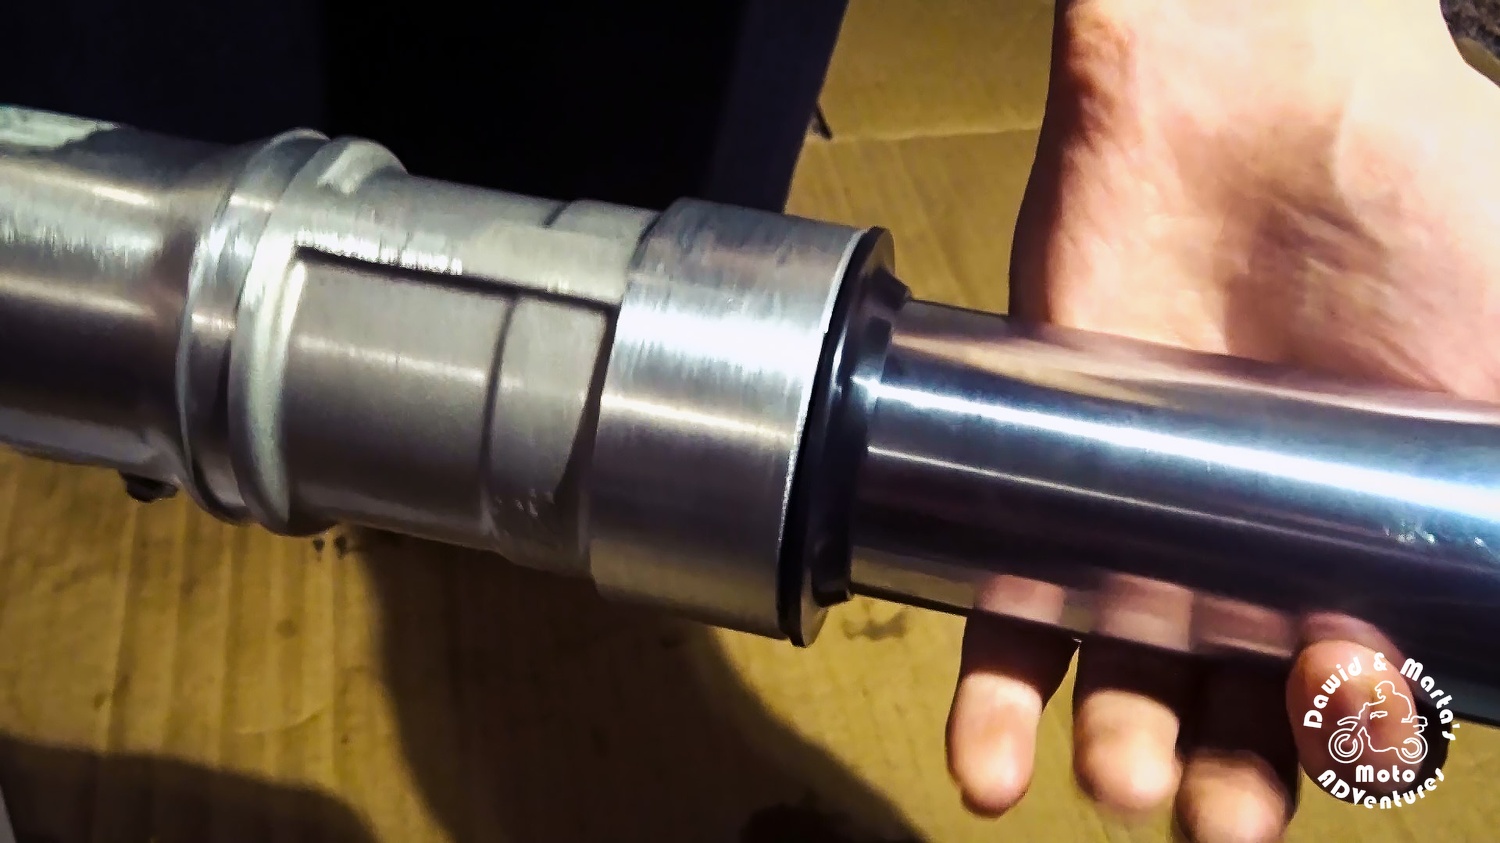
Now to free the fork tube from the fork slider we just need to pull it hard a couple of times.
It should come off with two bushings, one washer and one oil sealing.
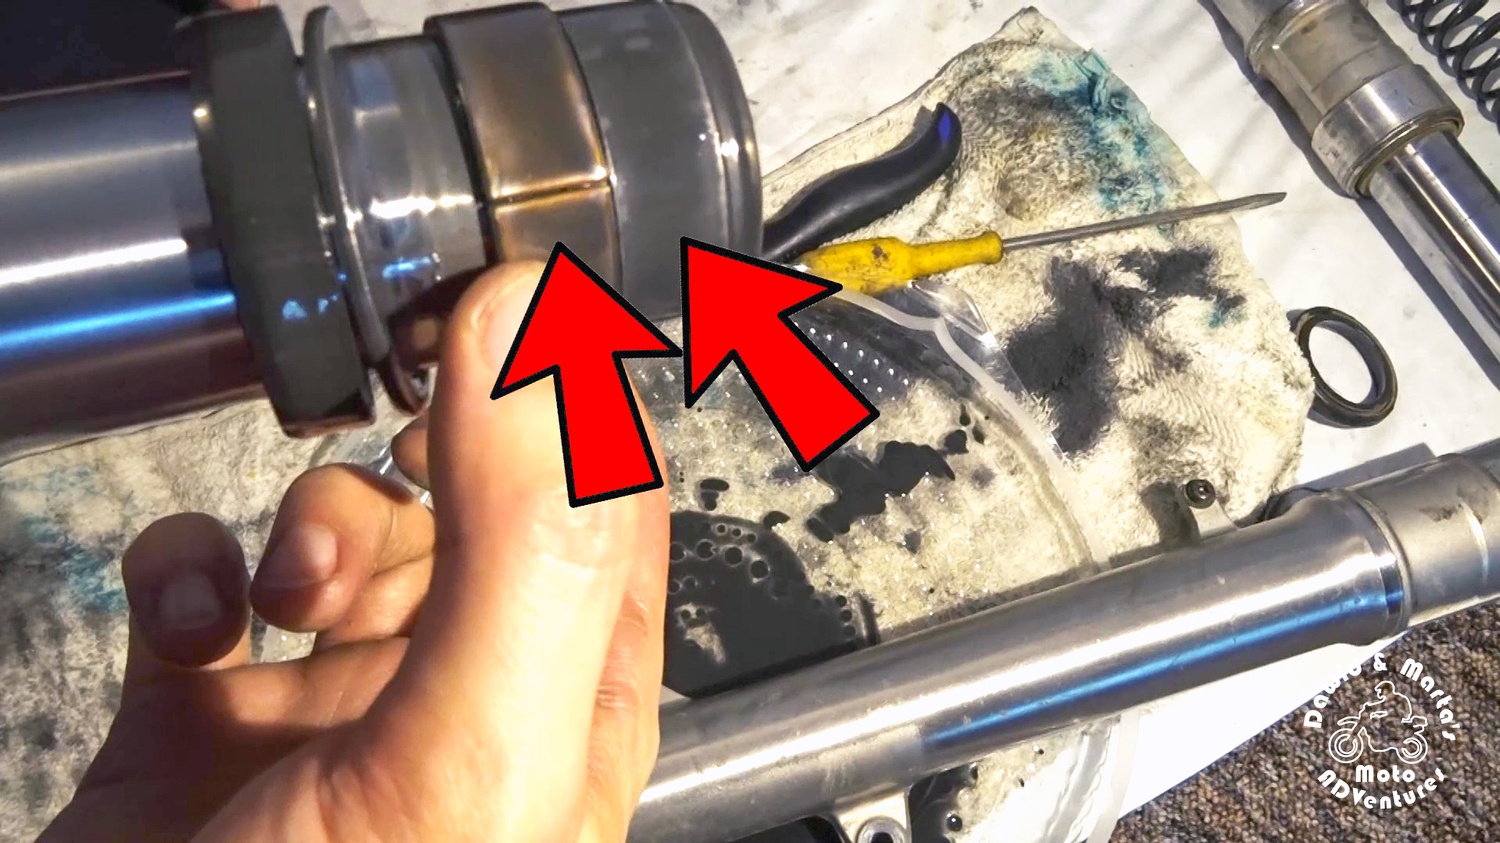
Addtionally there's also one part hiding inside the fork tube. It's good to remember about it.
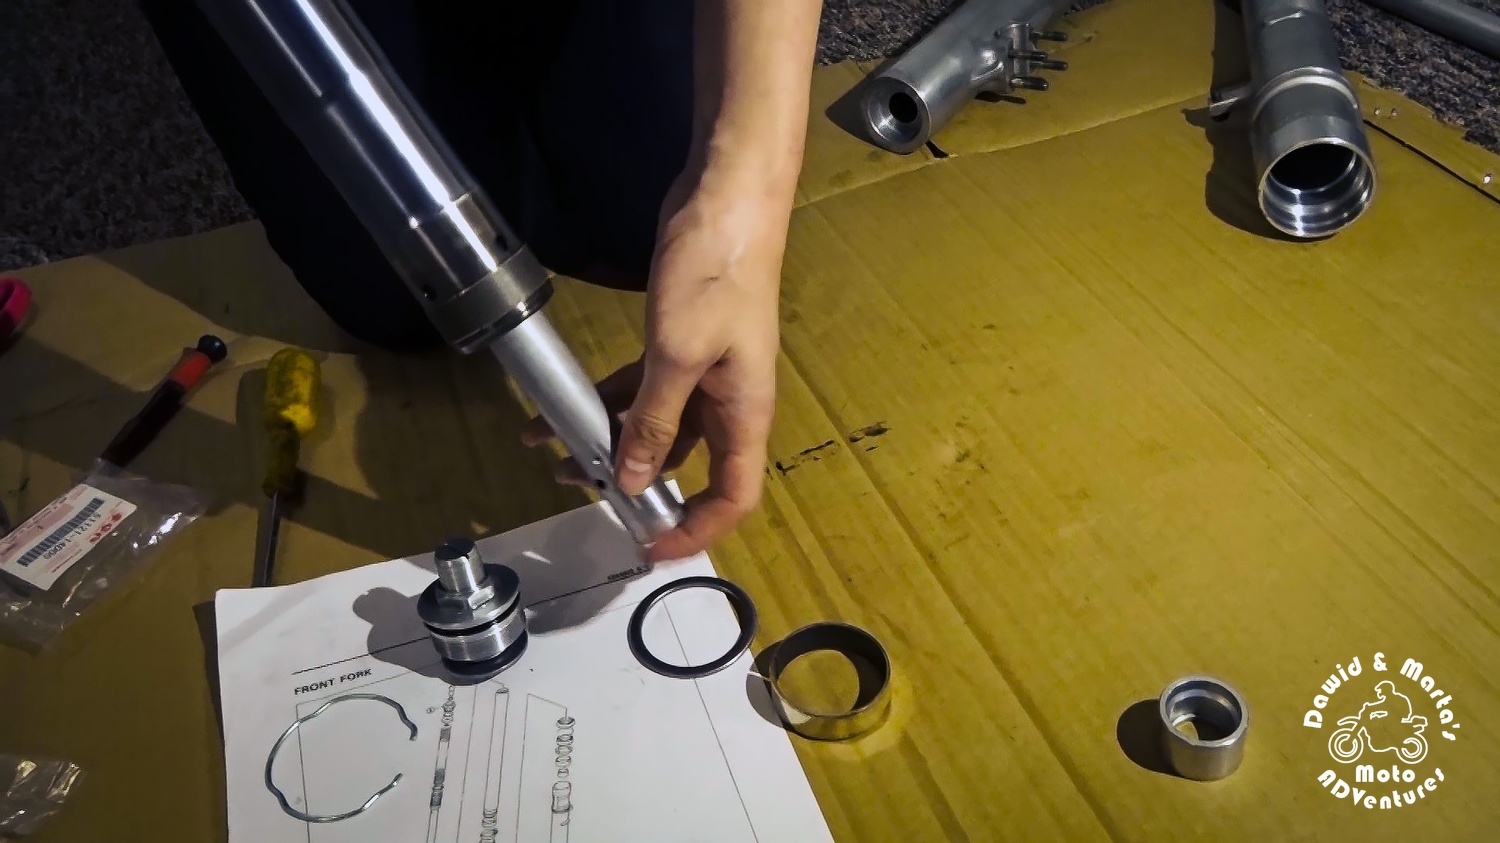
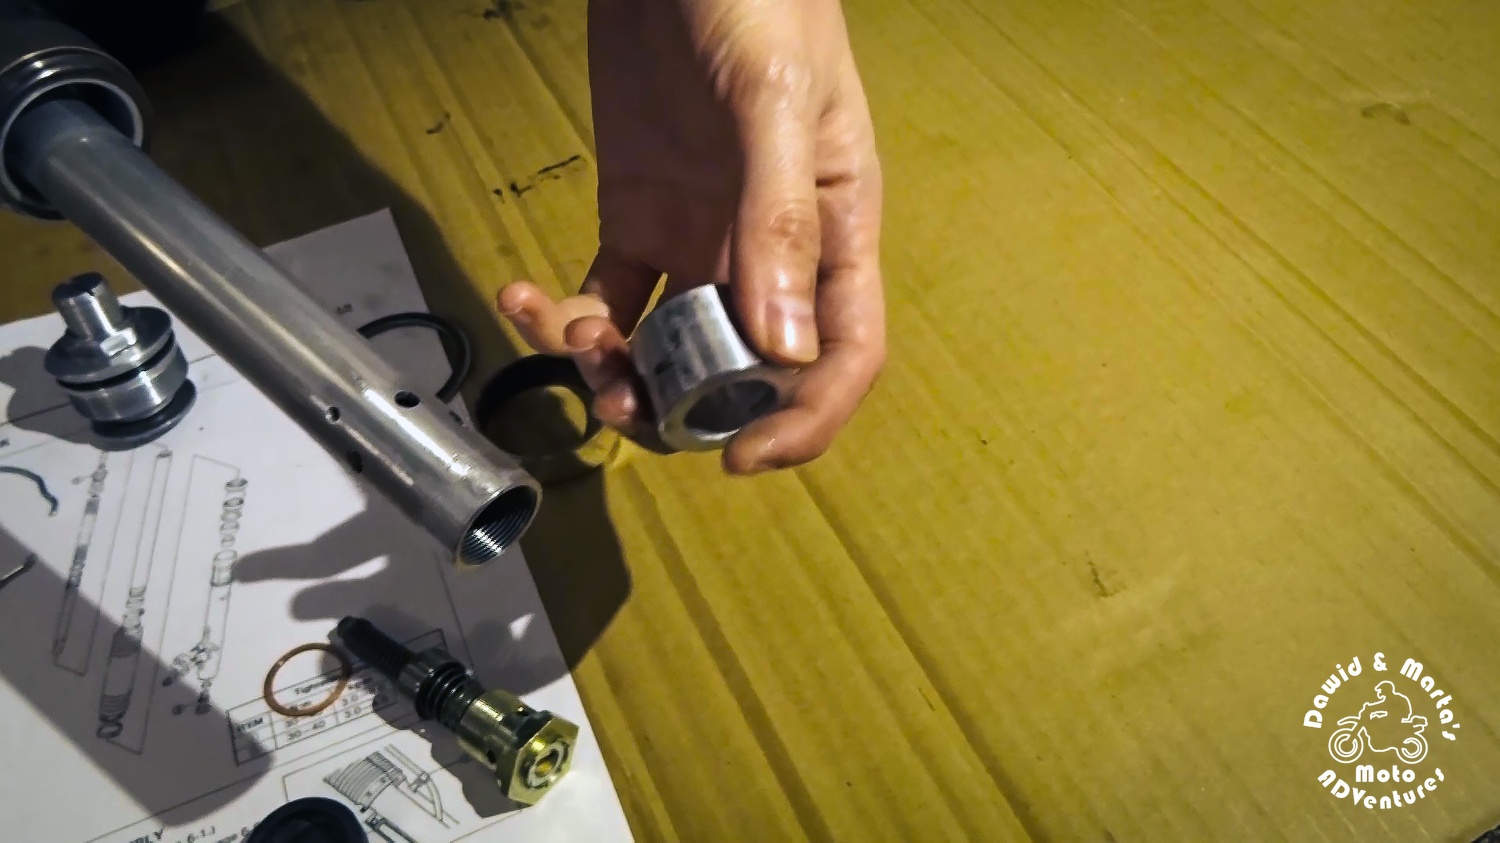
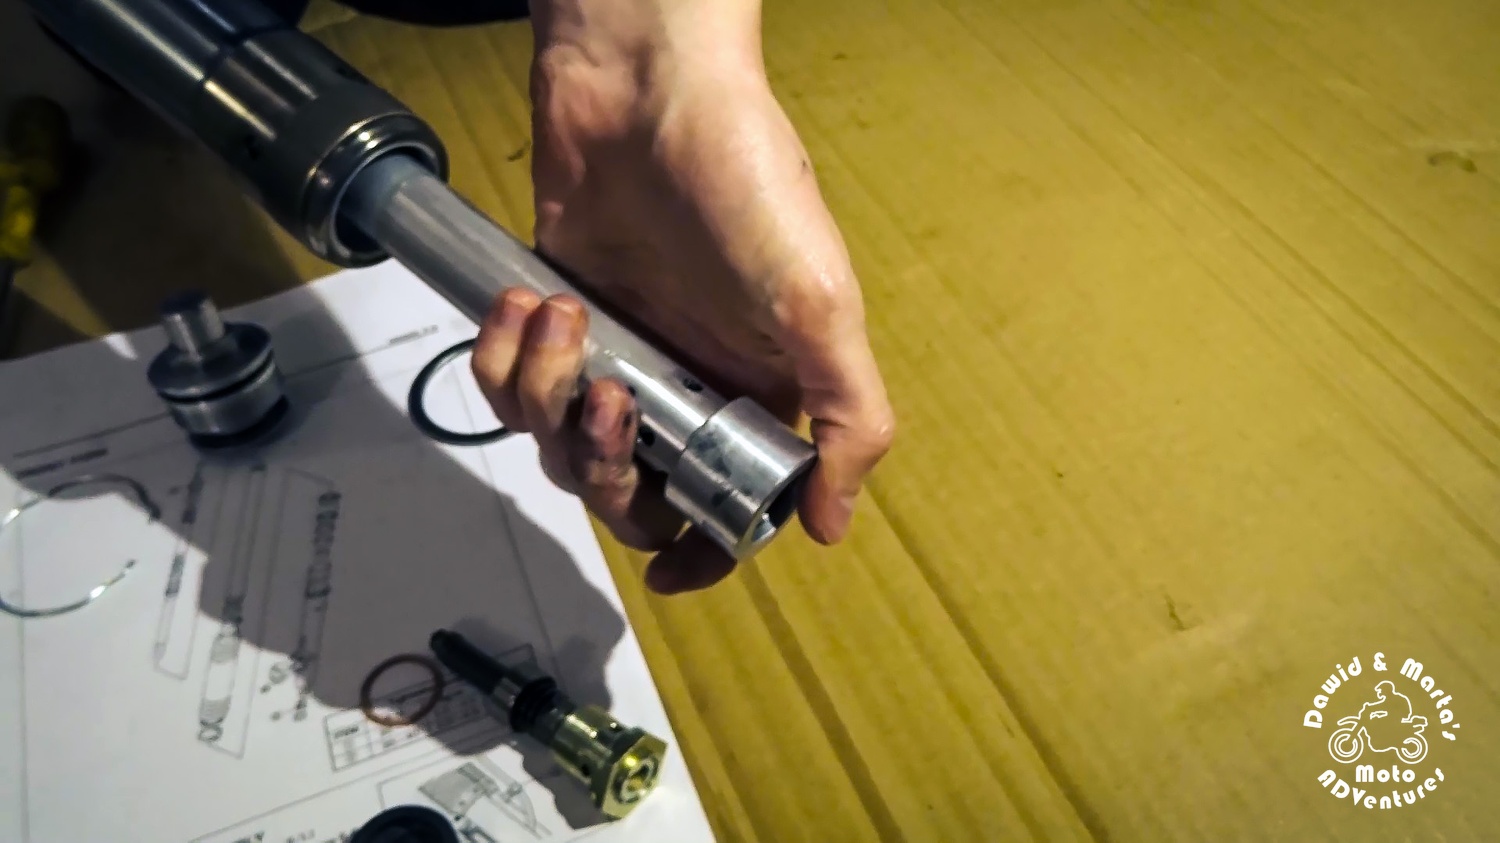
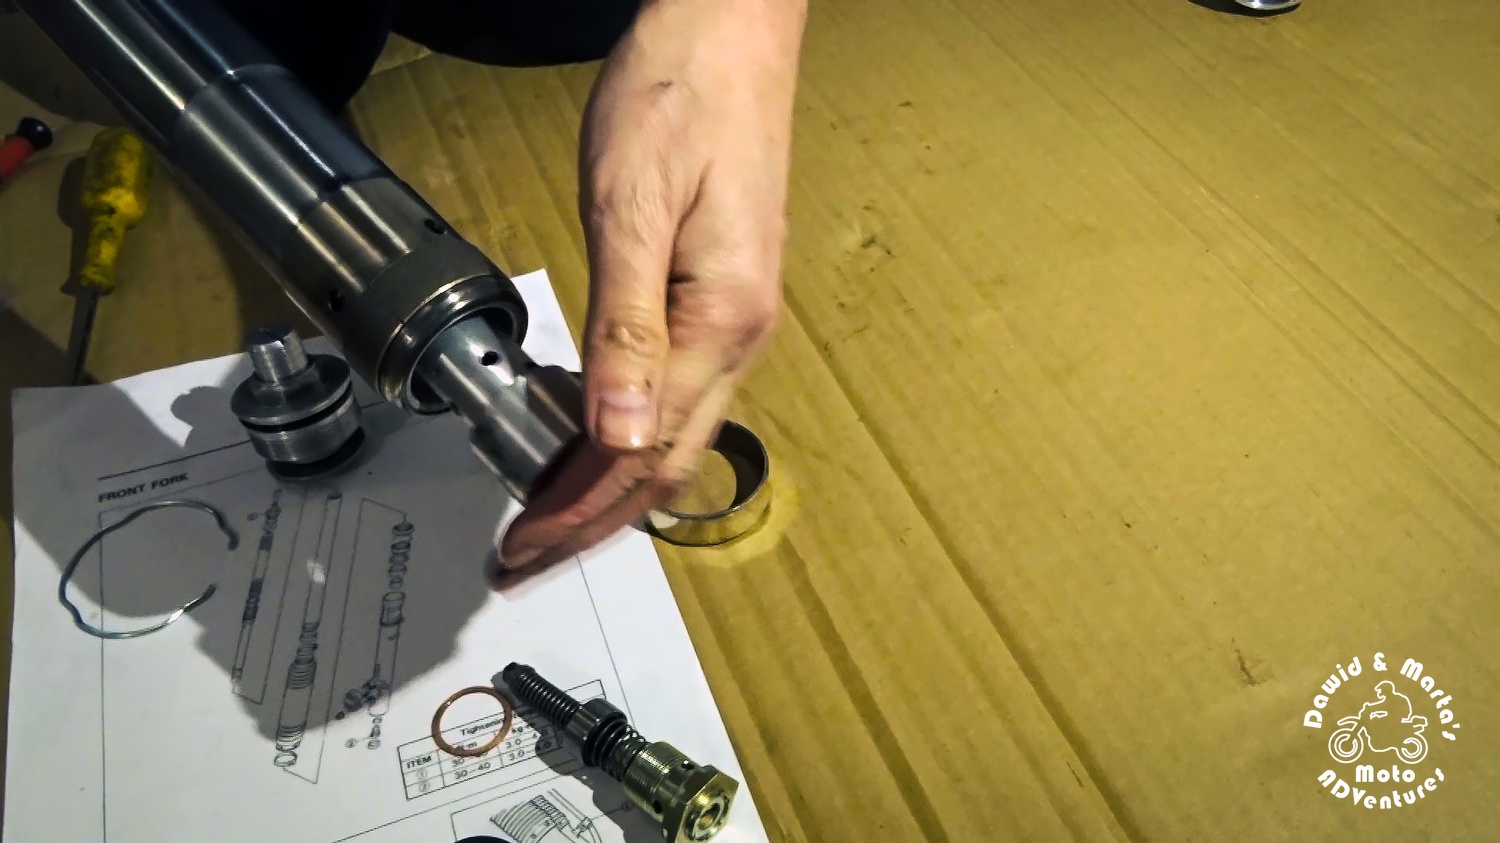
Now we can dissasemble the parts from the fork tube. So we slide out the sealing, the washer and one of the bushings.
The second bushing we remove by opening it a bit with a screwdriver.
My bushing didn't present itself good. It had the coating worn out, so it could scratch the fork tube.

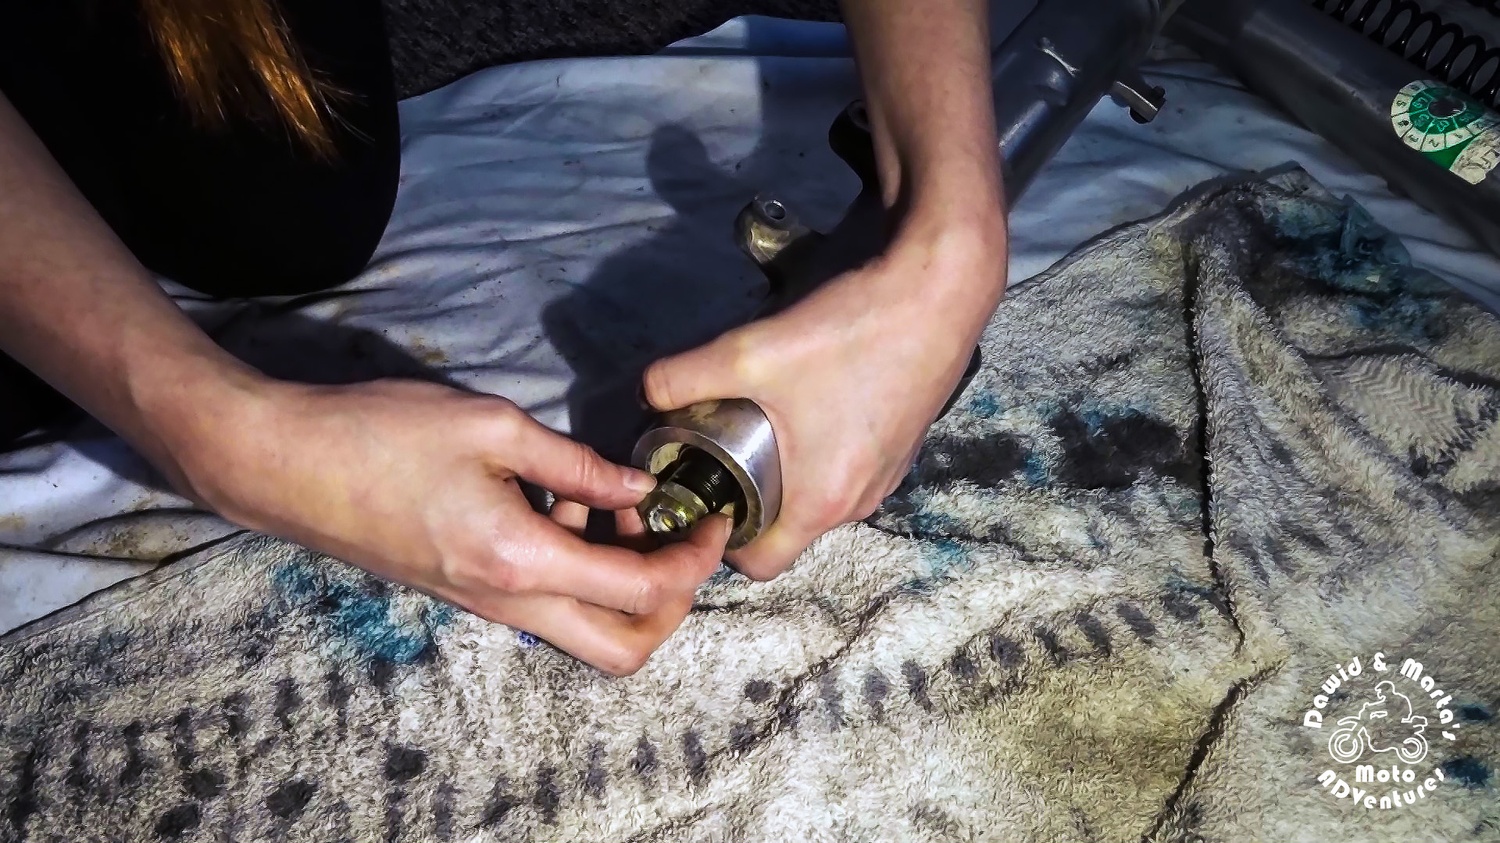
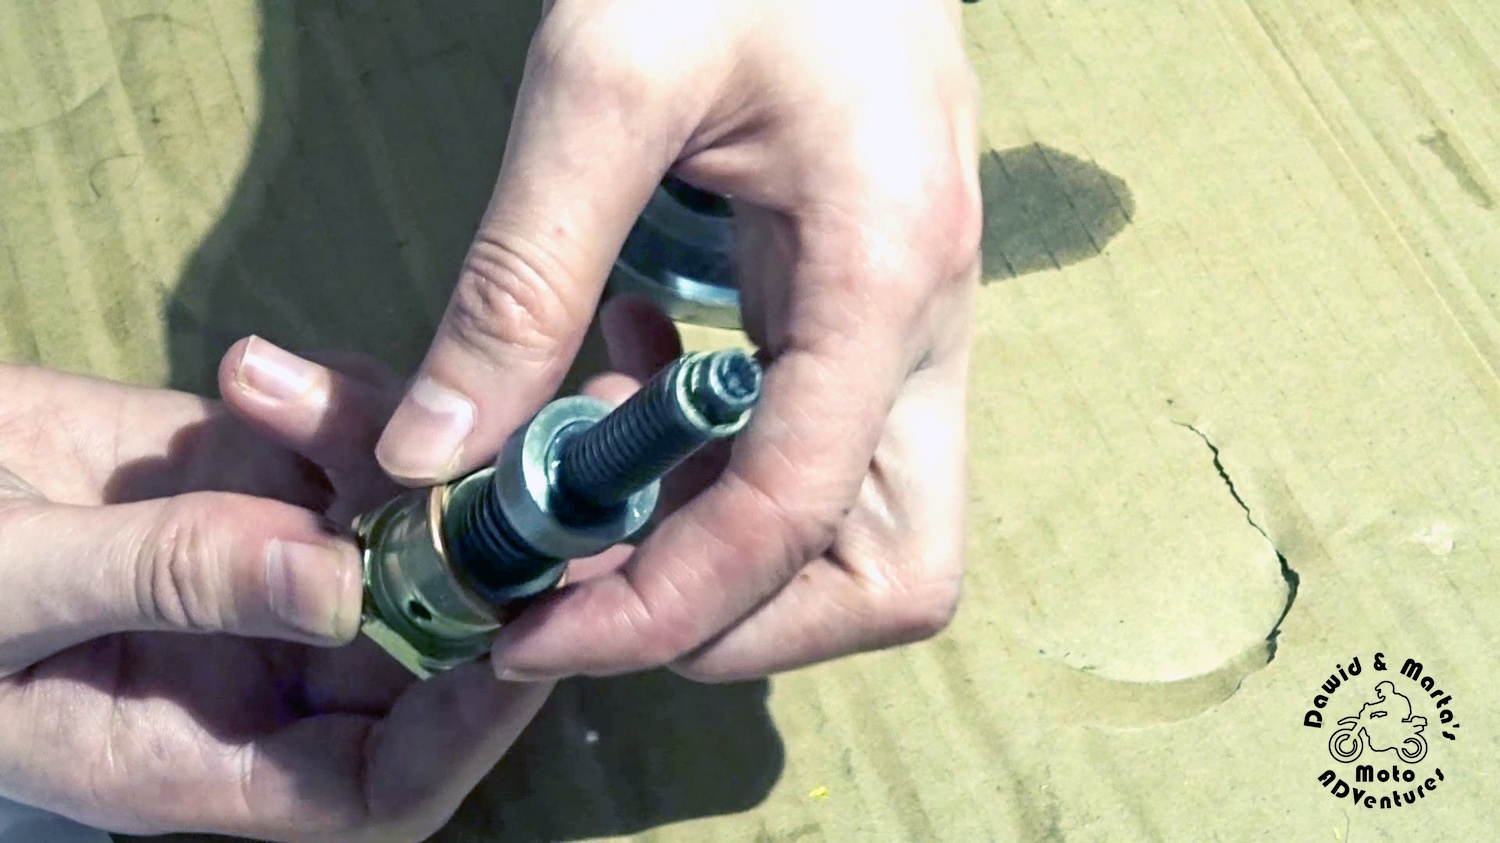
The last thing to dissasemble is the preload adjuster.
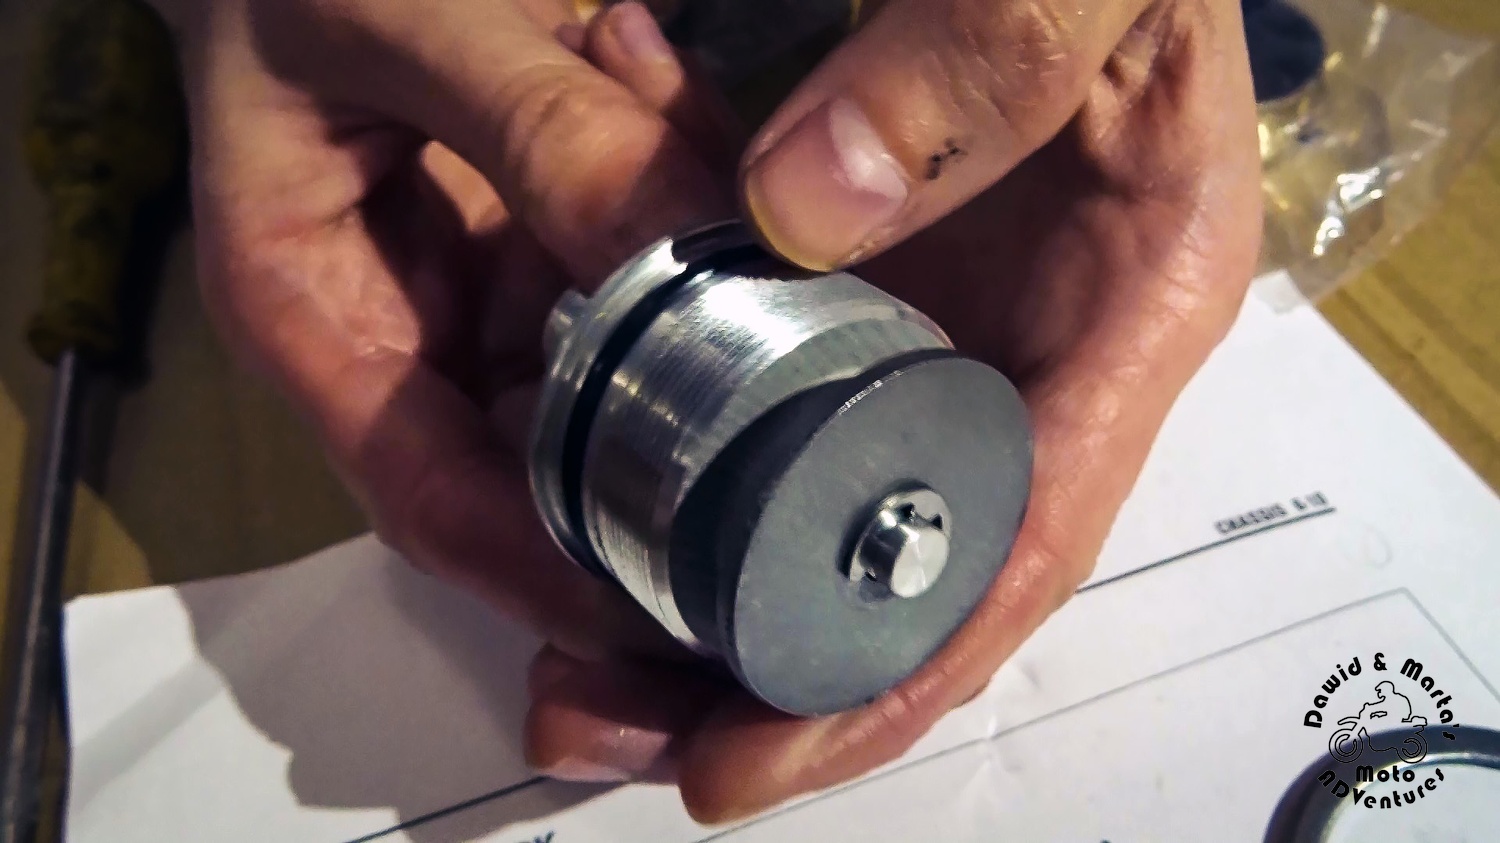
After disassembly it should look like this:
Assembling the DR350 front fork preload adjuster
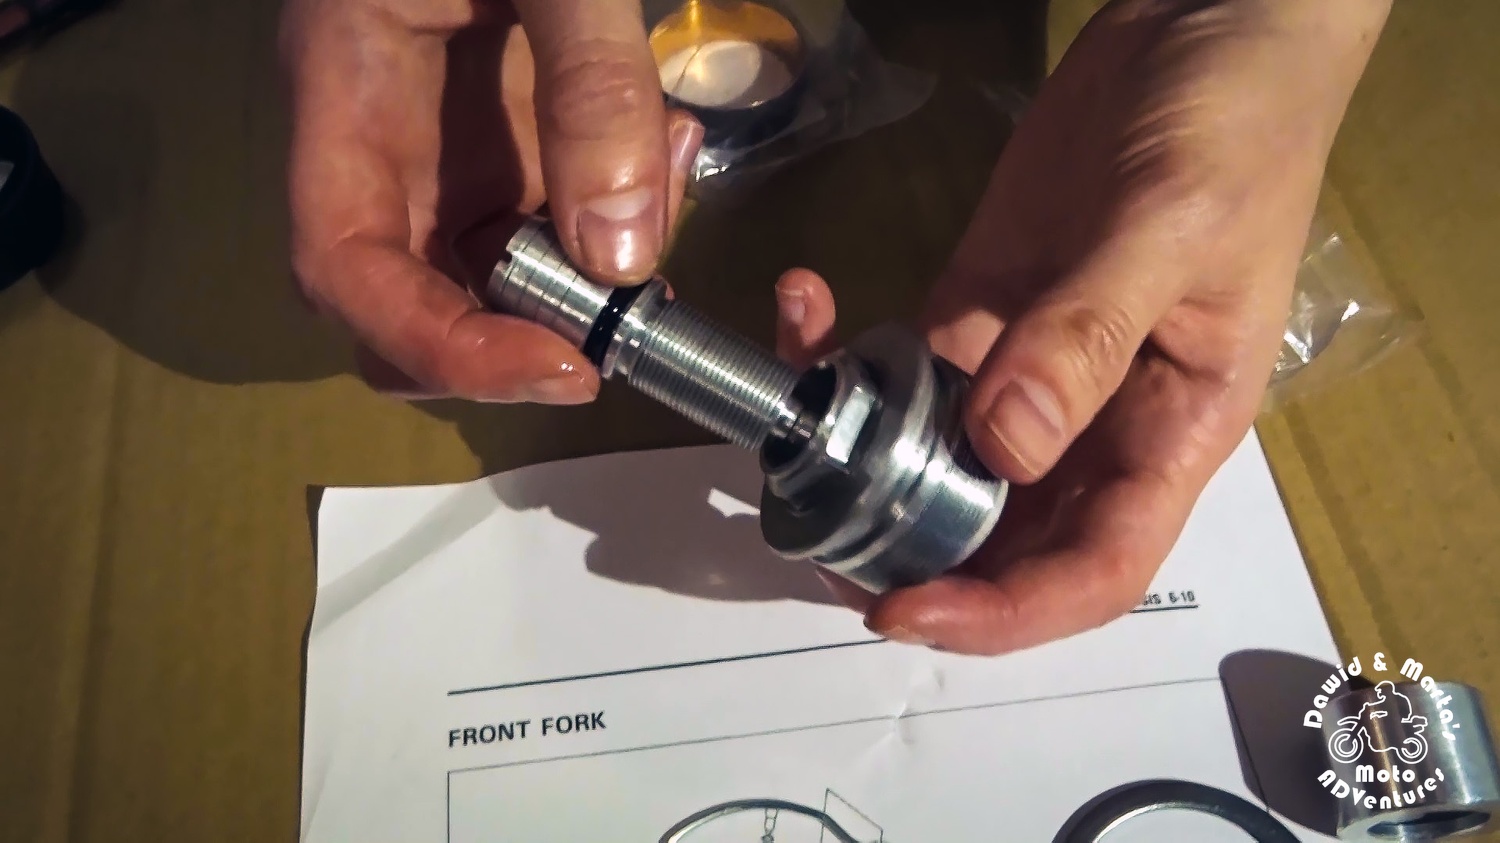
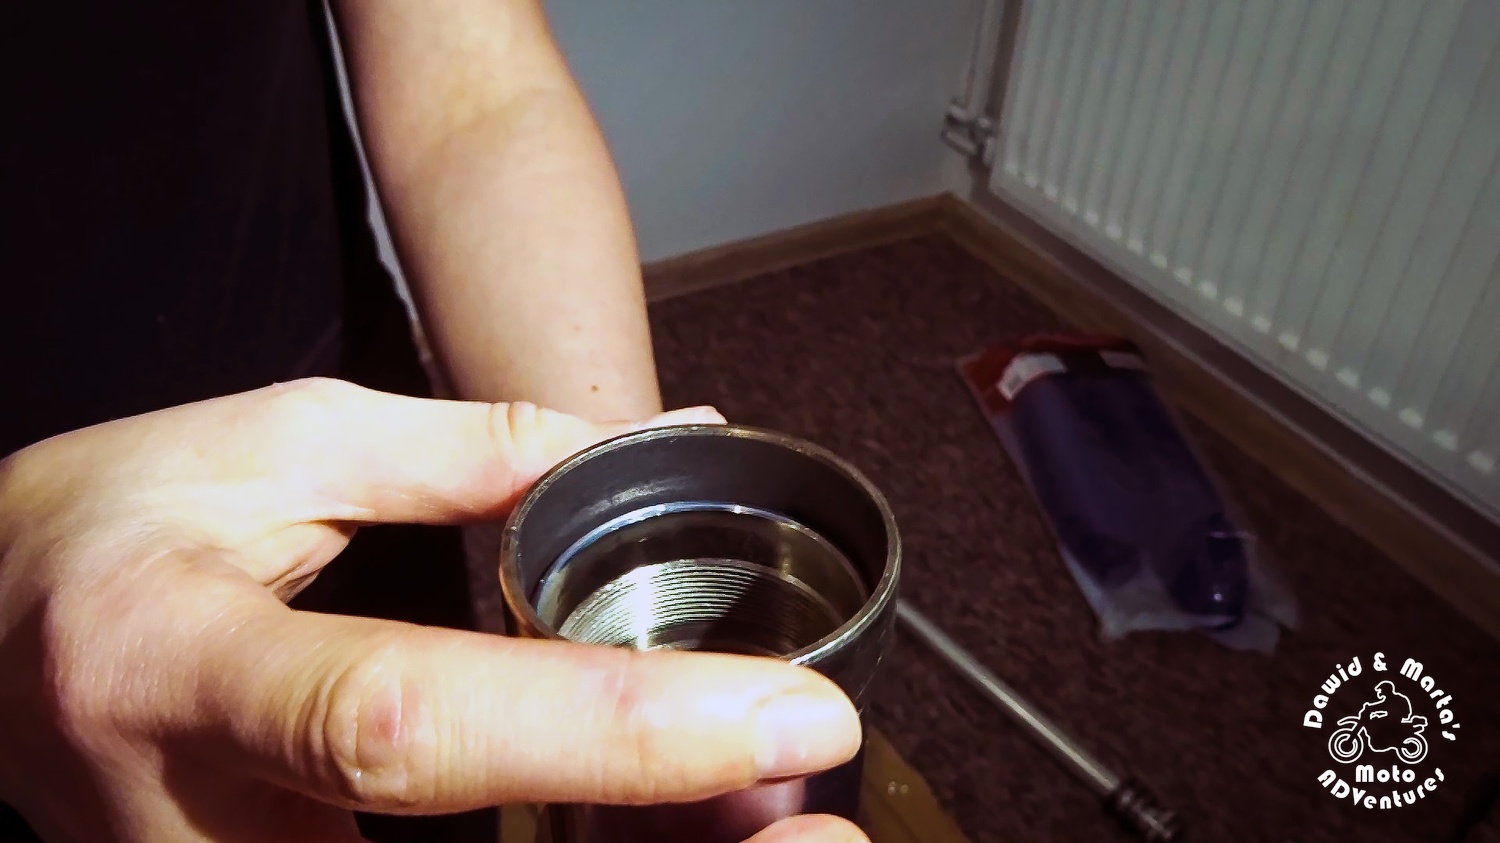
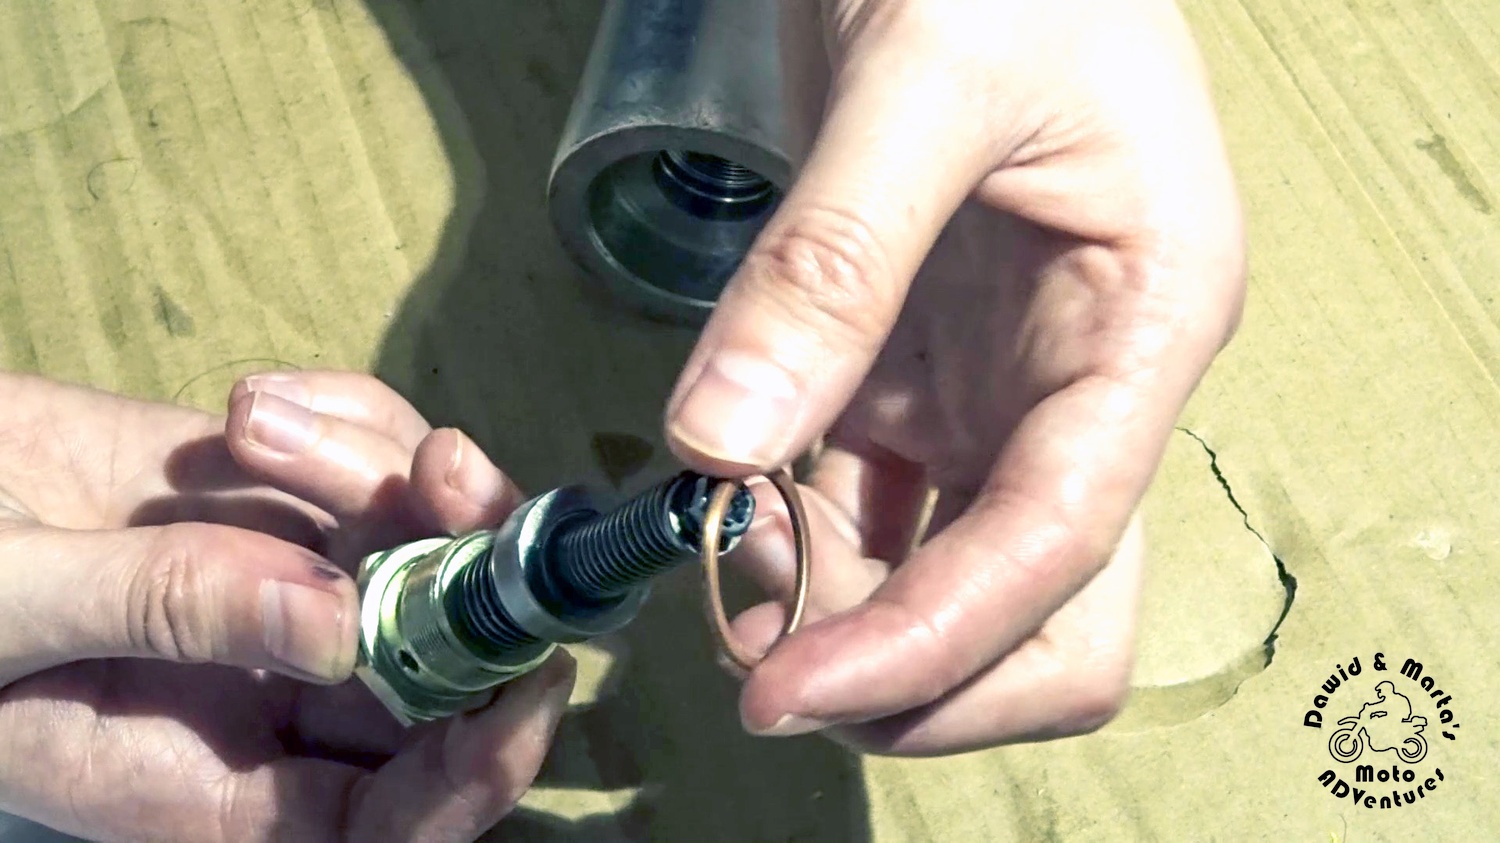
We start the assembly with the preload adjuster. with which we ended our disassembly.
First we put on the o-ring on the adjuster nut.
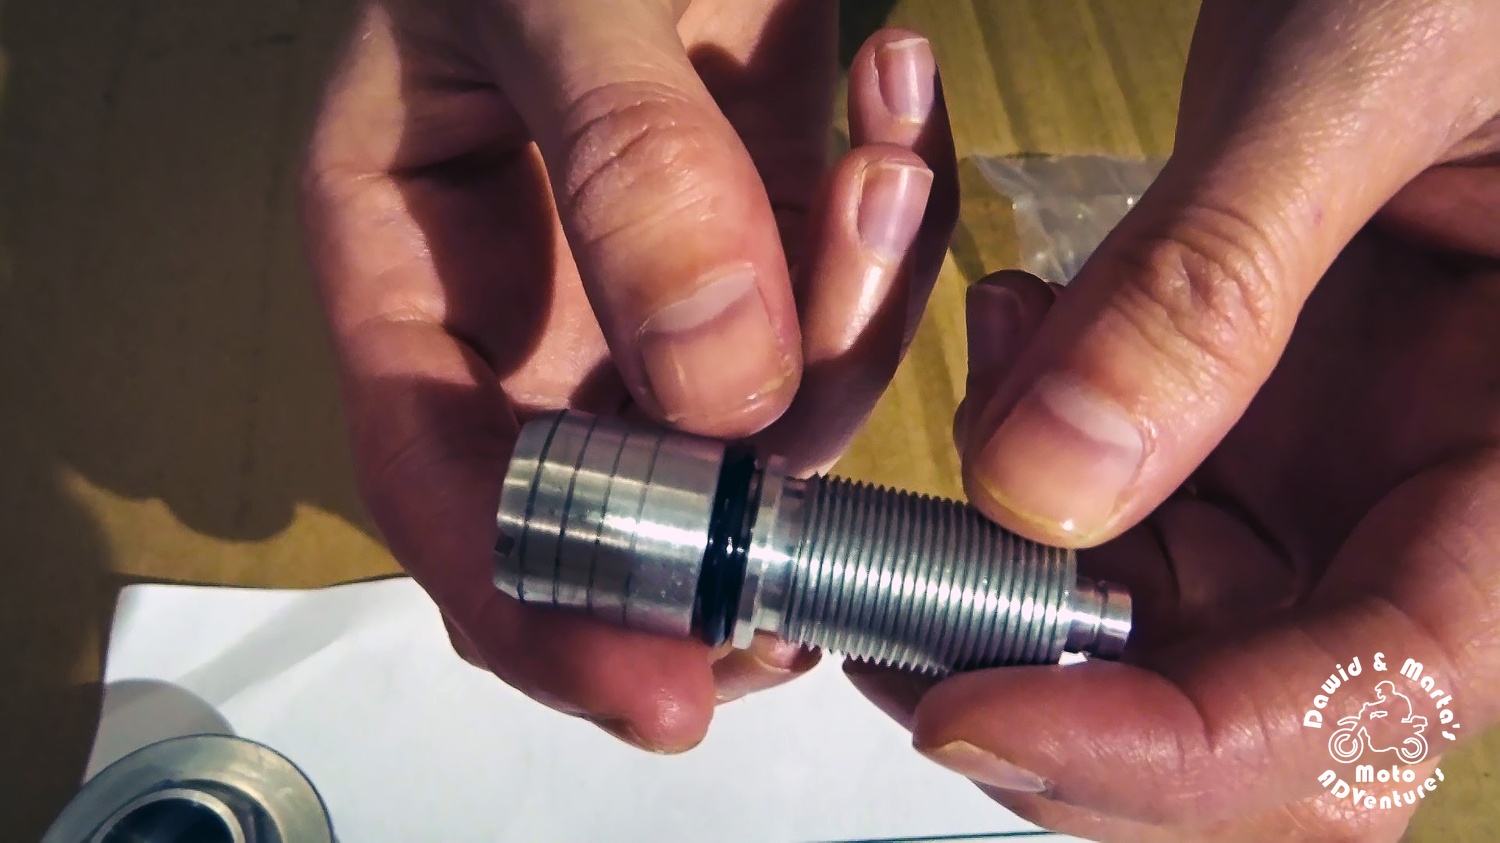
After that we lube the o-ring with fork oil and we screw back the adjuster into the fork cap.
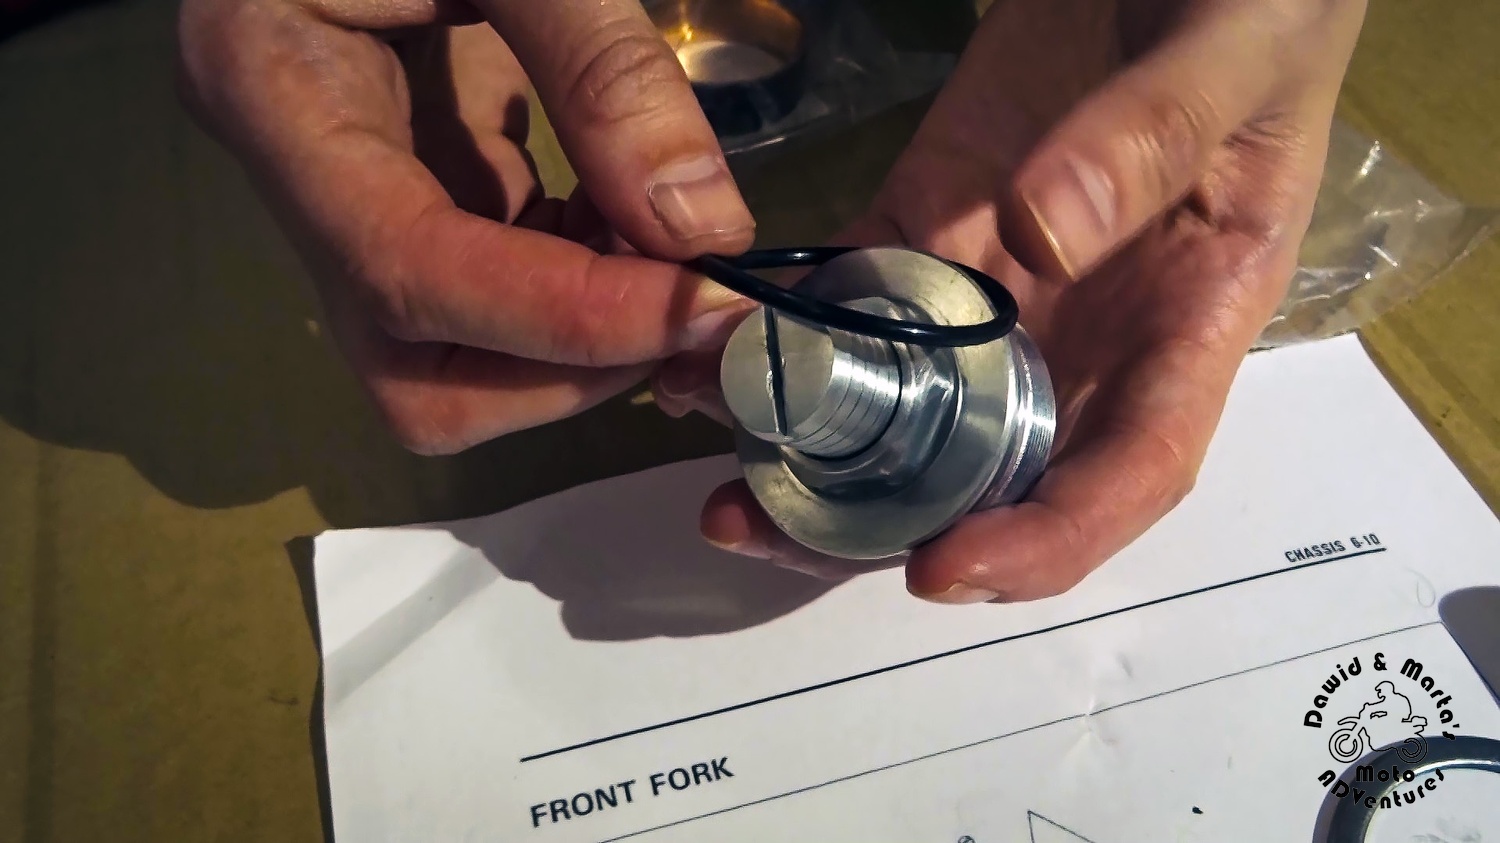
Next we can put the o-ring on the fork cap.
Now we put back the spring washer on the adjuster screw bottom part and secure it with an e-clip.
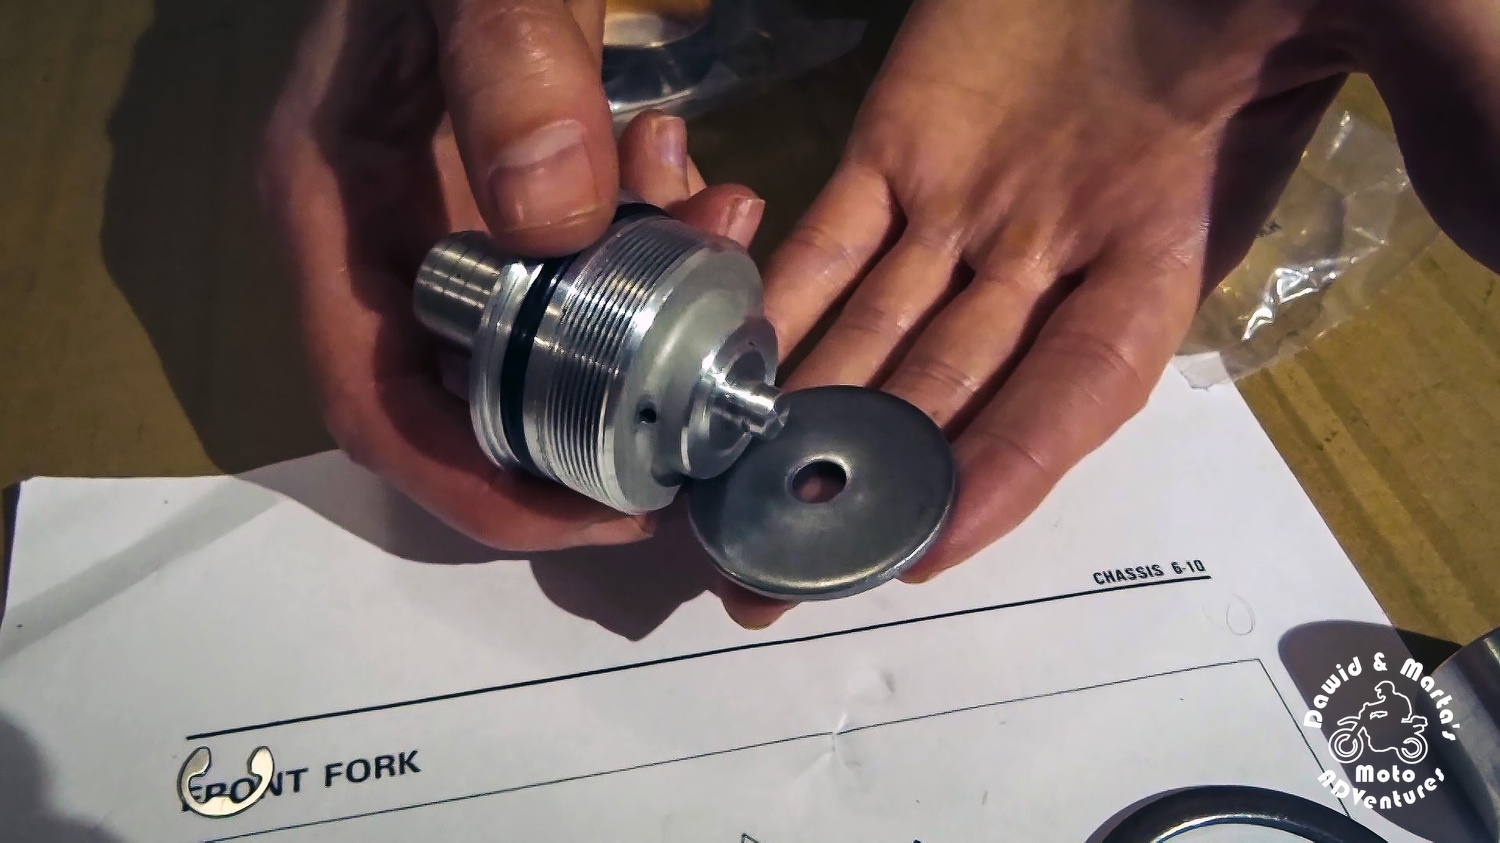
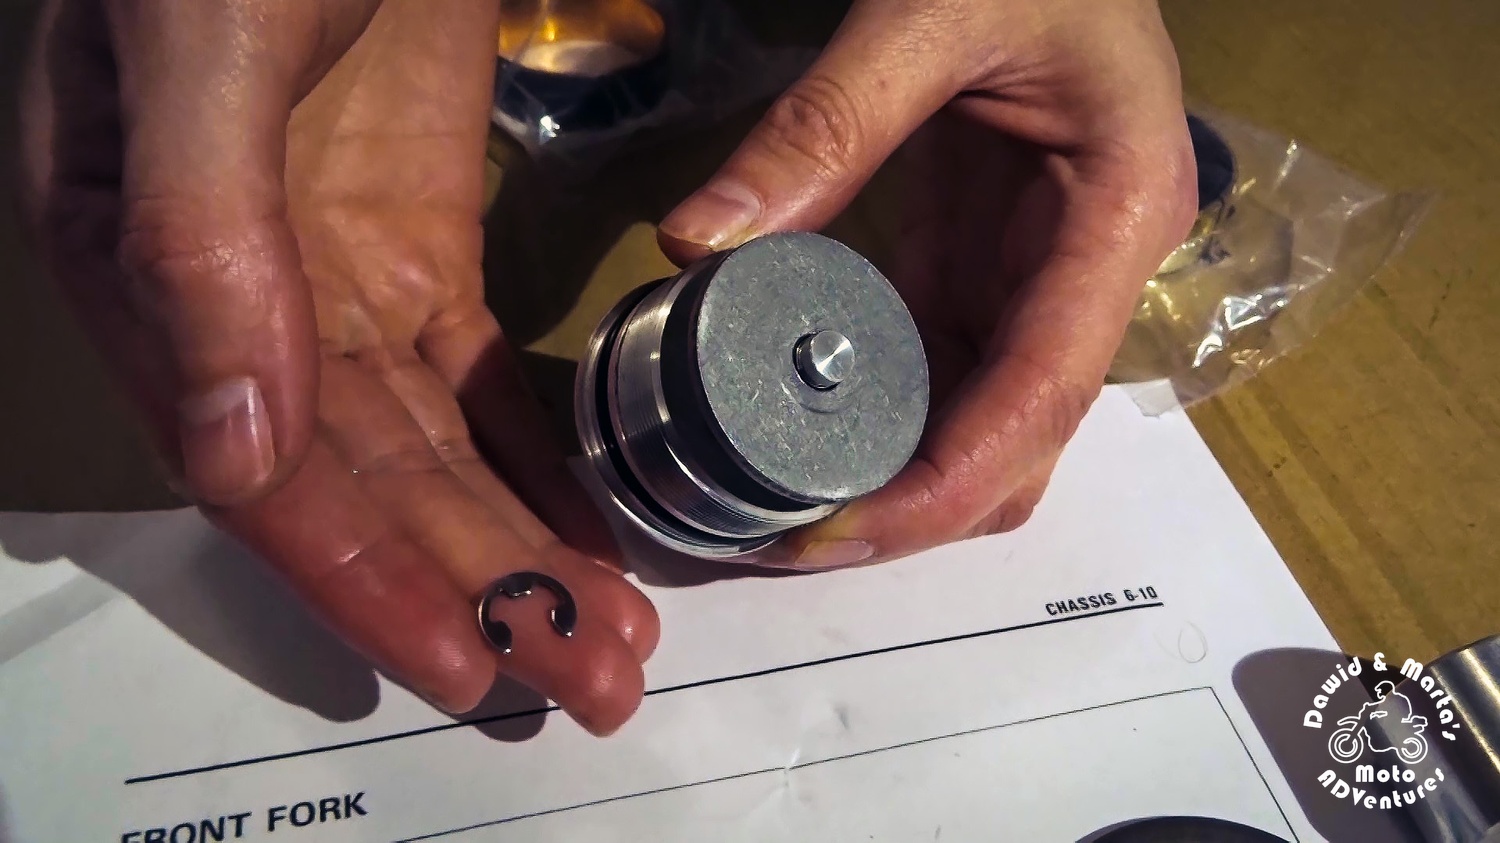
The preload adjuster is ready. We can move to the fork leg.
Assembling the DR350 front fork leg
We start with putting on the new bushings on the fork leg.
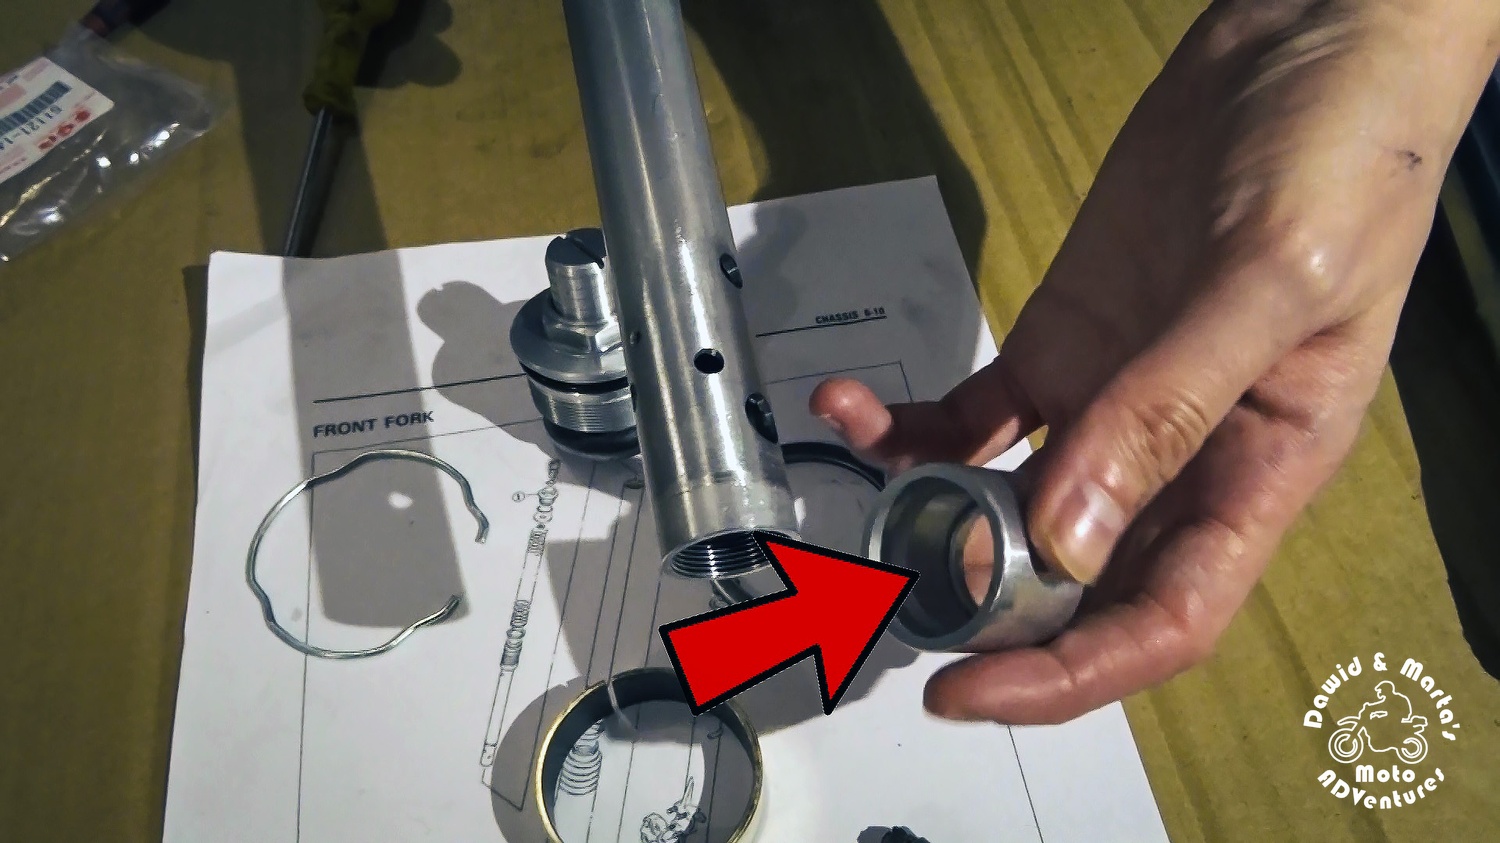
After that we put on the dumping rod spacer on the dumping rod. Then we can insert the dumping rod with the top out spring into the fork tube.
After that remember about the duping rod spacer!
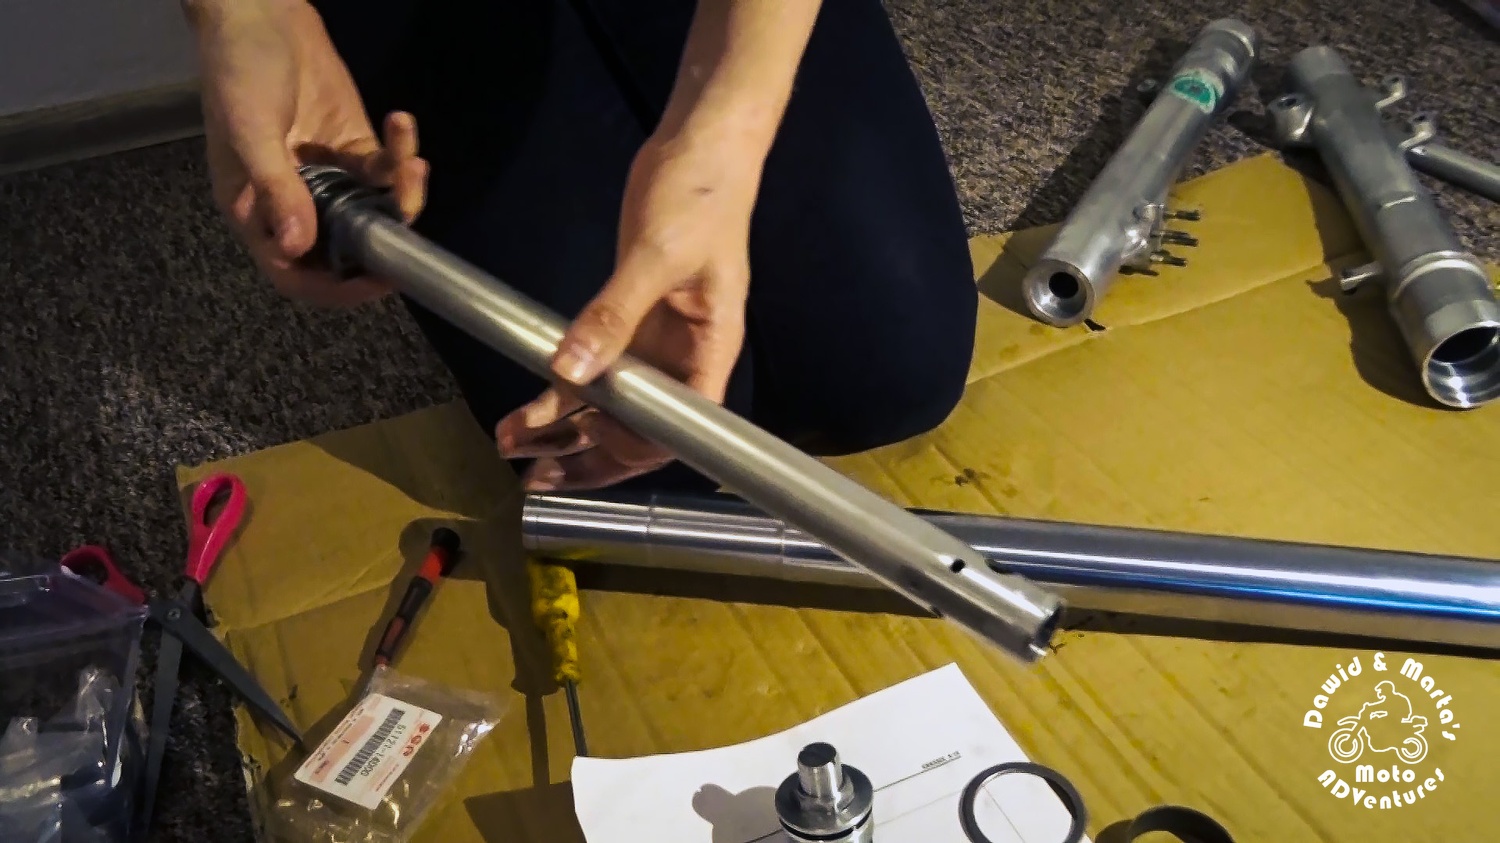
Now we can gently insert the fork tube into fork slider, but first we lube the bushings with fork oil.
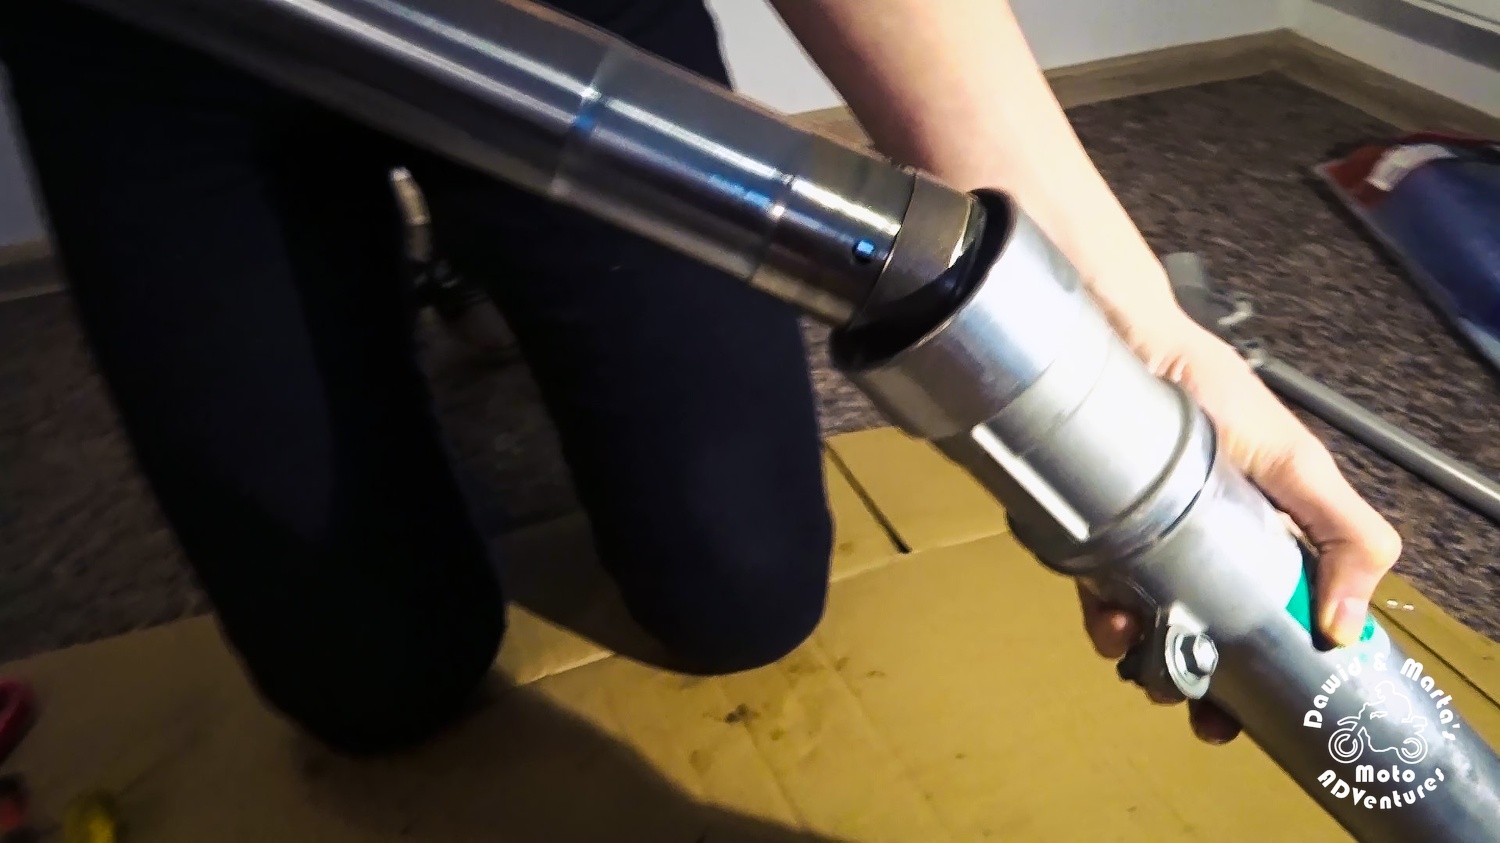
Here's how it should look like now at the bottom:
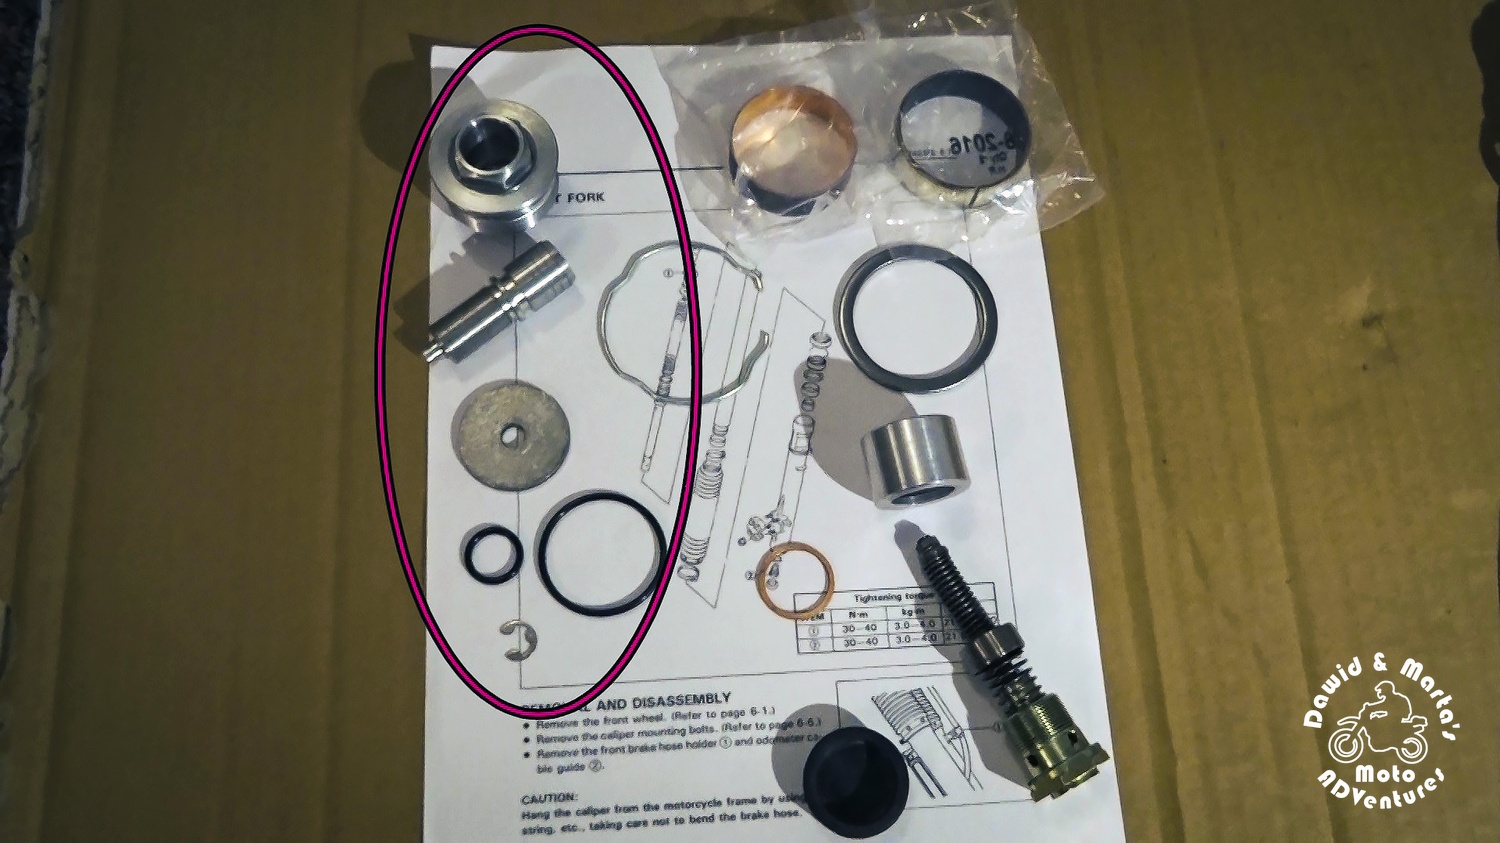
Now the time comes for putting back all the elements sealing and securing the fork leg. Service manual comes in handy when you don't want to assemble something in the wrong order:
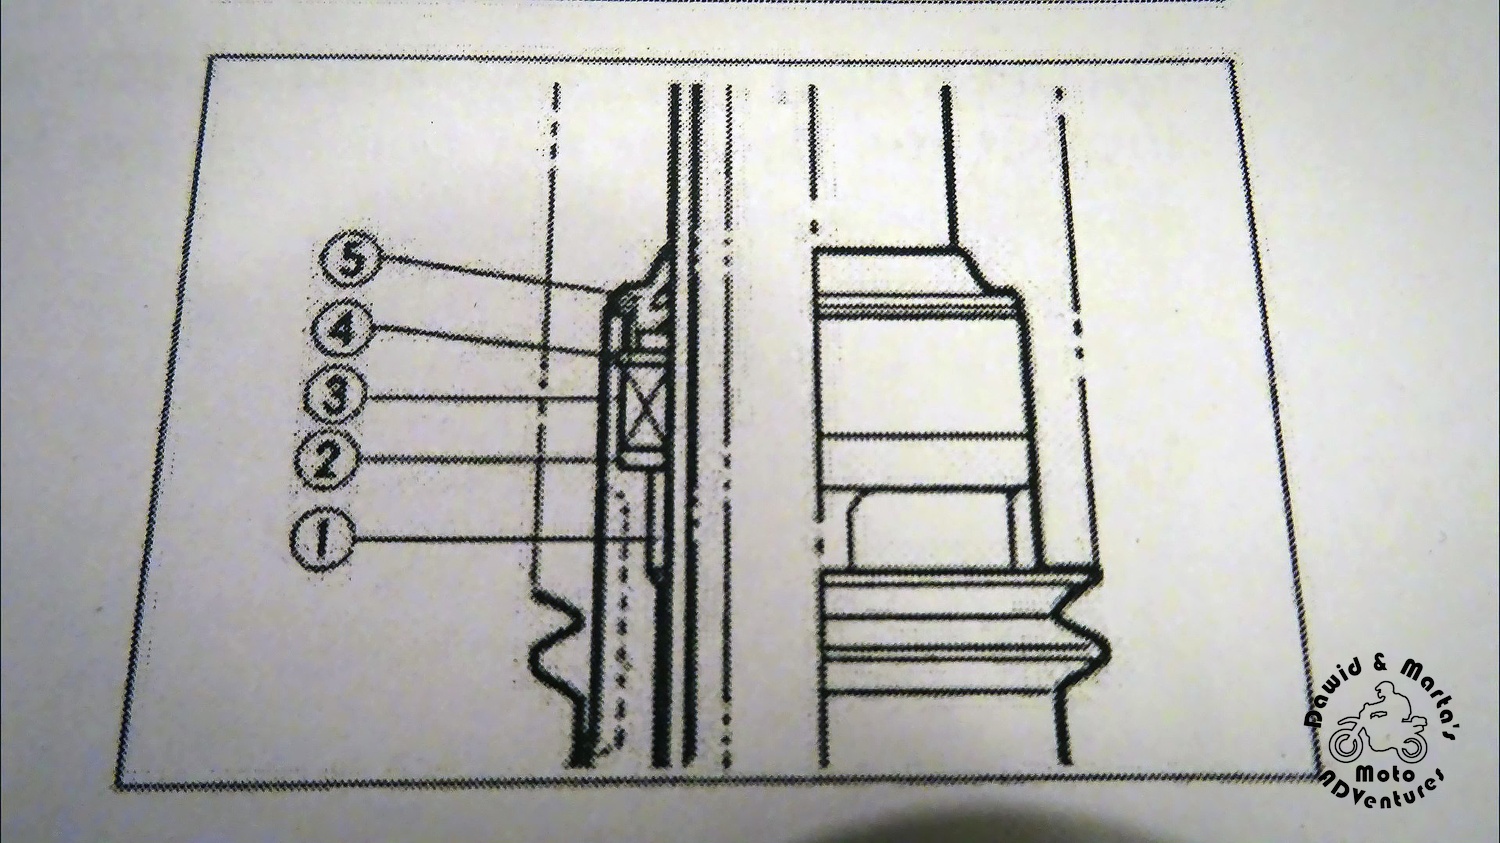
So as you see we start with putting on the new bushing.
This step is a little tricky, though, because we must press the bushing in.
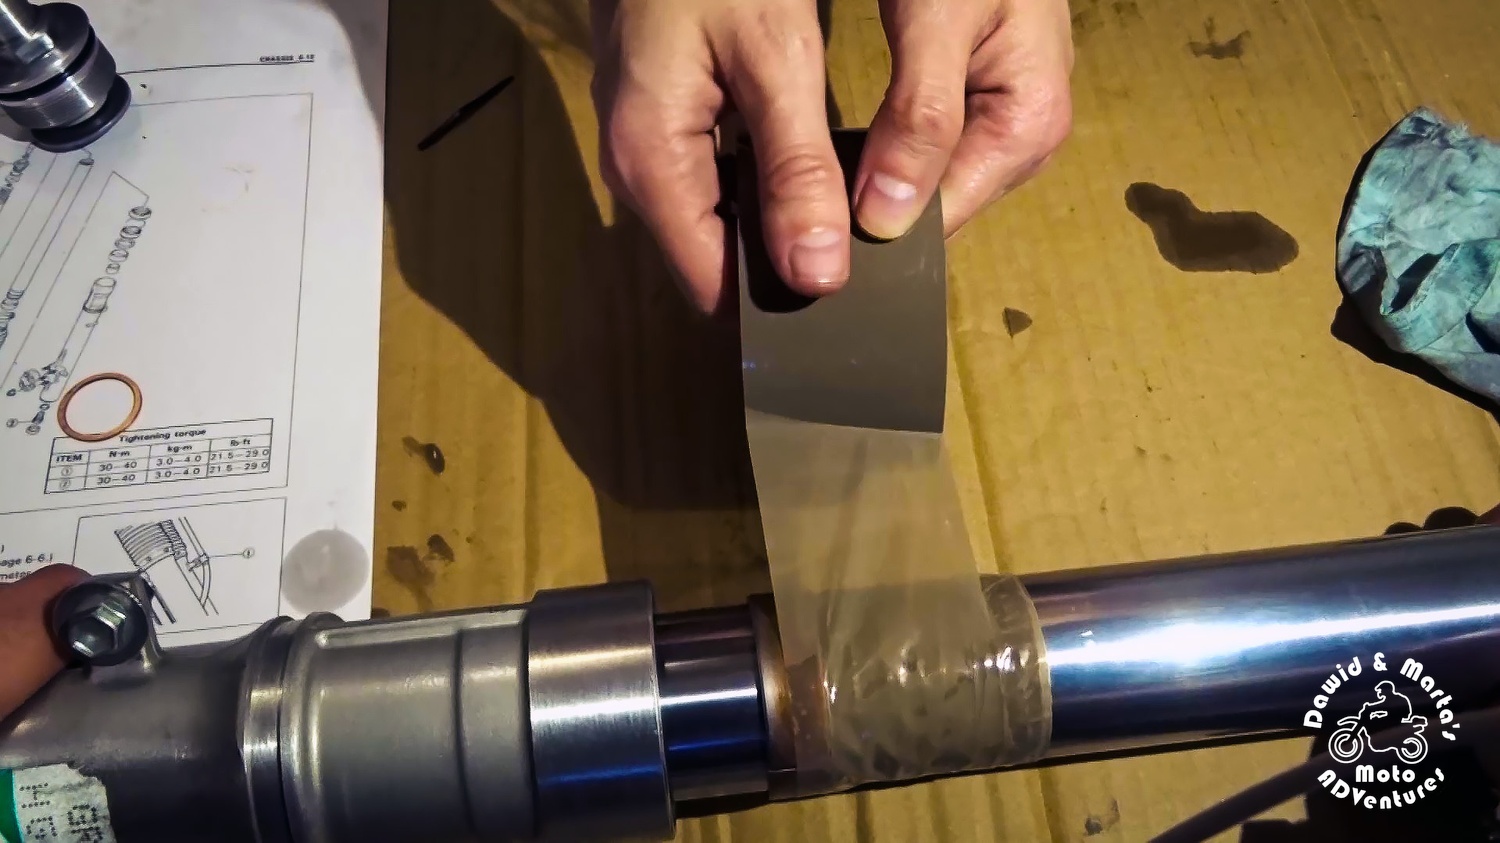
We could you use a special tool for this, but the old bushing and some tape can also do the trick!
But before anything - lube the new bushing and its socket - it will make things much easier! :)
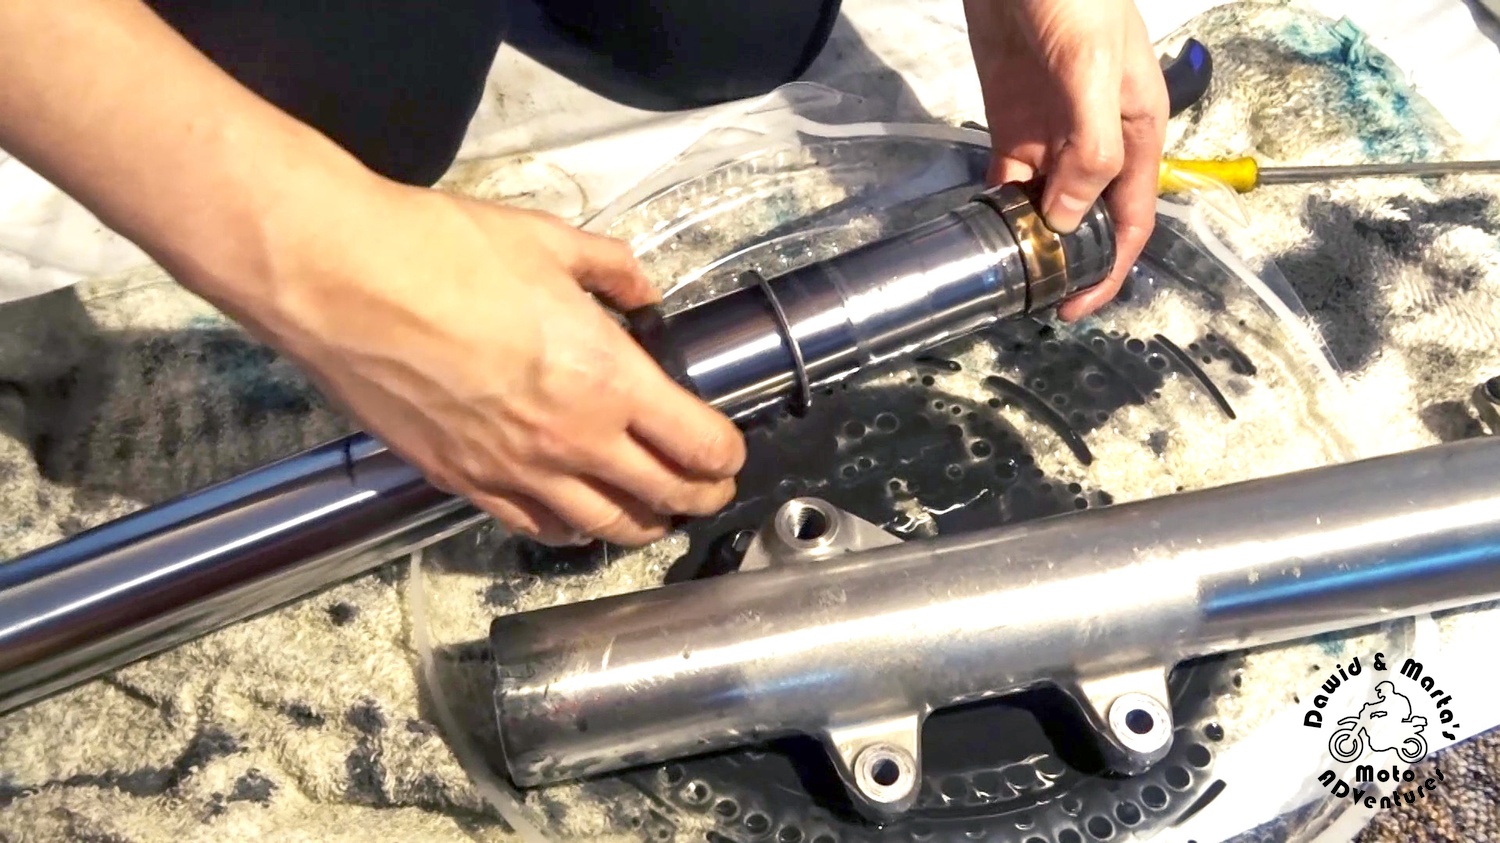
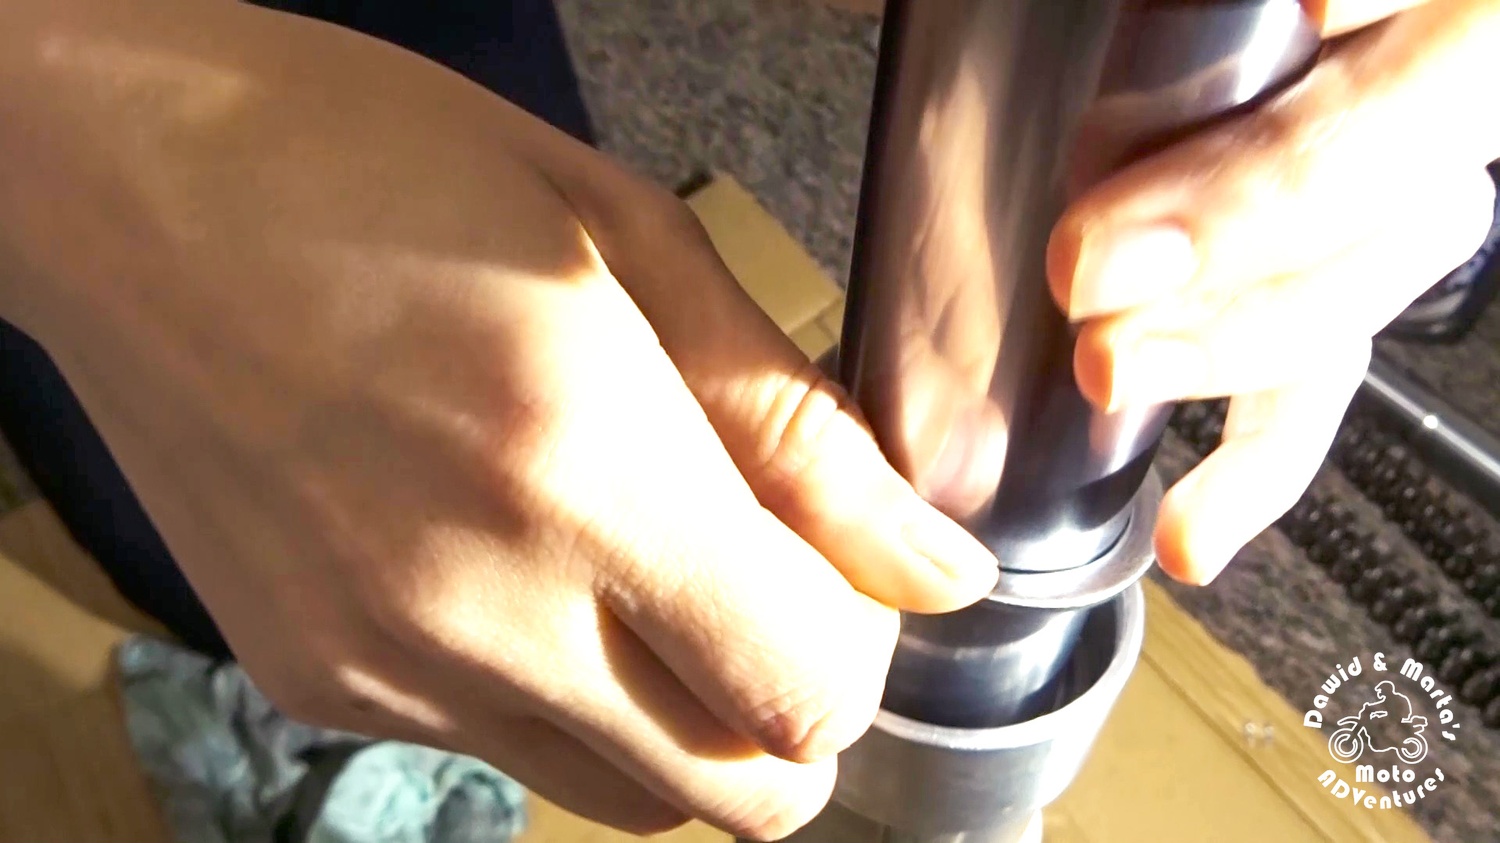
After lubing - we slide the bushing onto the tube up to the fork slider.
Then we put the old bushing on the fork tube. After that we lift the fork tube and wrap it in tape to build thick layer of it. The layer should be so thick that the bushing can't be moved over the tape. Then we just add a little more to block the bushing in place.
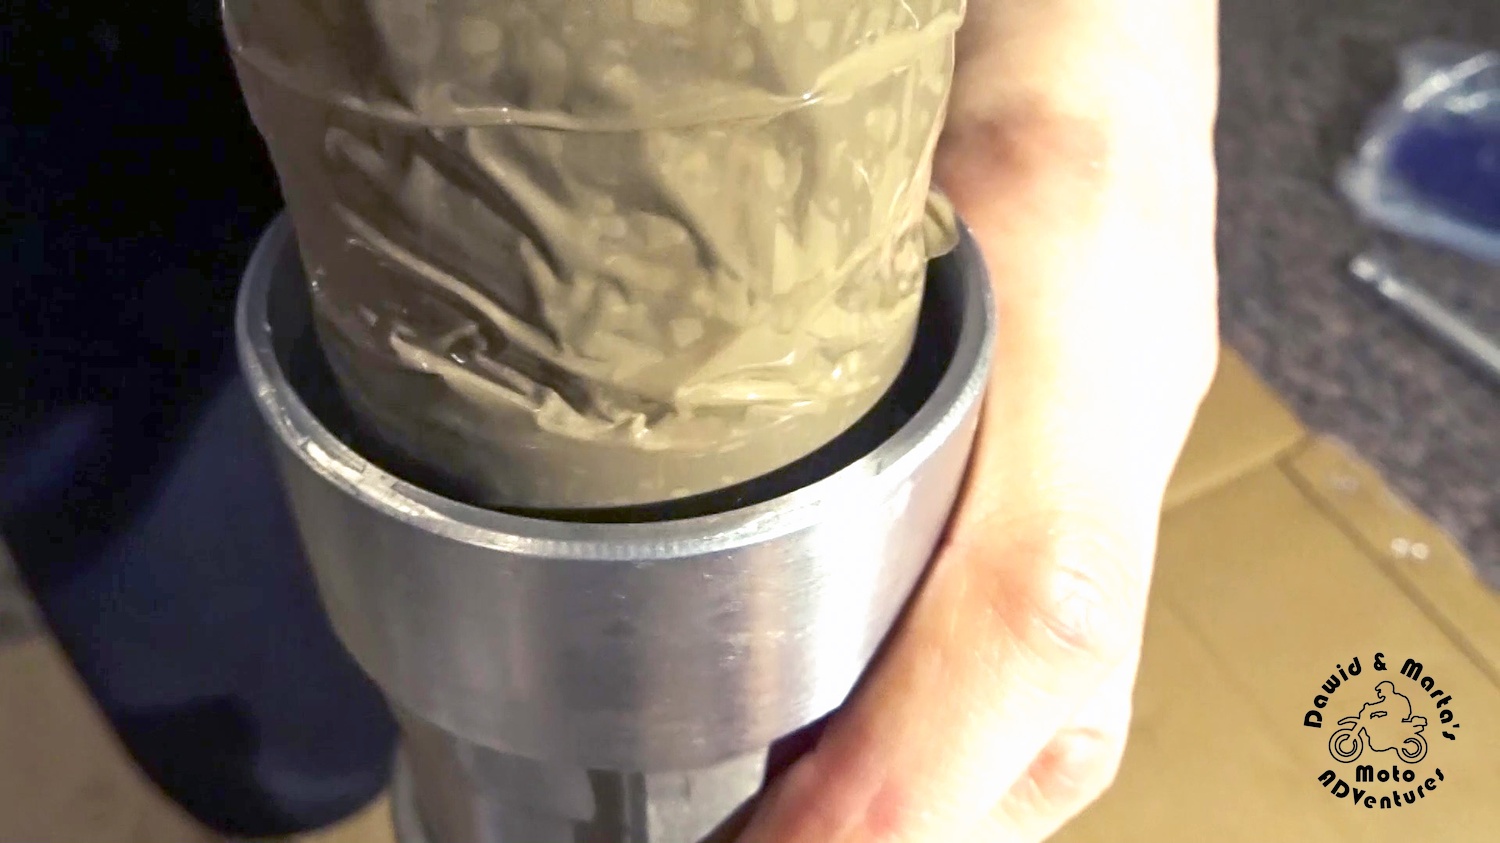
Voila! Now we can use the fork tube as a sliding hammer and press in the new bushing.
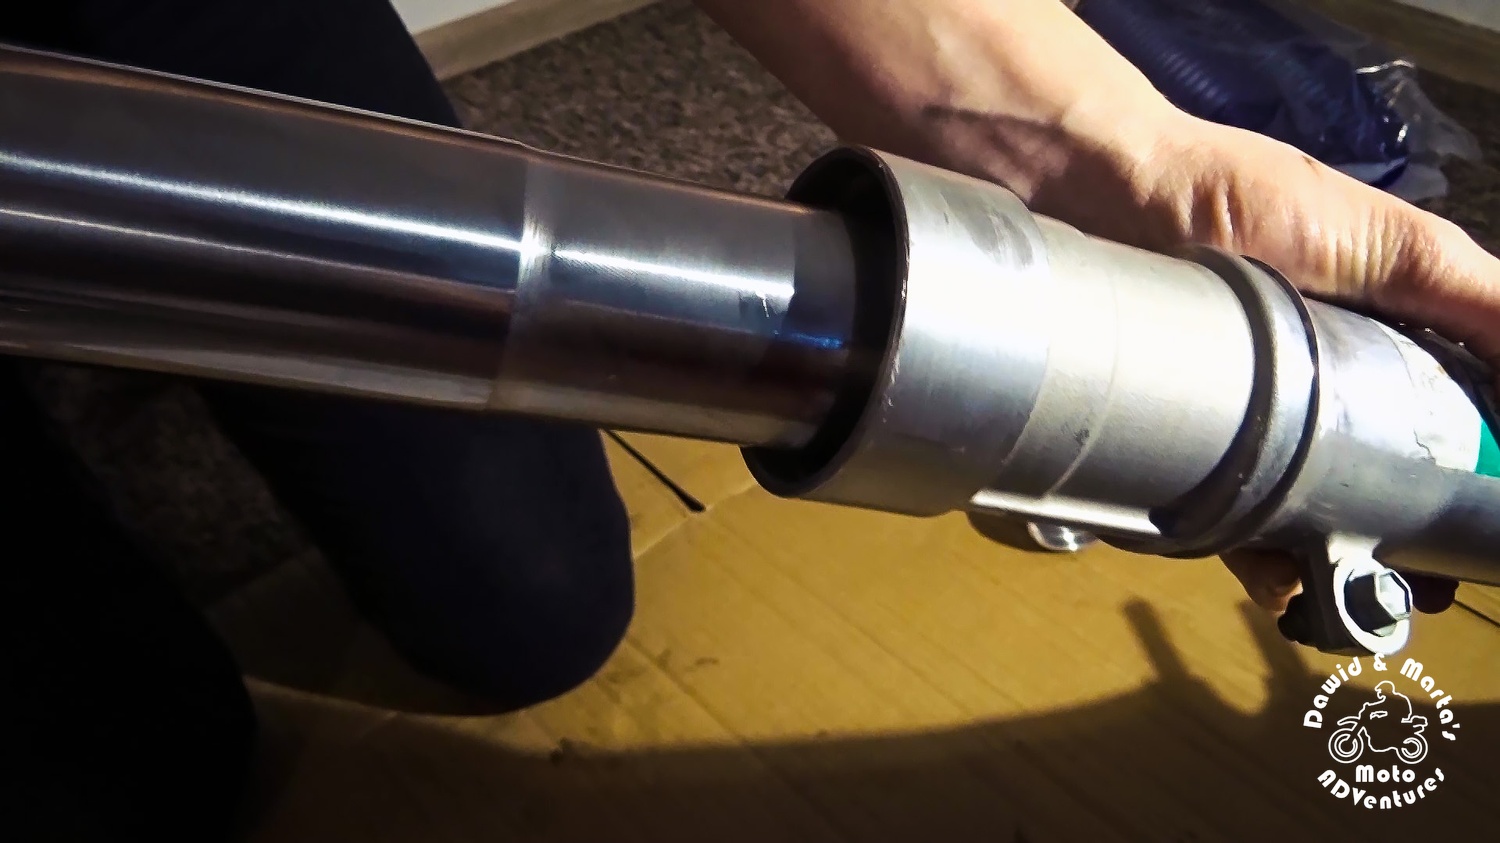
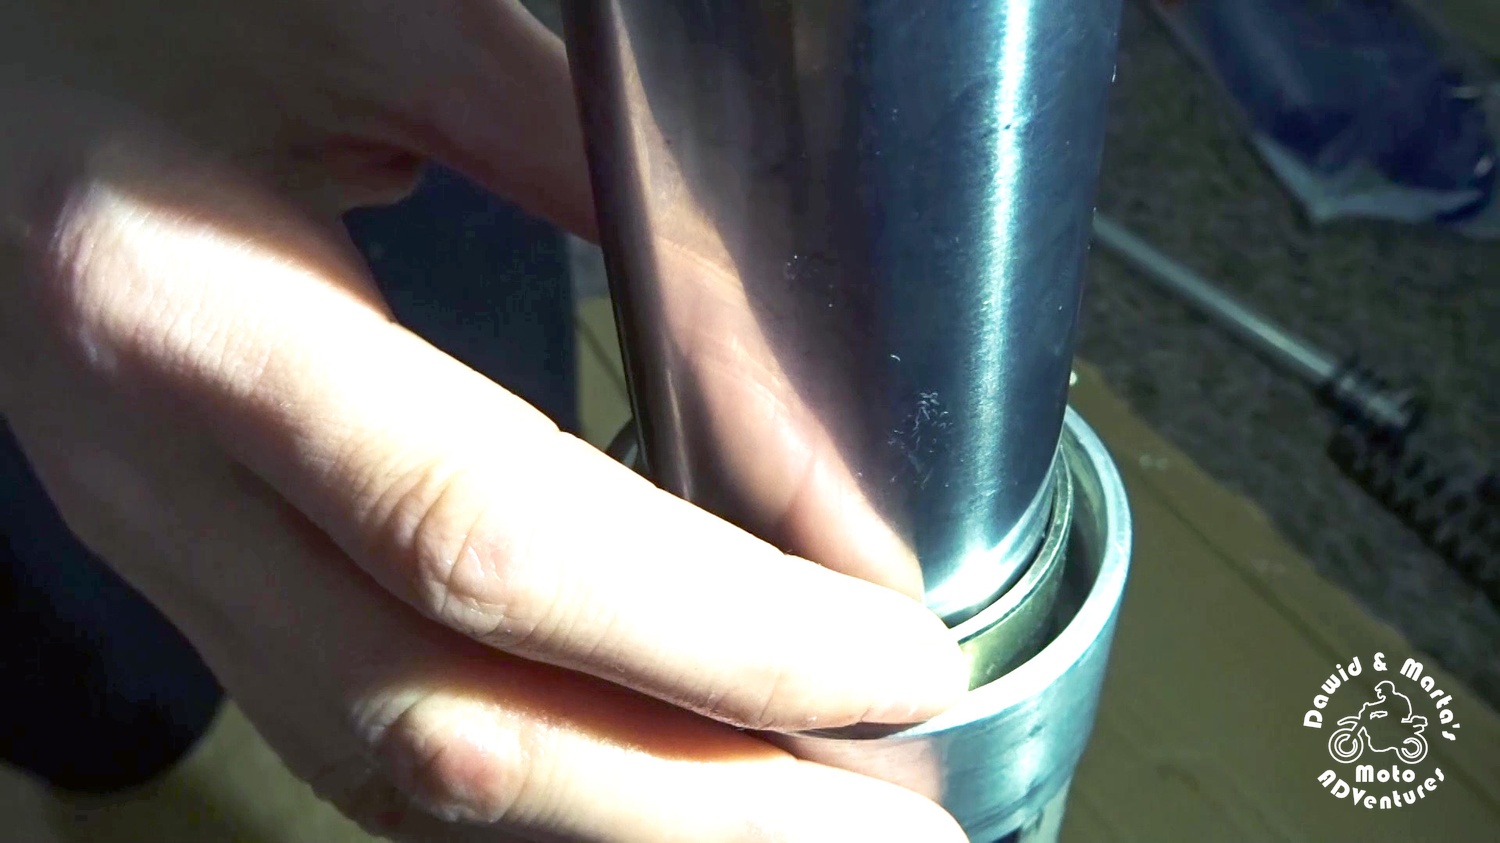
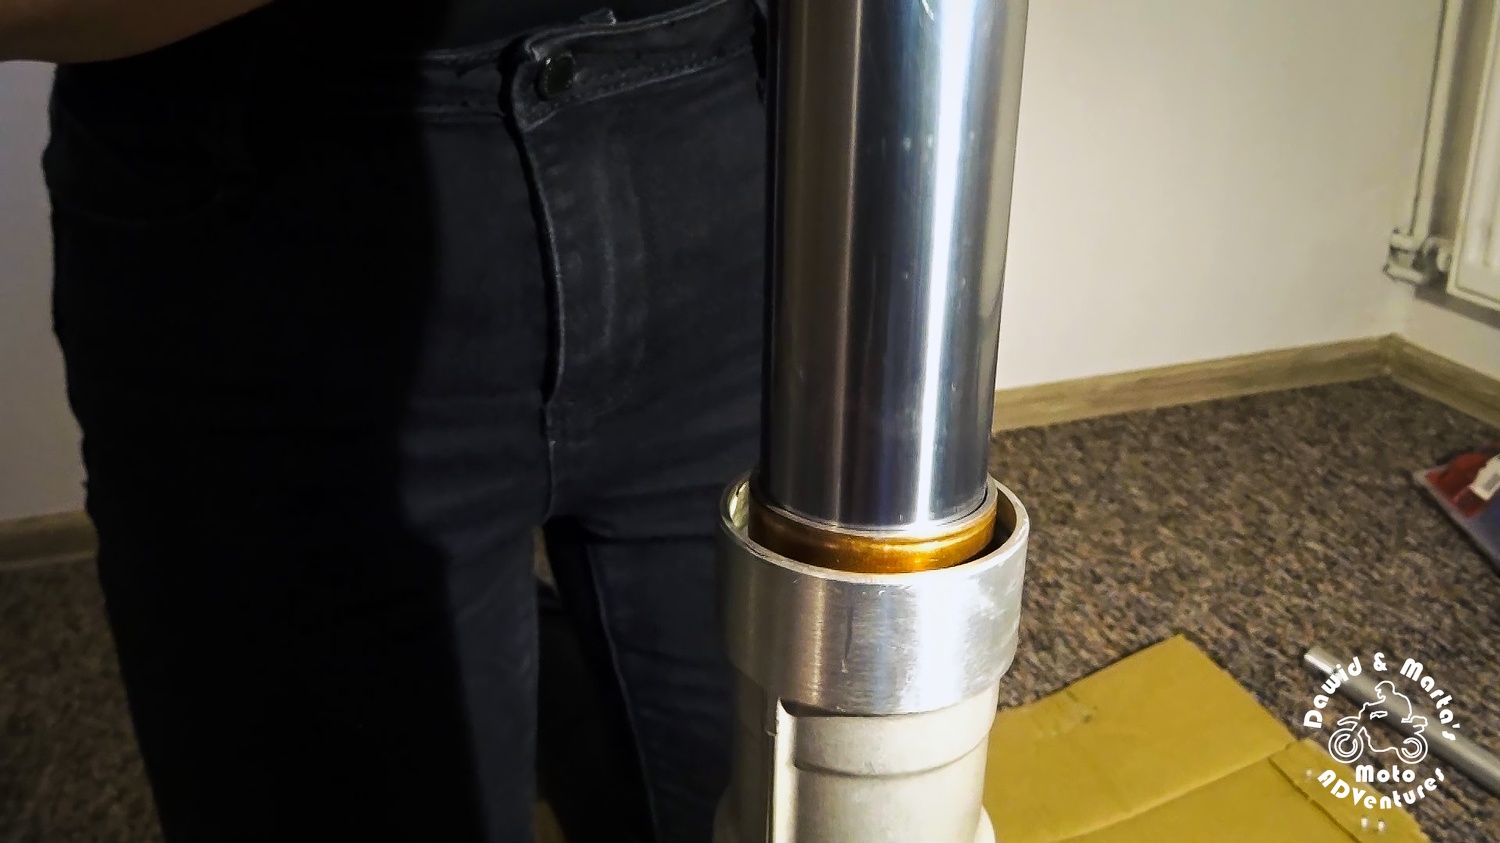
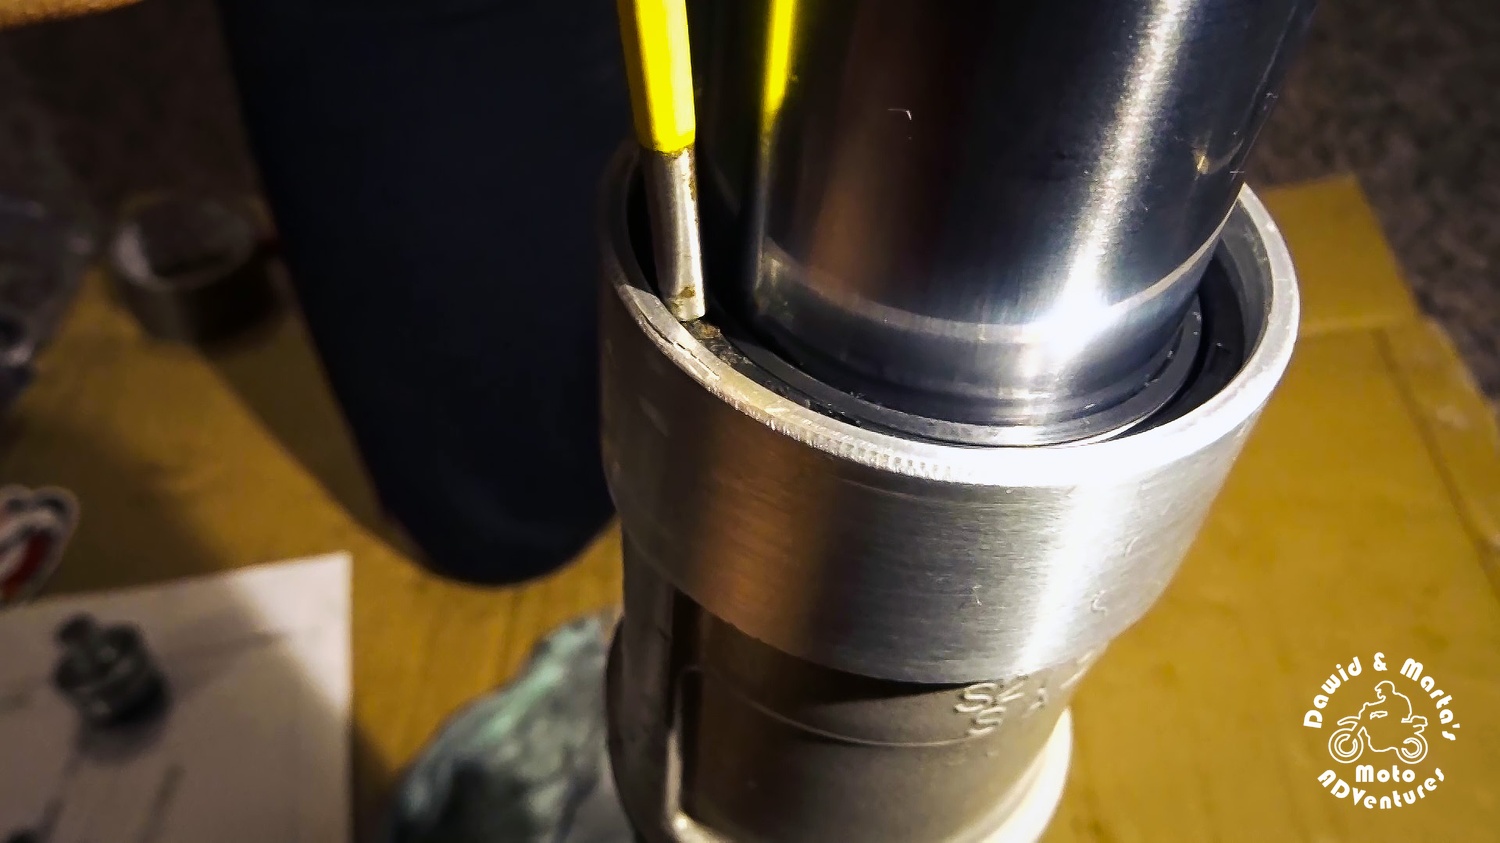
The properly pressed in bushing should look like this:
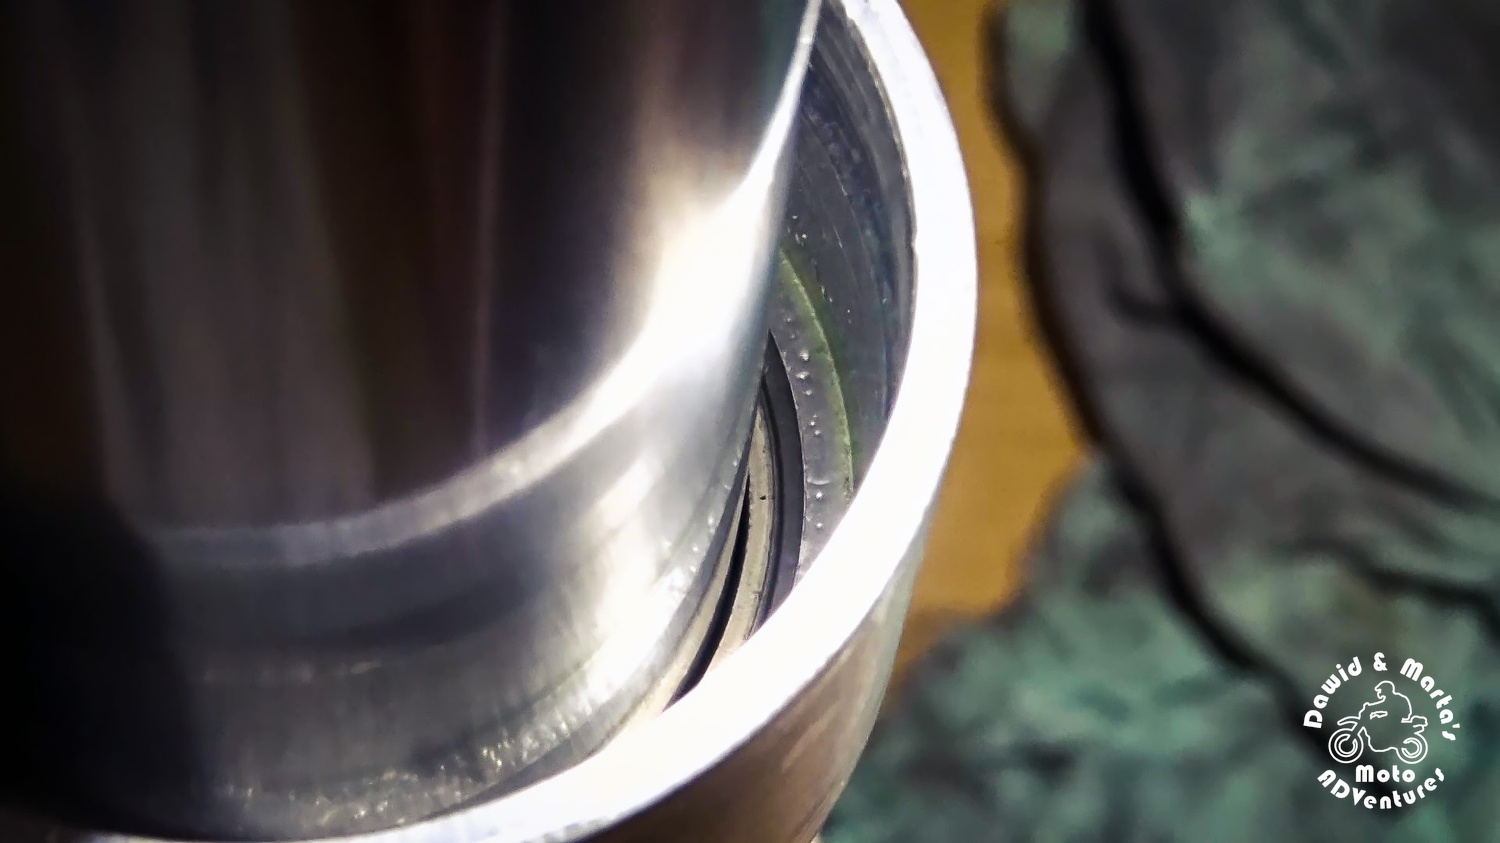
The bushing edge should be below the inner edge of the fork slider.
Next we put in the washer.
Then we mount the oil seal back.
Here it's important to get the seal orientation right - otherwise the oil will leak.
There is only one sealing lip at the top of the seal, whereas at the bottom there are two sealing lips.
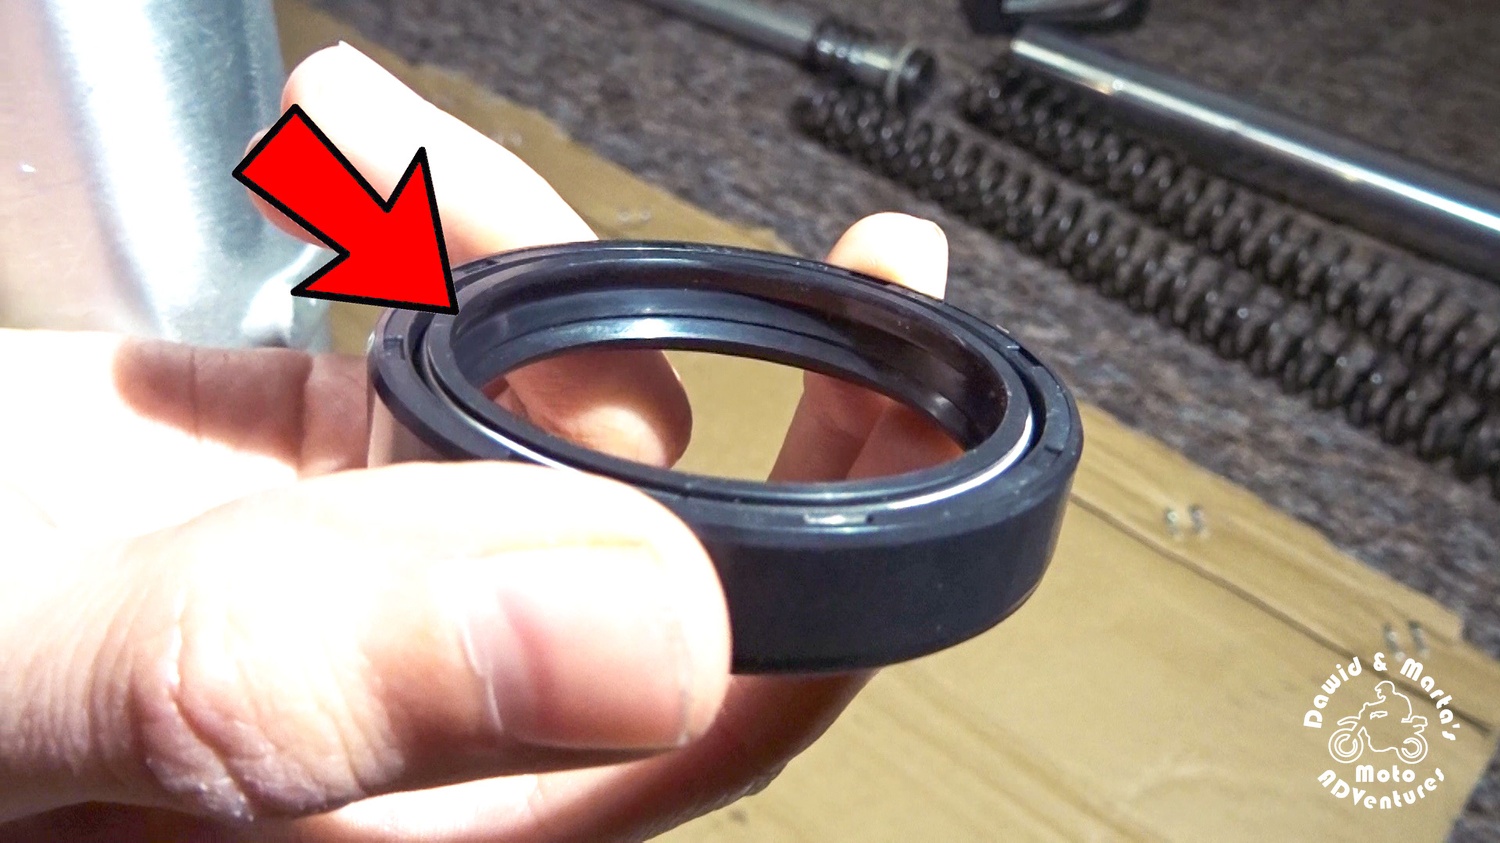
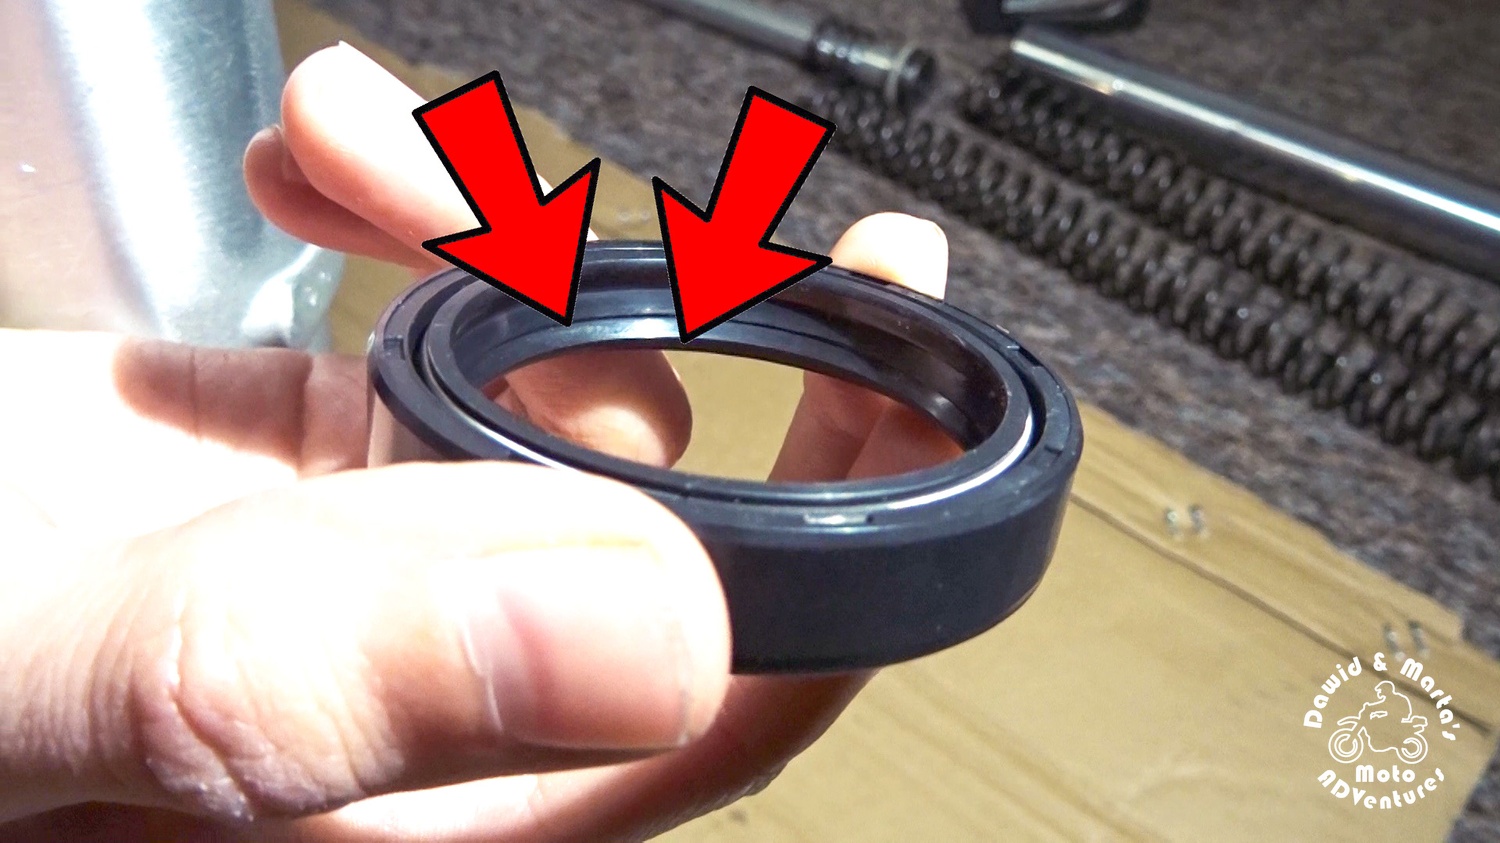
So we should install it this way:
Before putting the seal, though, lube it like we did for the bushing.
The oil seal also has to be pressed in, but here we can also use the method with old bushing and tape. Just use the old seal instead of the old bushing.
In the end we can also use a punch tool. Though, be gentle ;)
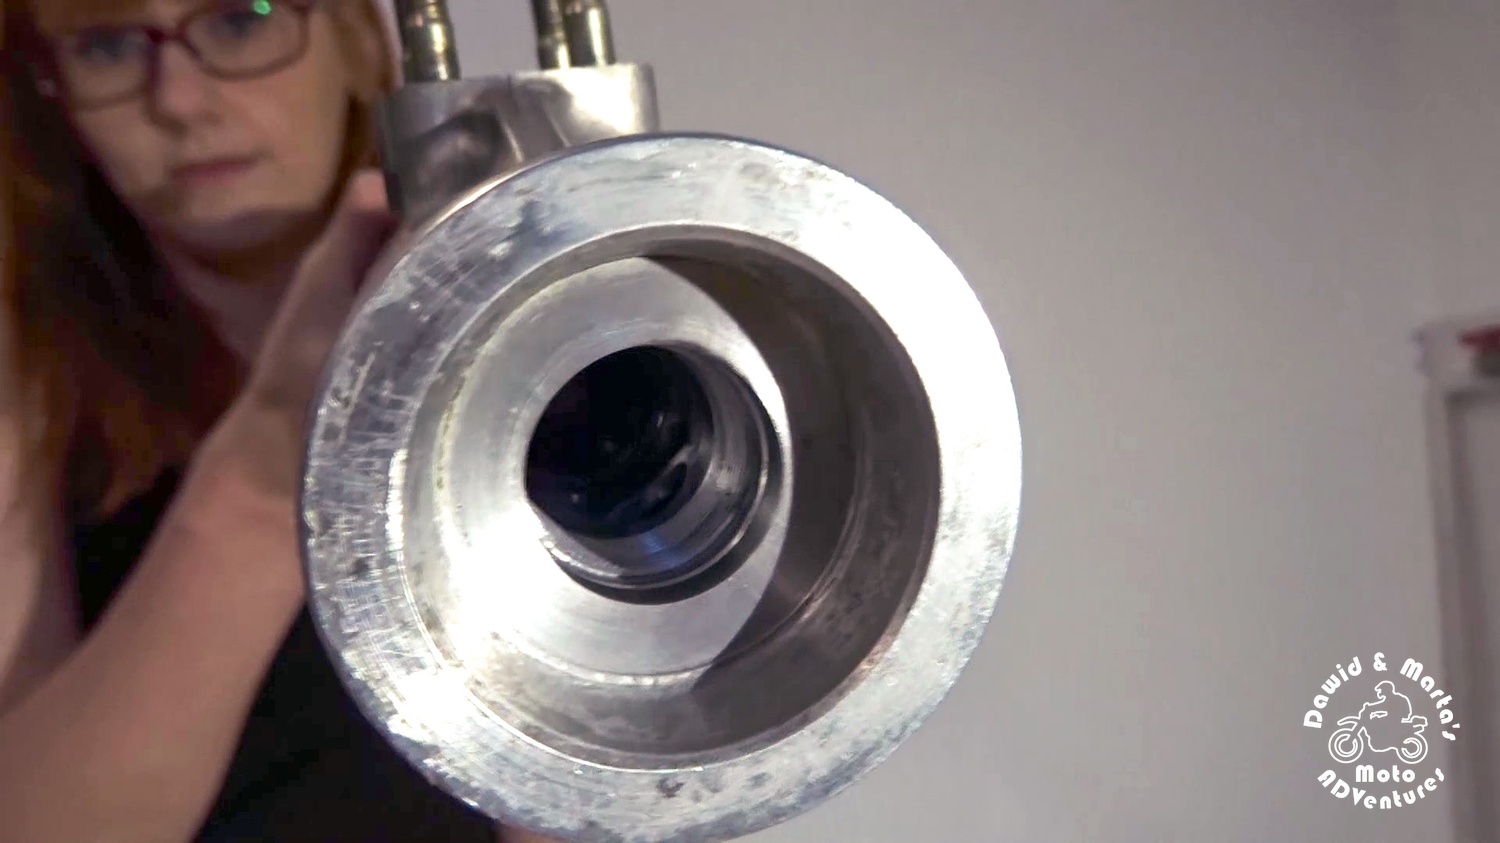
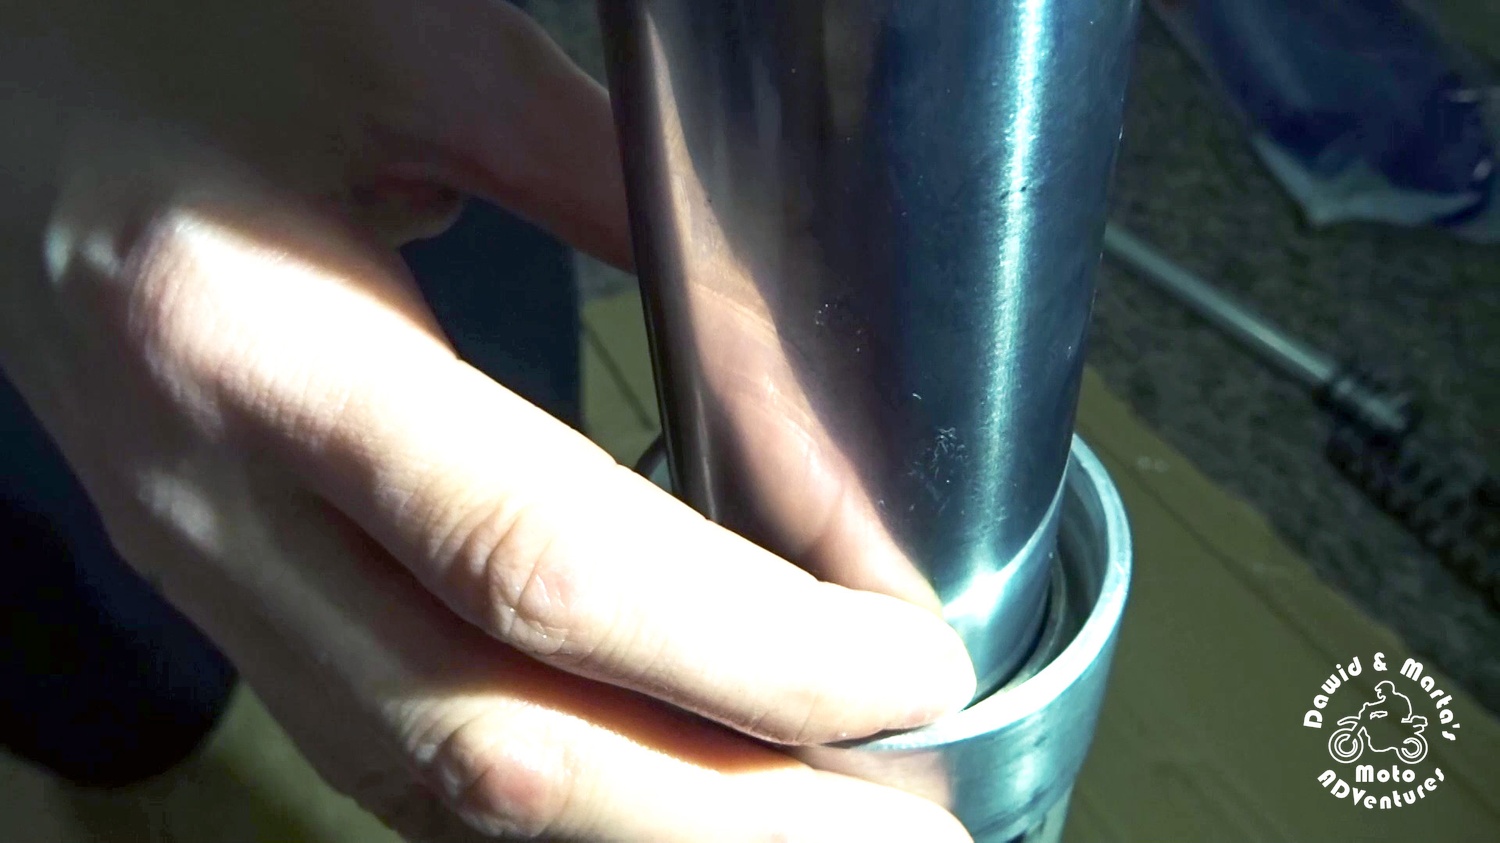
The properly pressed in oil seal looks like this:
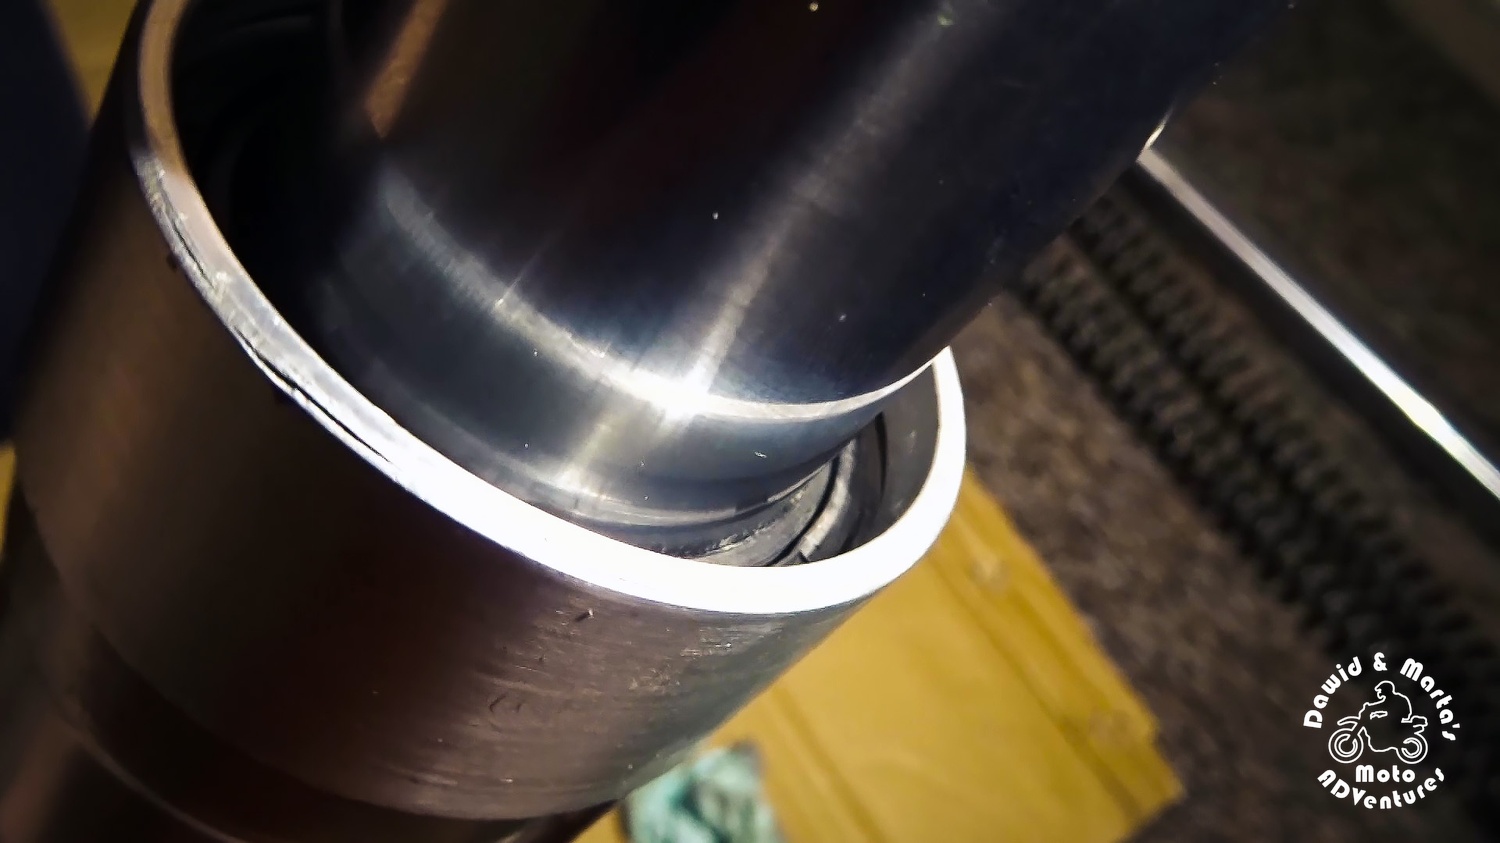
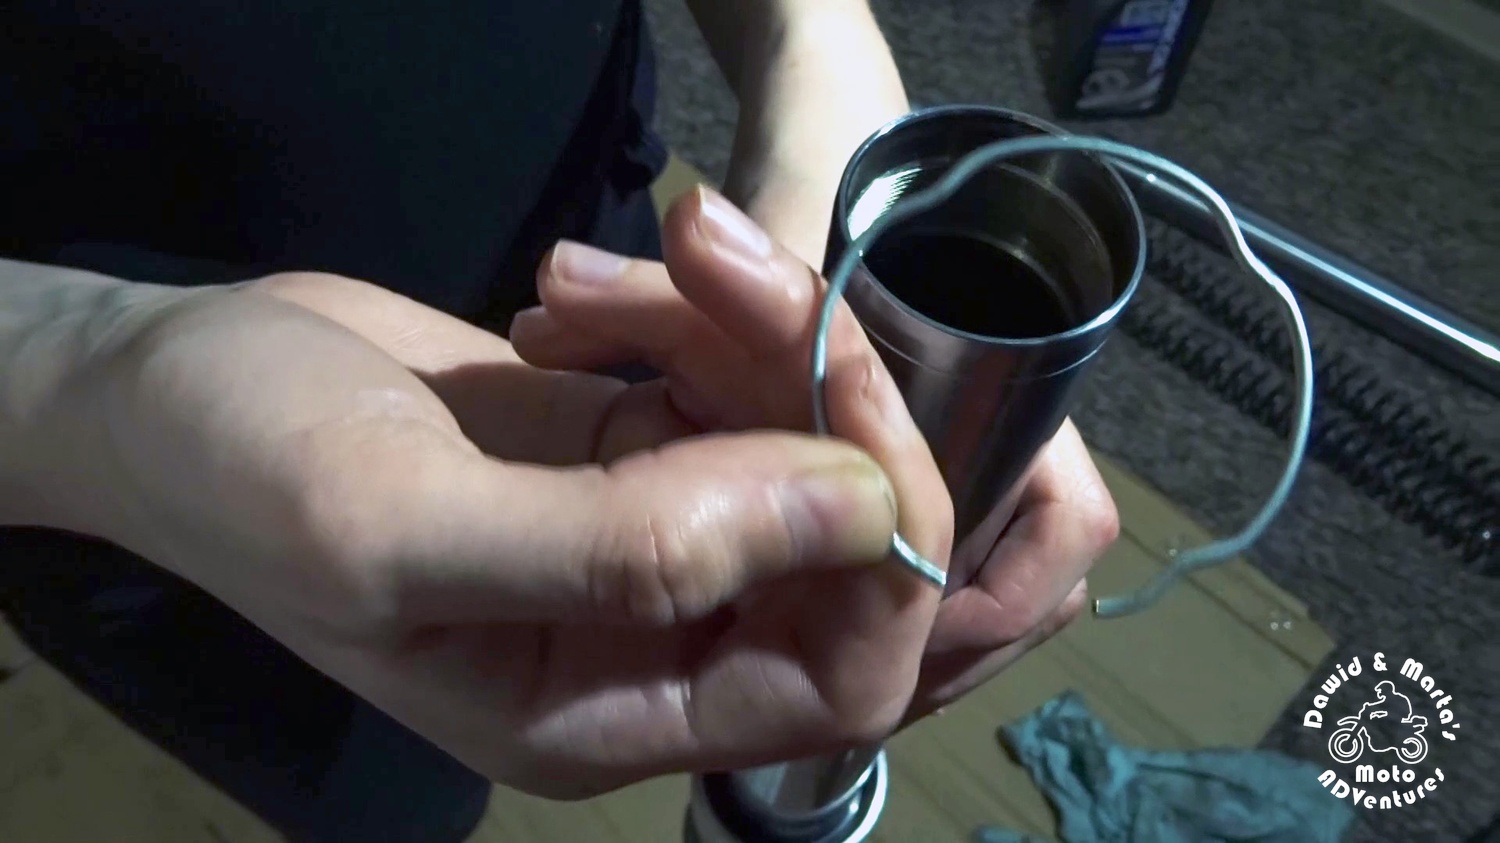
If you look closer you will notice a groove above the seal - it's a groove for the securing ring, blocking the bushing and seal. So we have to install it in the next step:
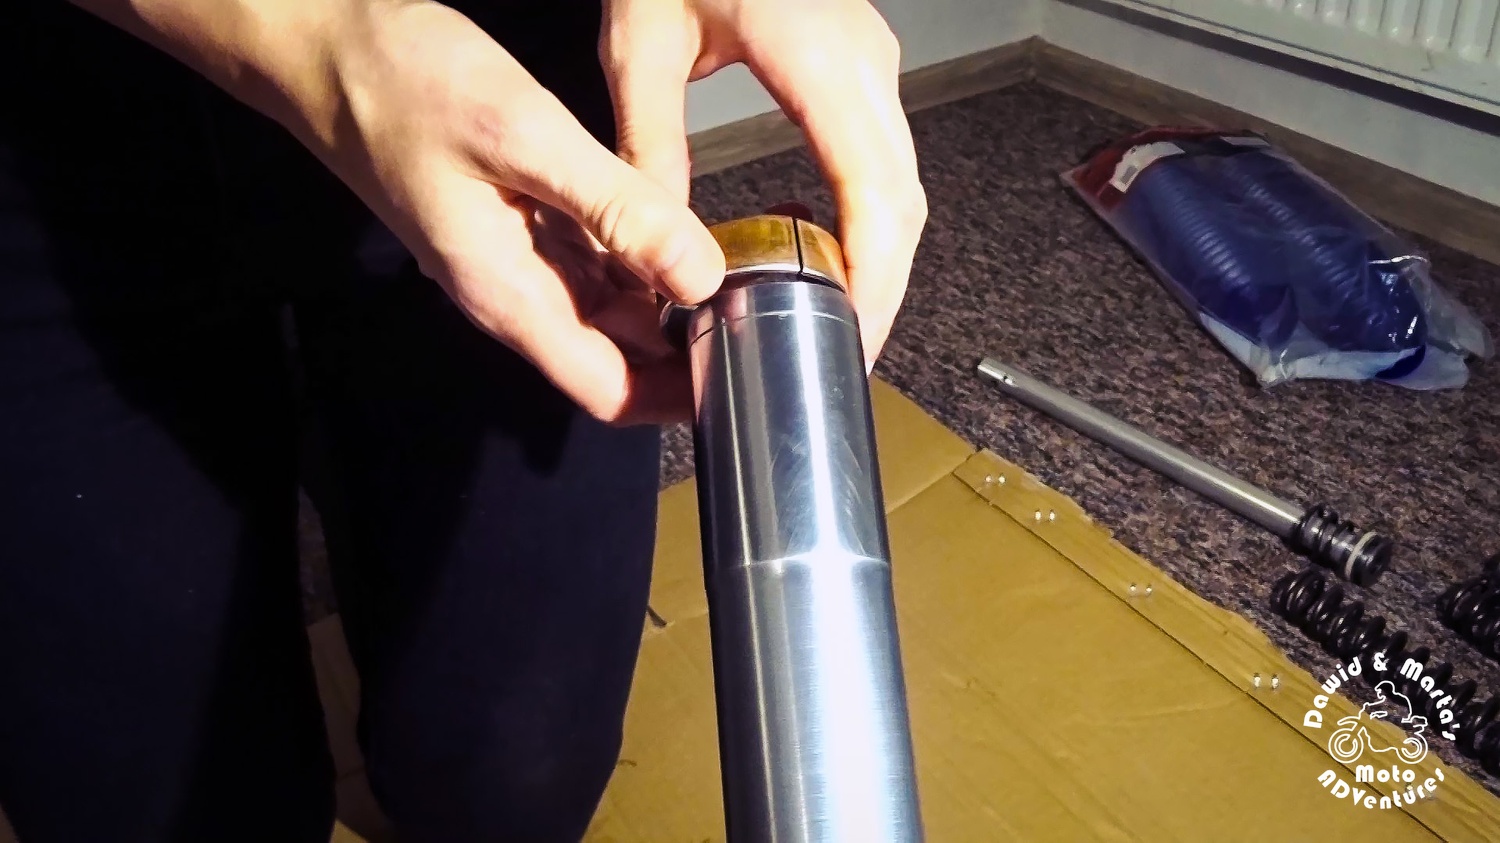
Finally we can put on the dust seal. Pressing it in with a hand should suffice.

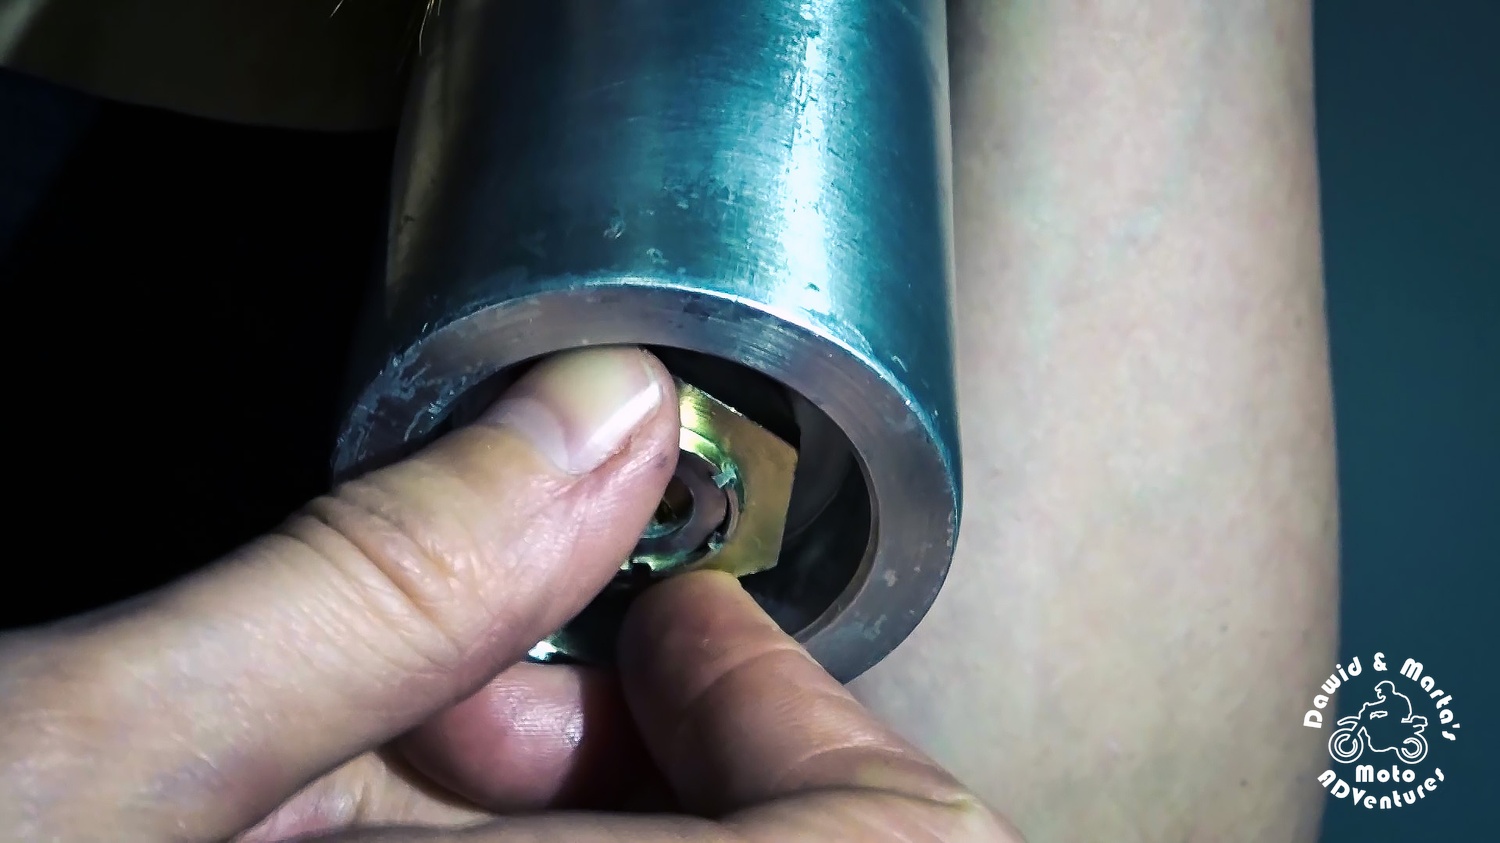
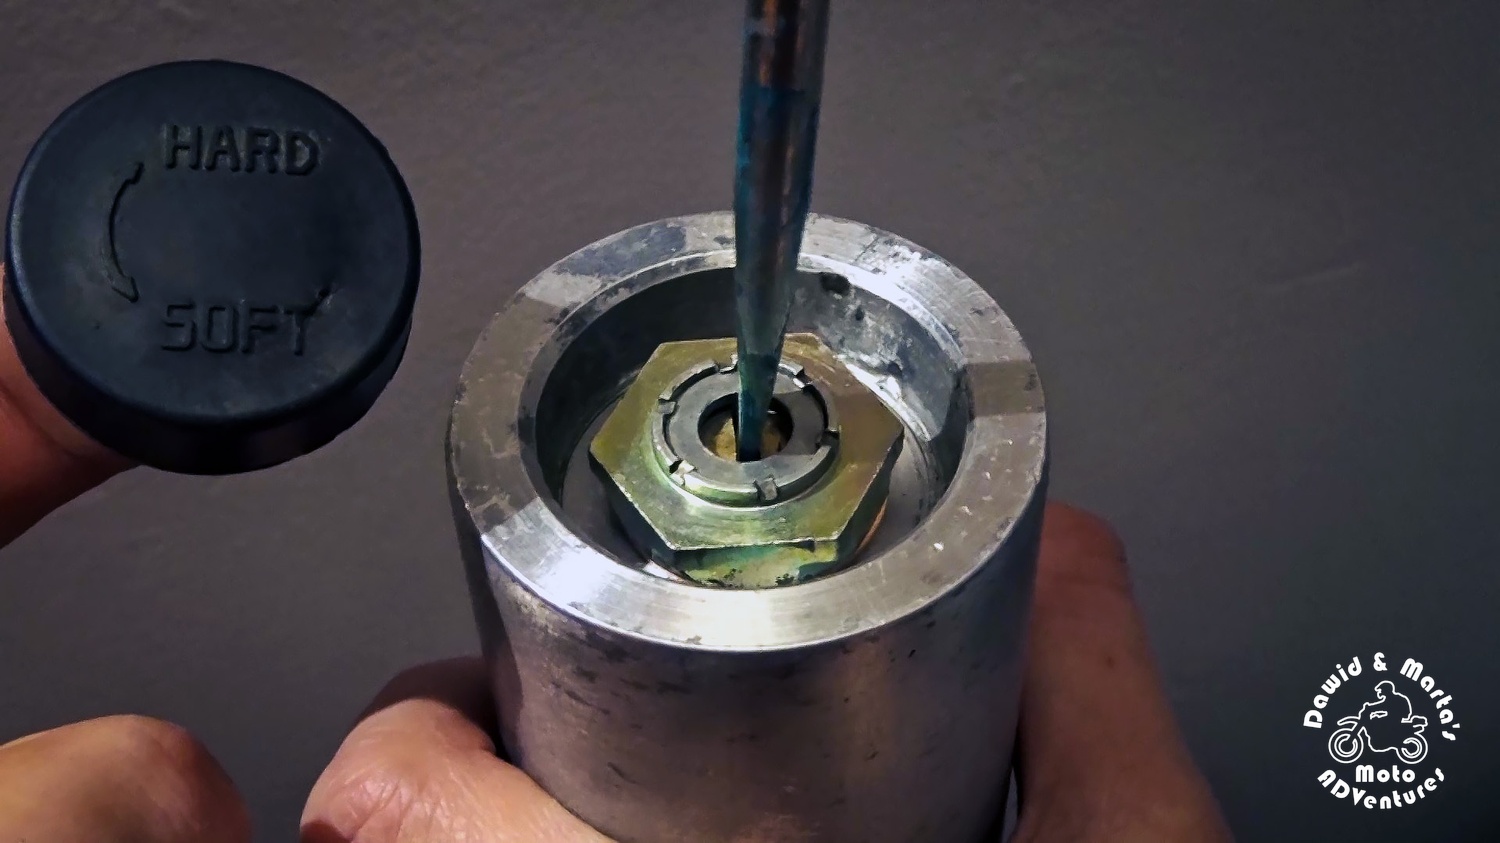
Now we can move to dumping force adjuster. We put on the copper washer on it and we just screw it in by hand to the fork tube. The only problem is that dumping rod inside the fork tube may also spin. So we have to block it somehow. There are special tools for this, but I just used a very (not so) special piece of wood.
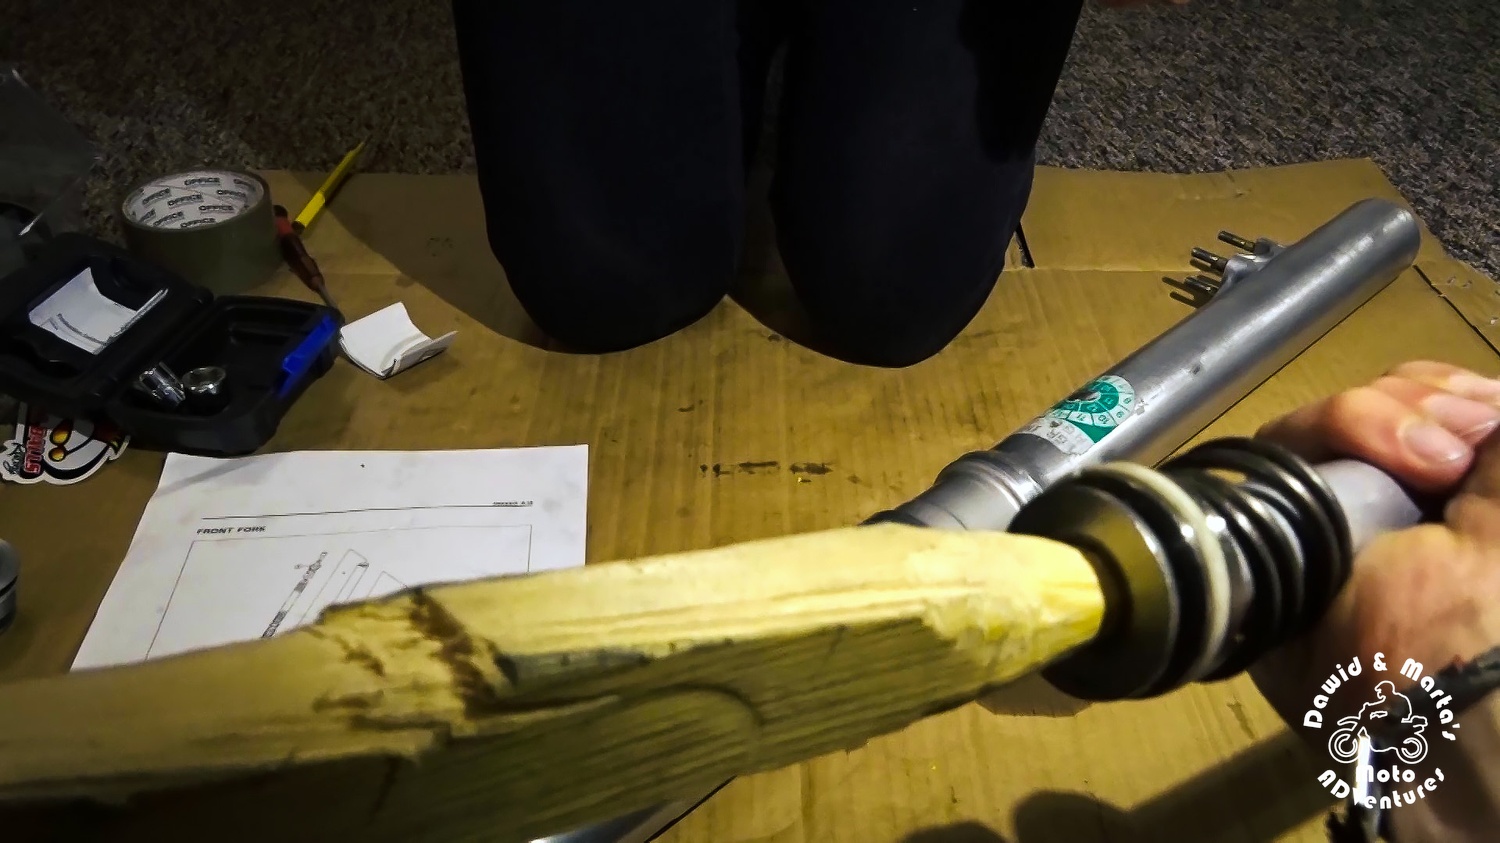
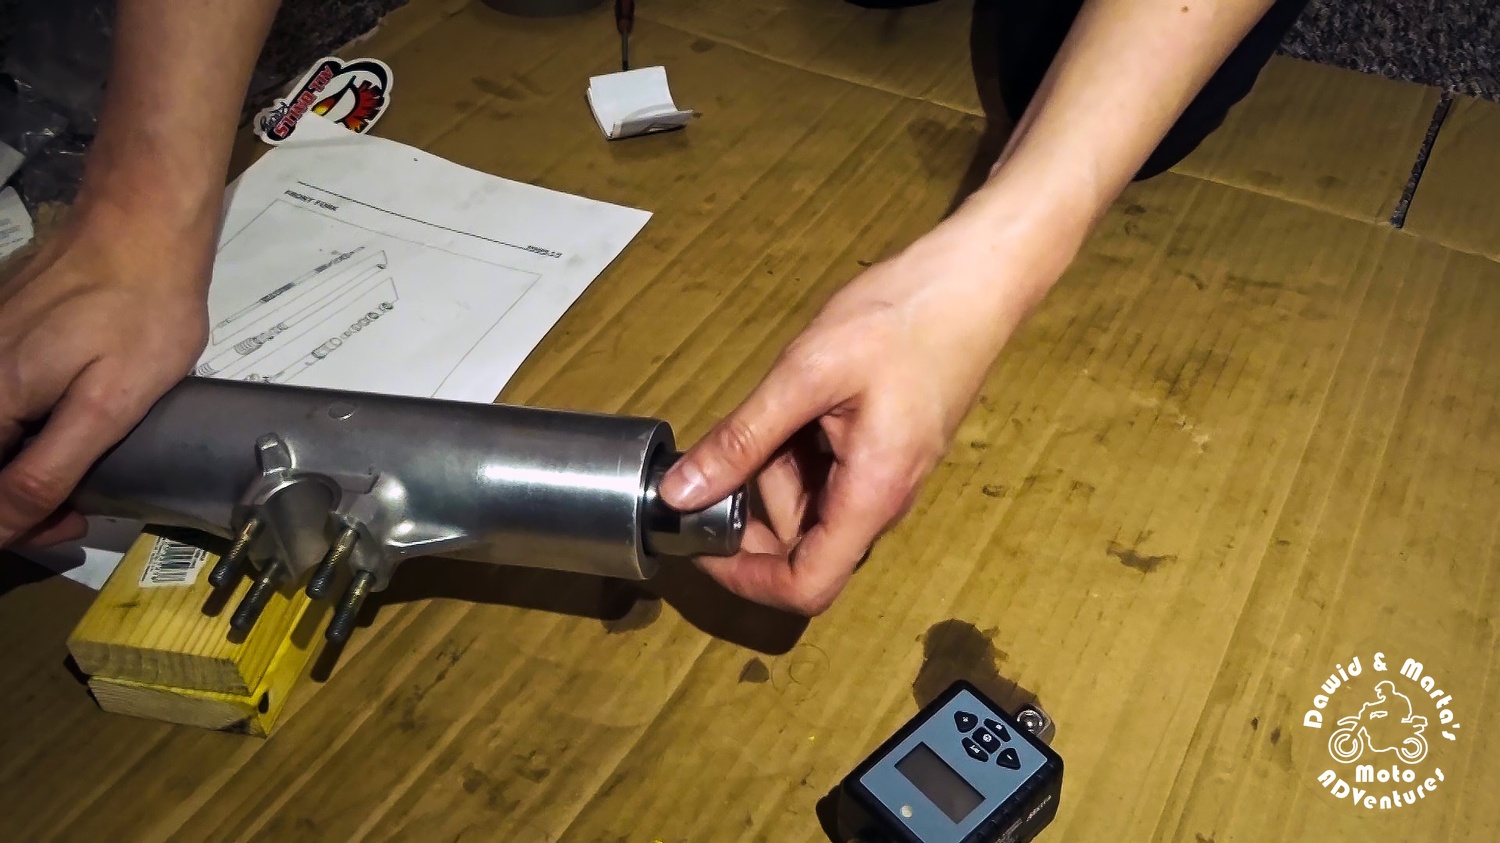
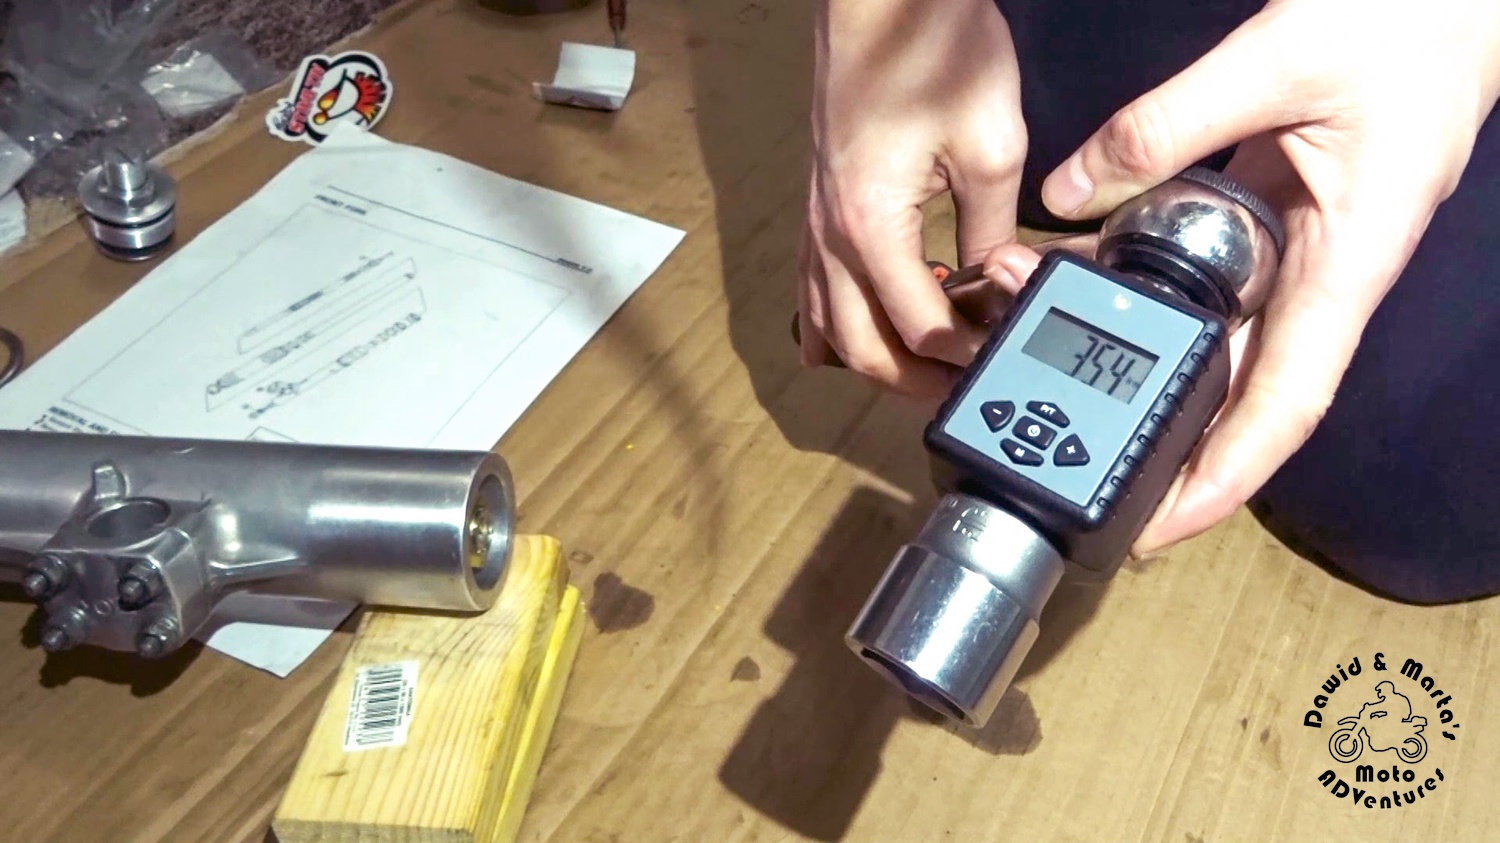
I screwed in the adjuster without any problem. In the end we torque the adjuster with 30 to 40 Nm torque.
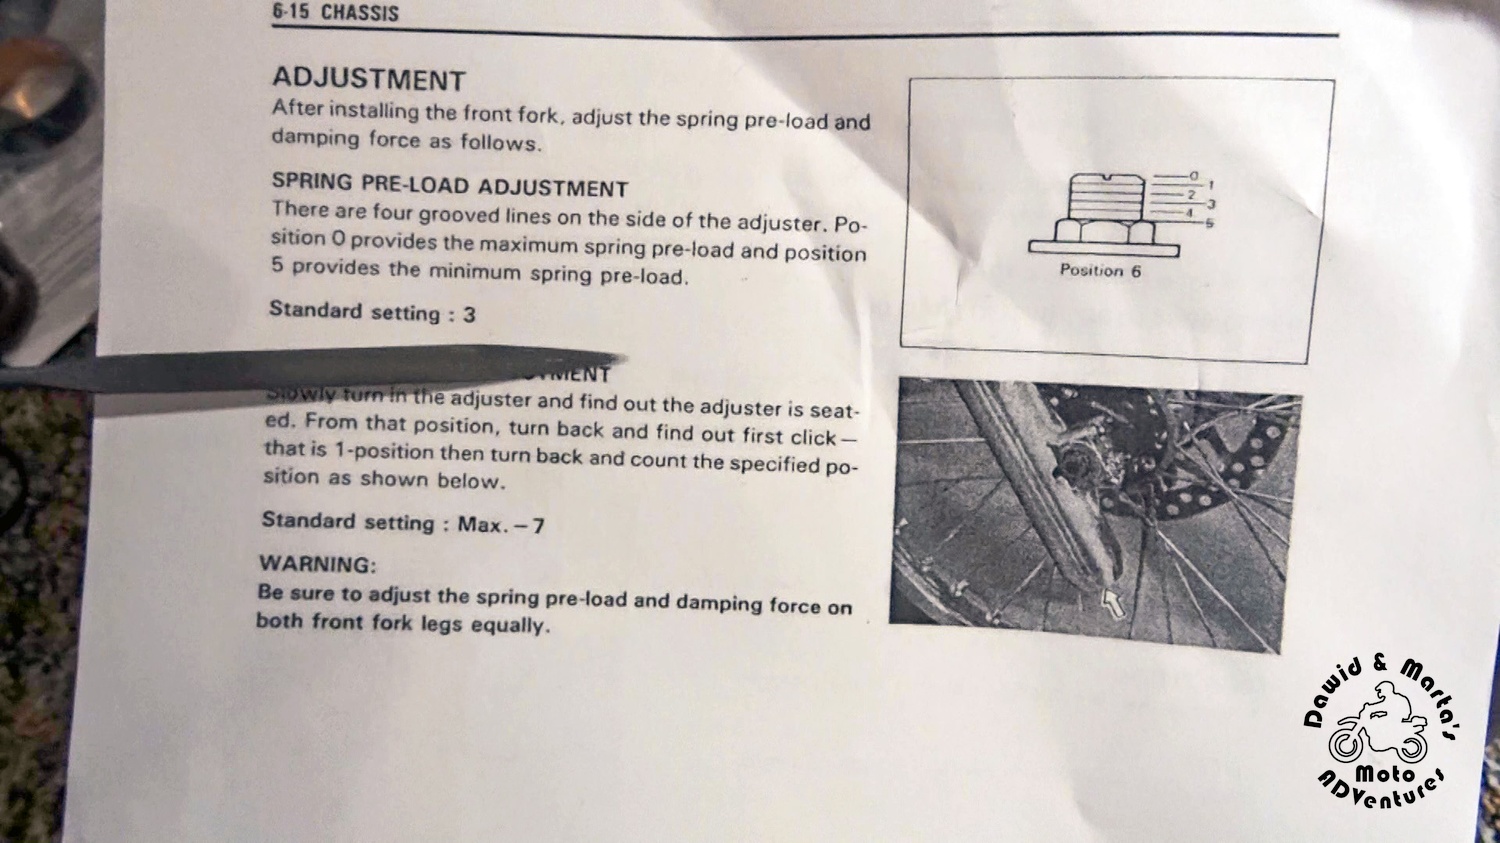
Adjusting the front fork dumping force
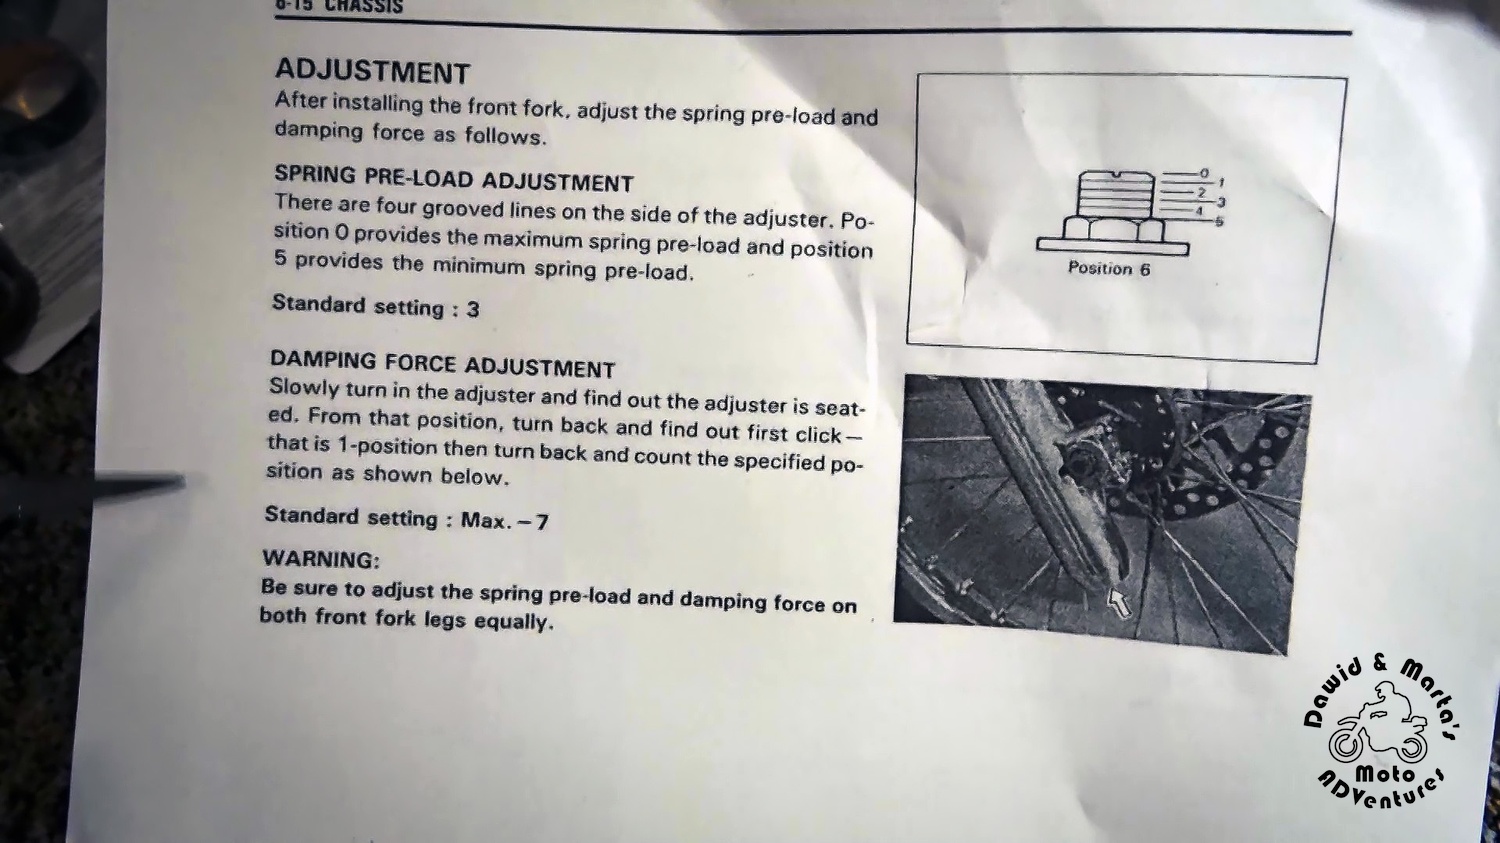
Next we can adjust the dumping force to standard setting (exactly between the hardest and softest setting).
According to the service manual first we turn the adjuster up to the hardest setting and then we go back 7 clicks of the adjuster screw.
Finally we cover the adjuster screw with the rubber cap.
Changing the front fork oil
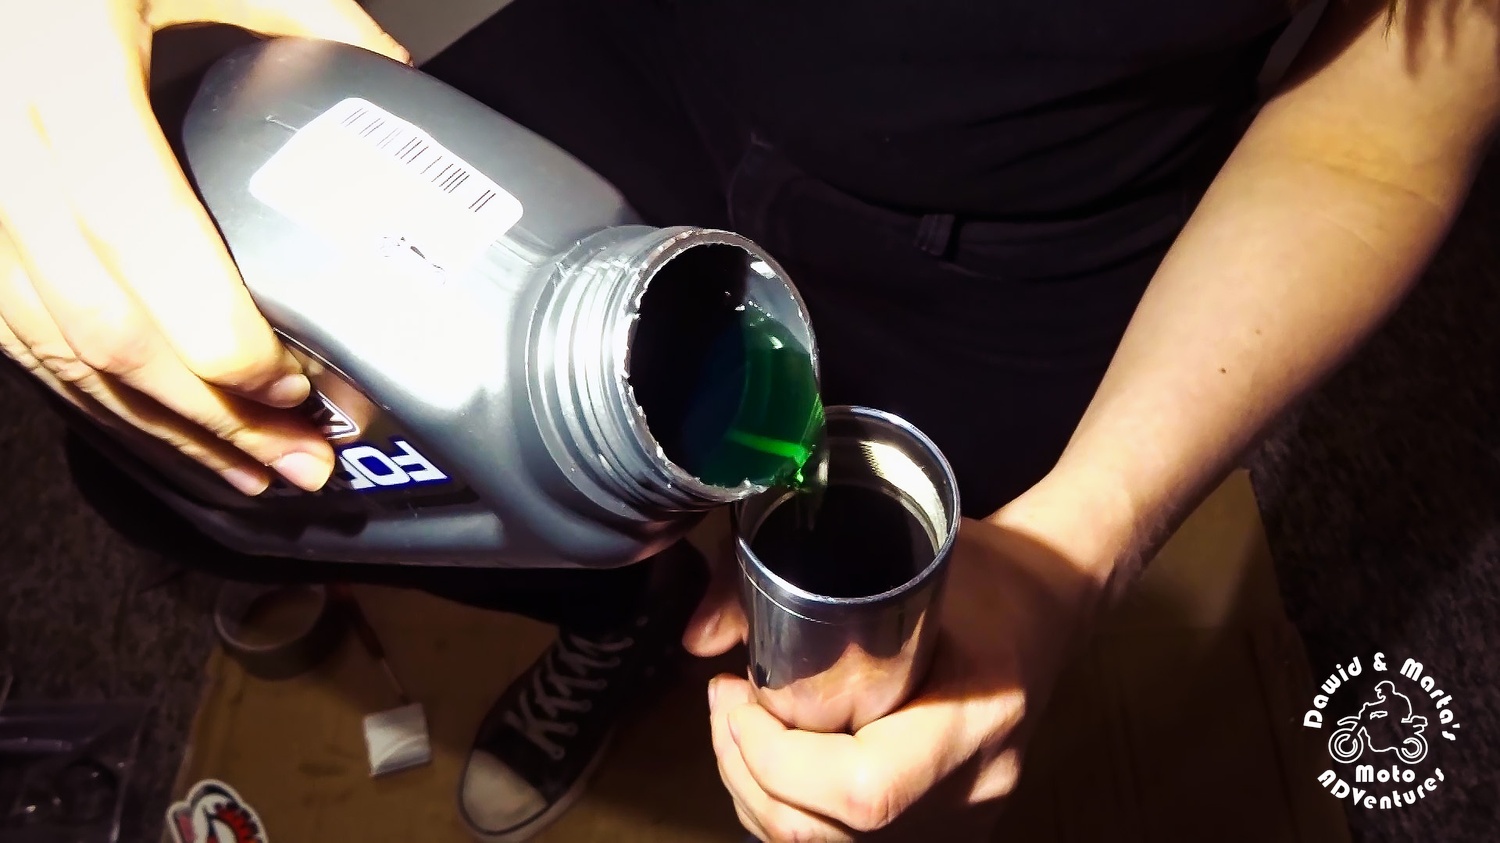
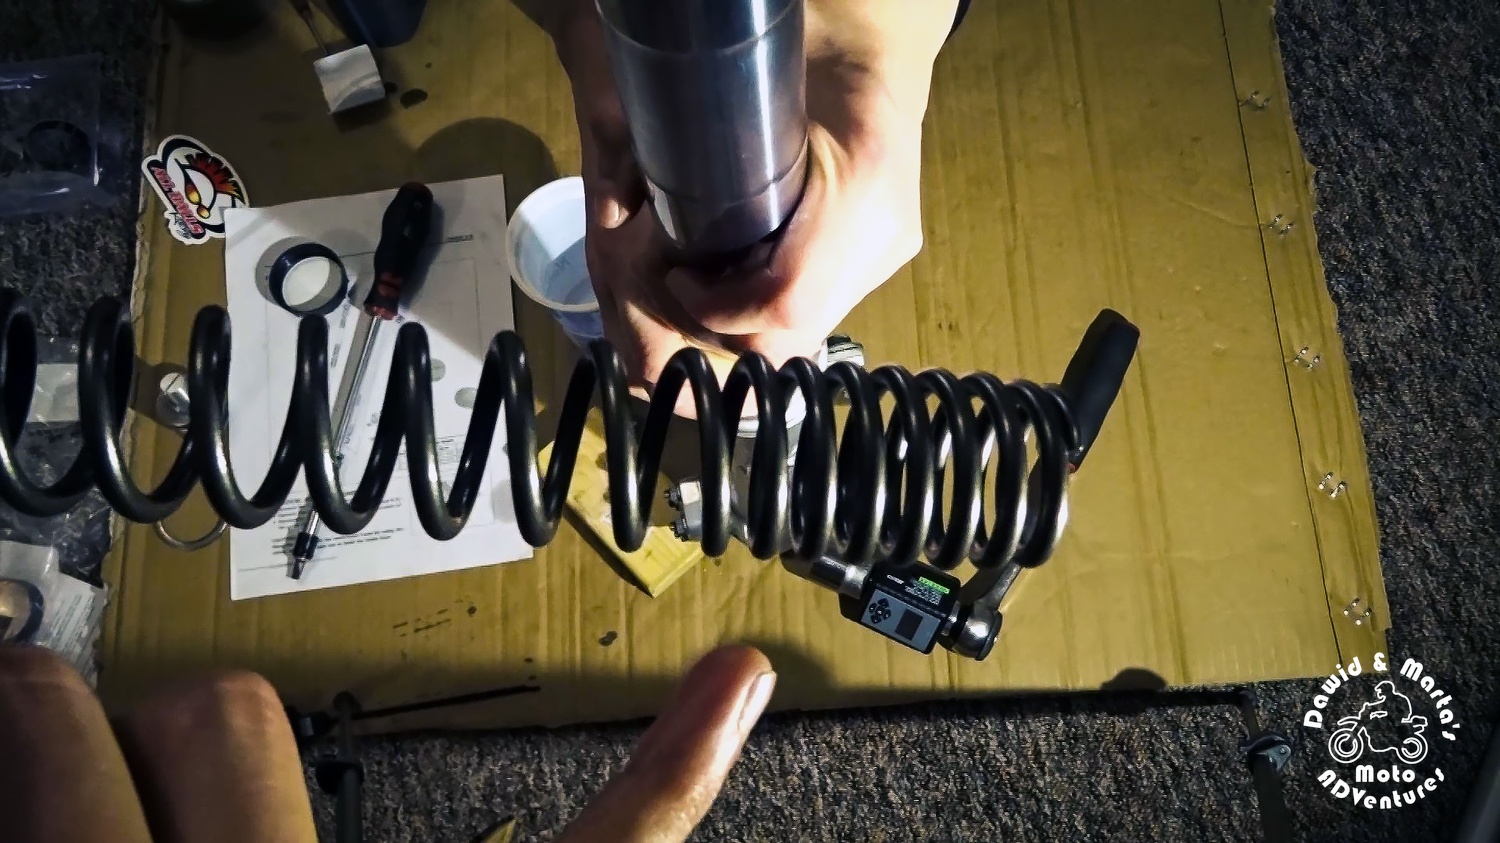
Now we can fill in the fork tube with fresh oil.
Remember that before this, the spring has to be take out and the fork tube must be fully inserted into the fork slider.
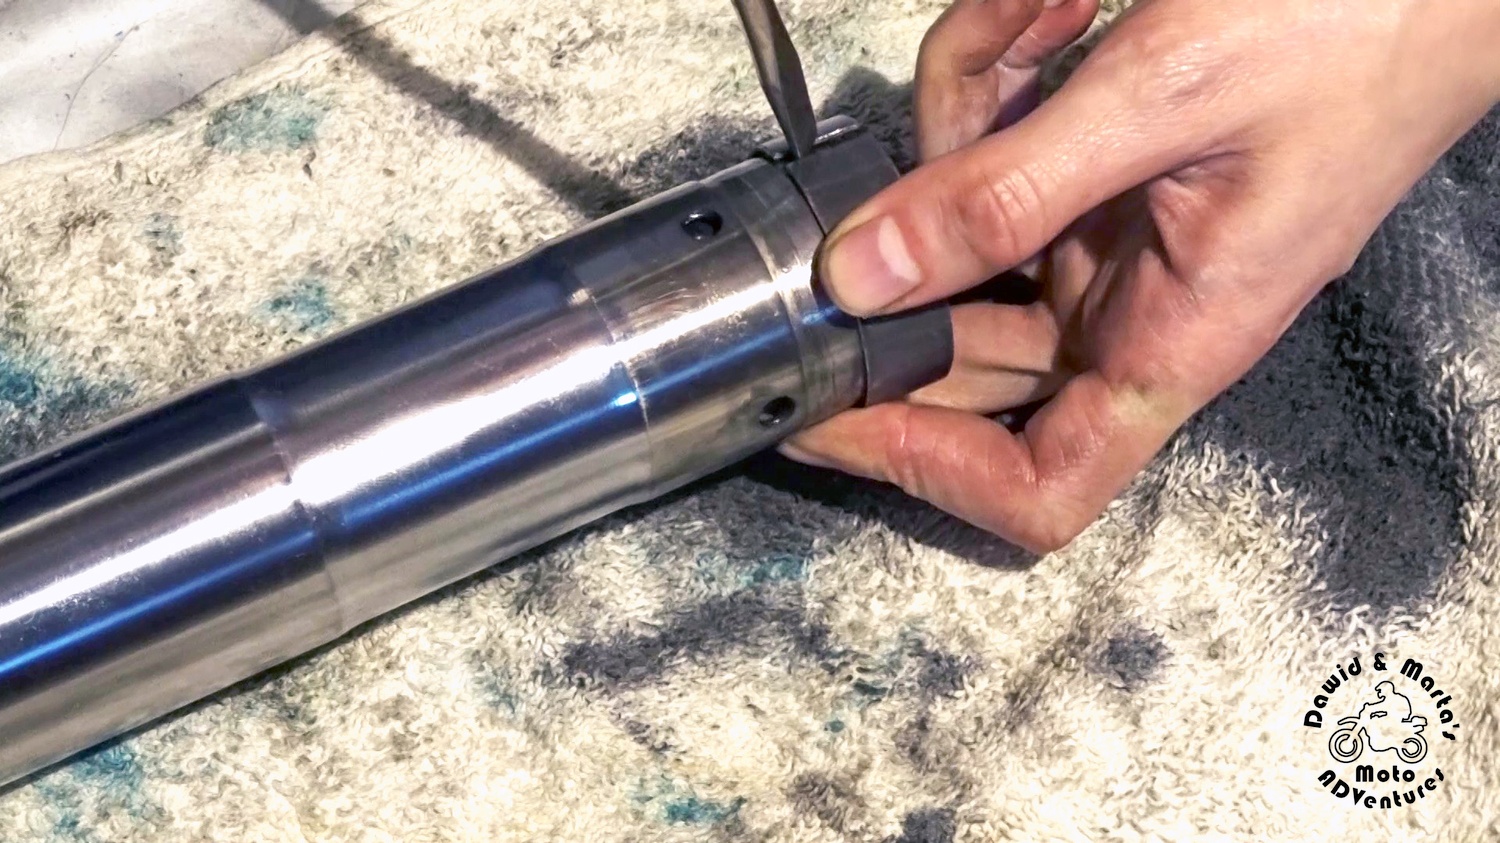
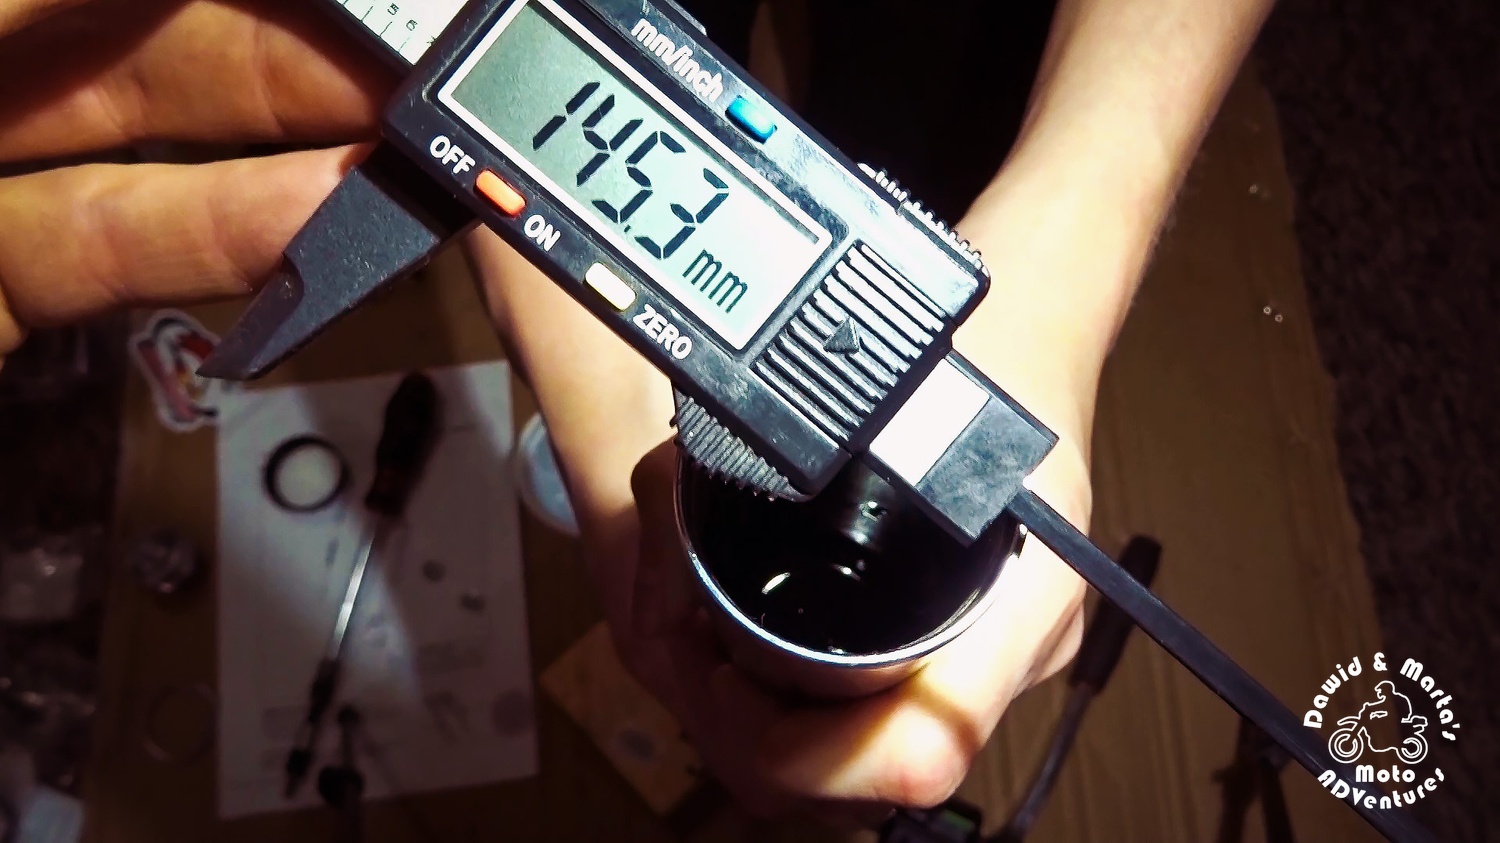
We pour the oil until there will be 145mm long air gap. I used caliper to measure this.
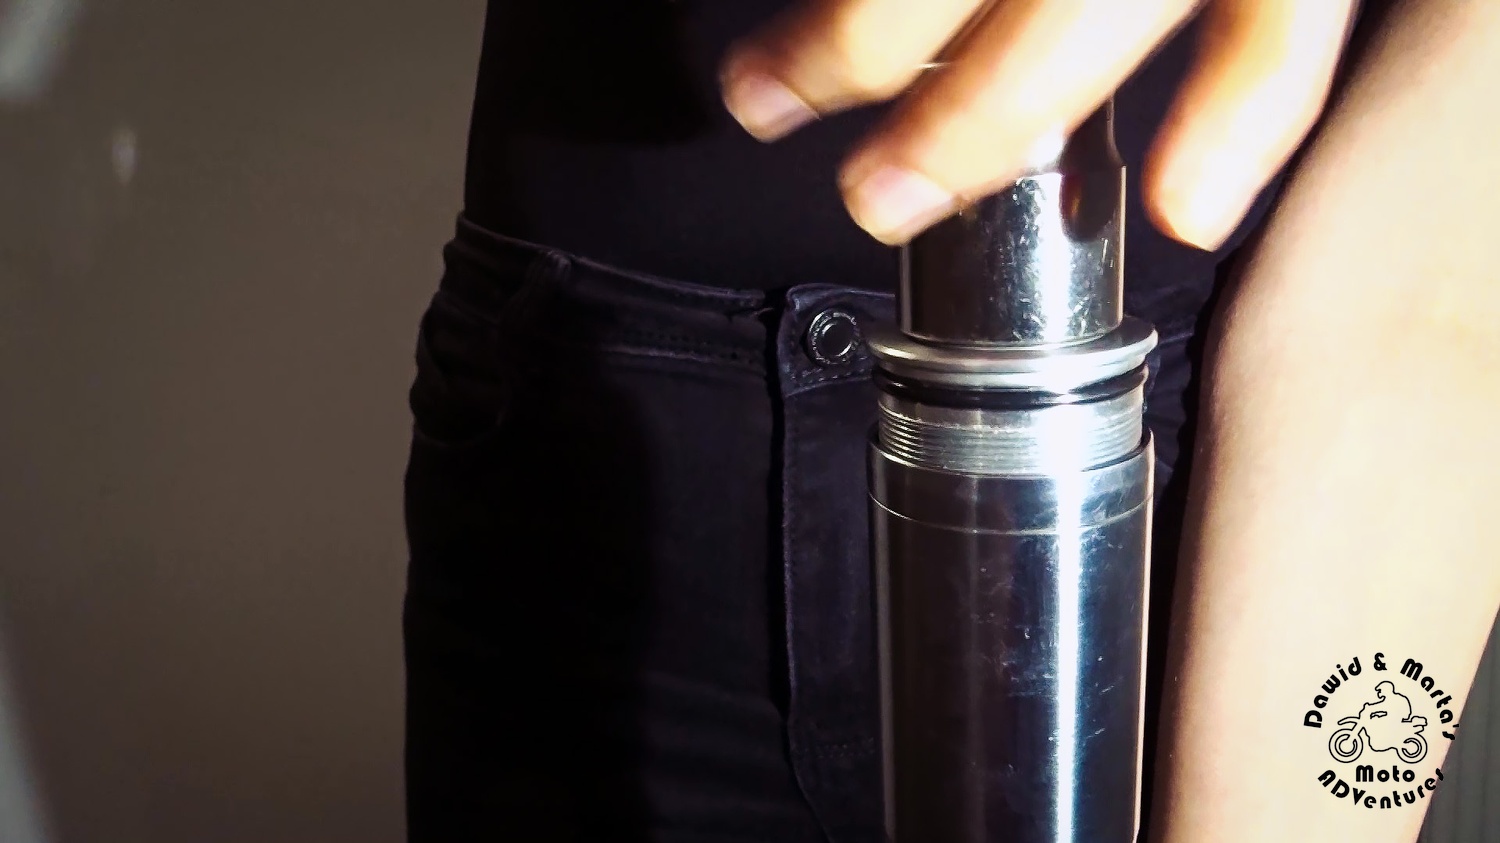
Now we can insert back the for tube. The close-pitch end of the spring should be positioned bottom.

After that we can draw the fork tube back and screw in the fork cap. The caps should be torqued between 30 to 40 Nm, but we can also do it later, when the fork legs will be inserted into the triple clamp (it should be easier).
When the fork cap is in its place we can put on the fork boot and secure it with zip ties on both ends.
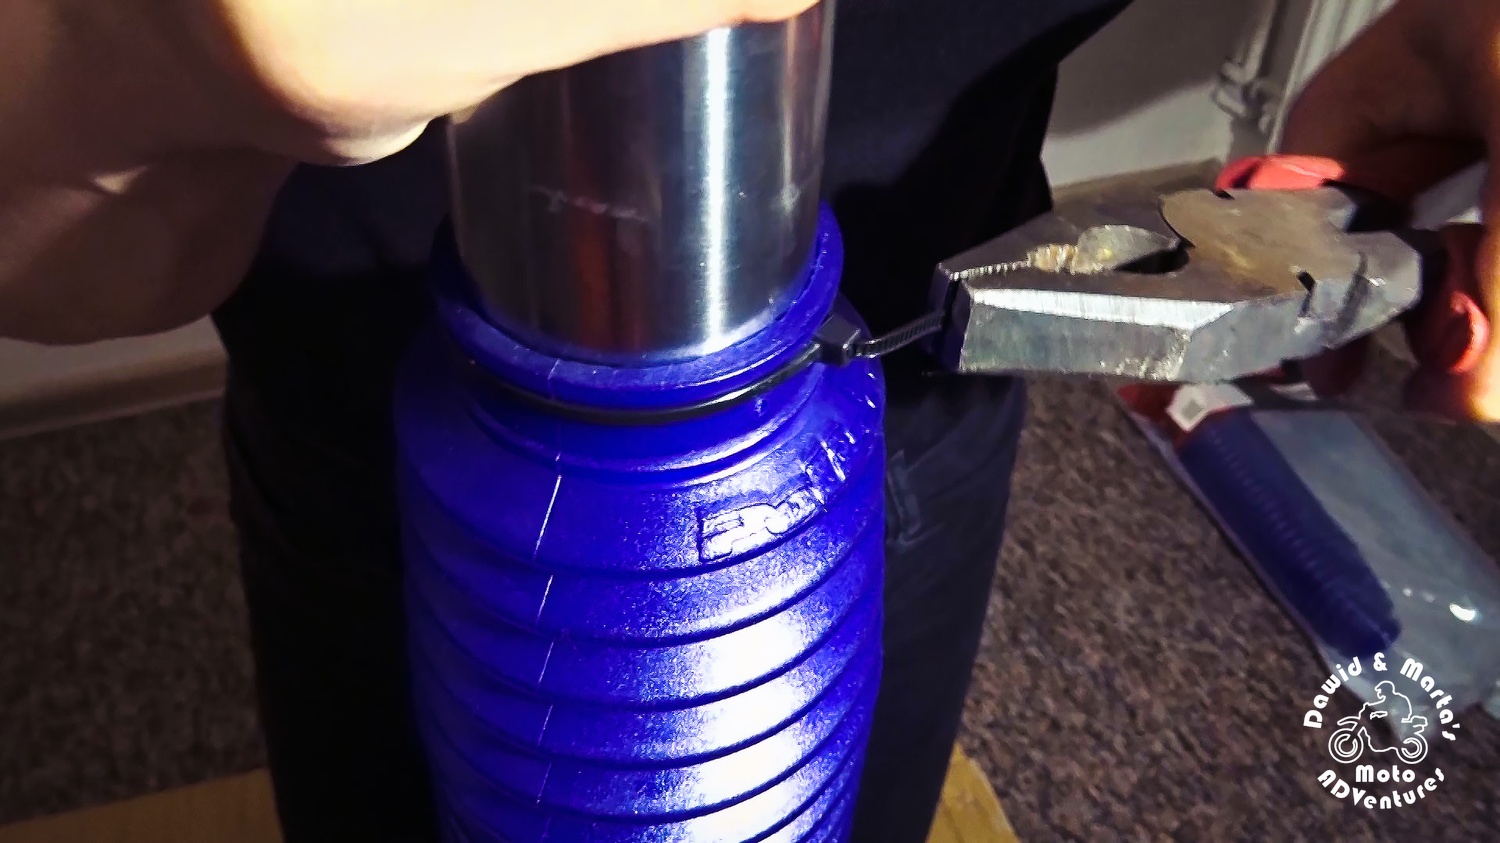
Now the leg is ready to install into the triple clamp. (If you didn't torque the fork cap yet, then do it now).
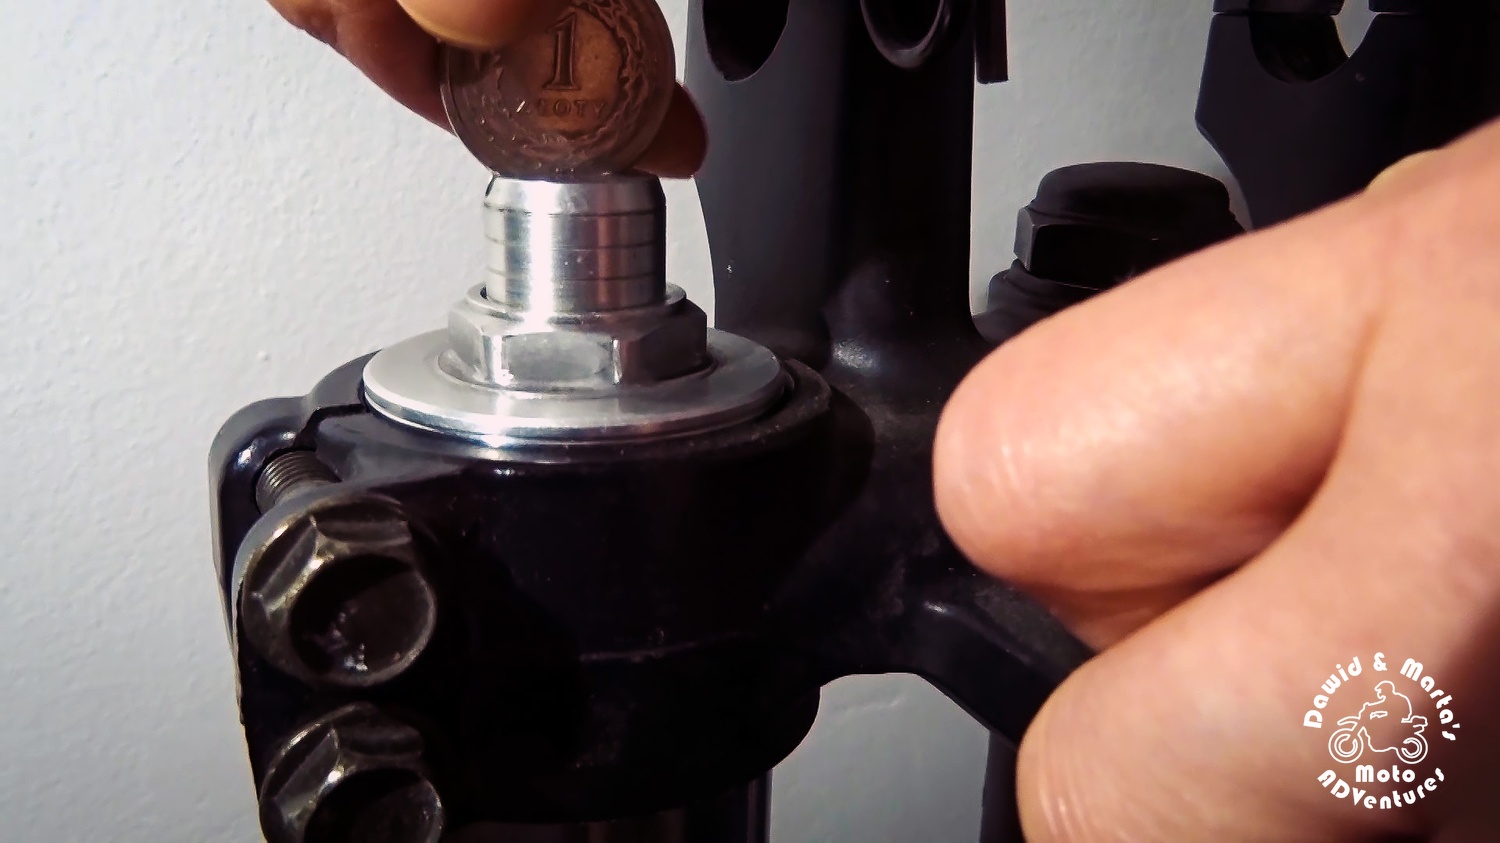
The spring preload adjustment in the front fork
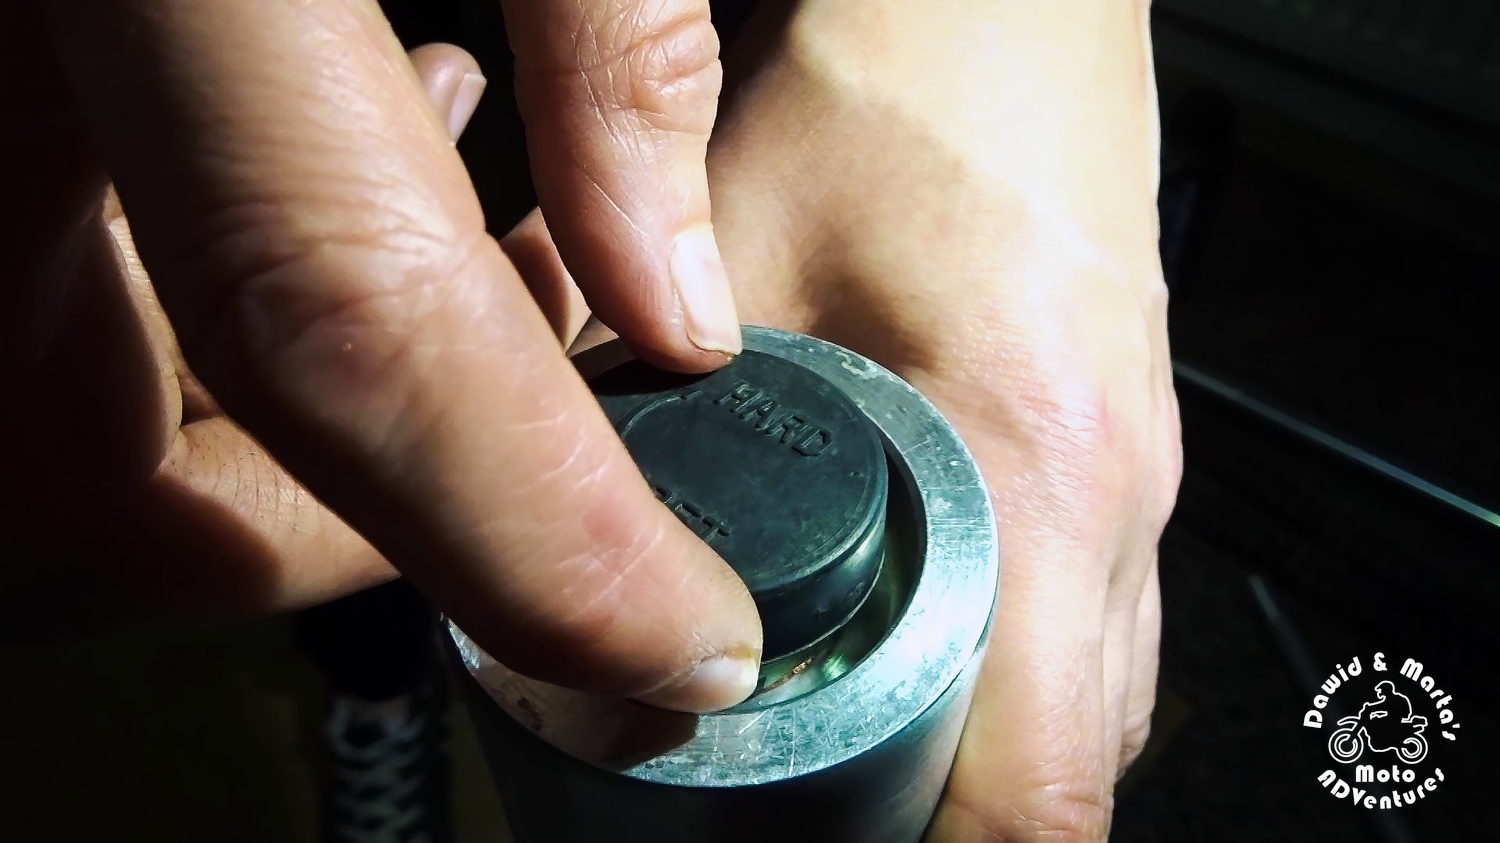
When the legs are in triple clamp, then there's nothin else left - we set up the spring preload adjustment. I set it to standard setting. It's the 3rd grooved line, counting from the top of the adjuster.
And that's all, my Adventurers! We can congratulate ourselves, because we fully rebuild the front forks now :)
Still needing more details on how to rebuild the front fork?
Don't worry! Jump to contact page and leave us a message or check the video below:

Comments