Today on our operating tables lands the DR350 carburetor. When the spark works fine, but the bike won’t run anyway, before halving the engine in despair, it’s good to first check if there is a proper fuel flow. So we will check if the carburetor is clean and assembled correctly. Let’s go! :)
What carburetor model we are talking about?
As we’ve got an old DR350S from 1993, from the service manual we figured out that our today’s post patient is most probably a Mikuni BST33SS (or just BST33) model, so a constant velocity carburetor.
The Mikuni TM33SS (TM33) carburetor model, according to the manual, was mounted only in 1994 DR350 R/SER model and sometimes in the 1997 DR350 V/SEV model. Both BST33SS and TM33SS carbs differ in construction and in the way they work. But we think that most of our observations below are universal and maybe even the TM33SS owners can find something useful in our step-by-step diagnosing.
Let’s get the carburetor started!
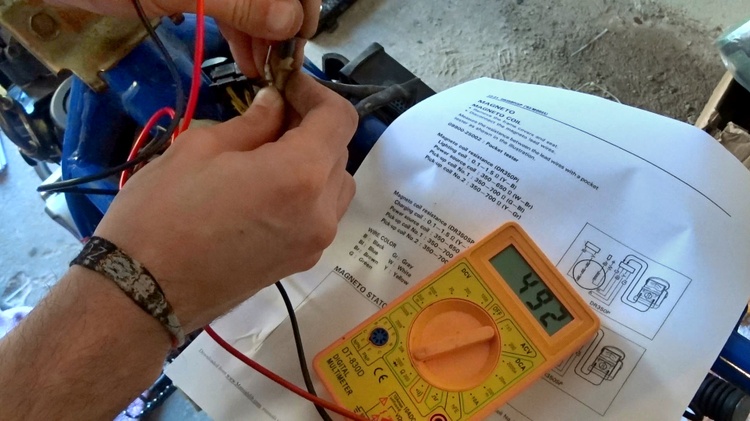
In our last post about troubleshooting the DR350 electrical system and no spark issue, when we tested the CDI unit, we finally brought the spark back. But when we tried to run an engine compression test, we found out that, despite we kicked the bike dozens and dozens of times with the choke pulled out, the spark plug was still dry. So as the fuel hoses were intact, it became obvious we have to check the carburetor’s inside.
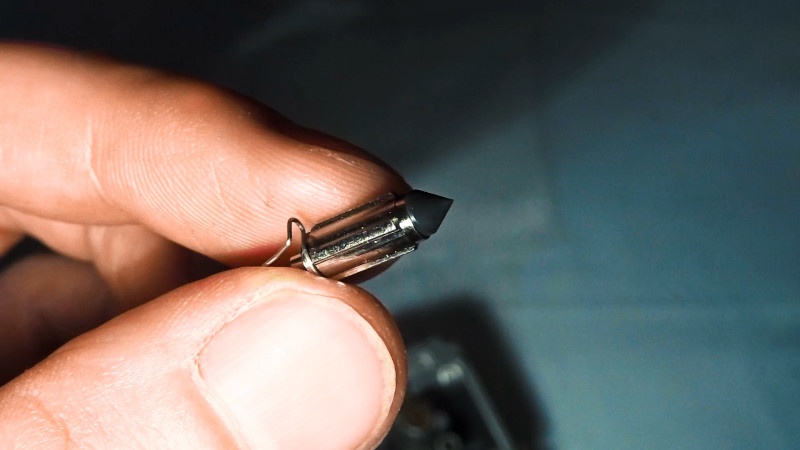
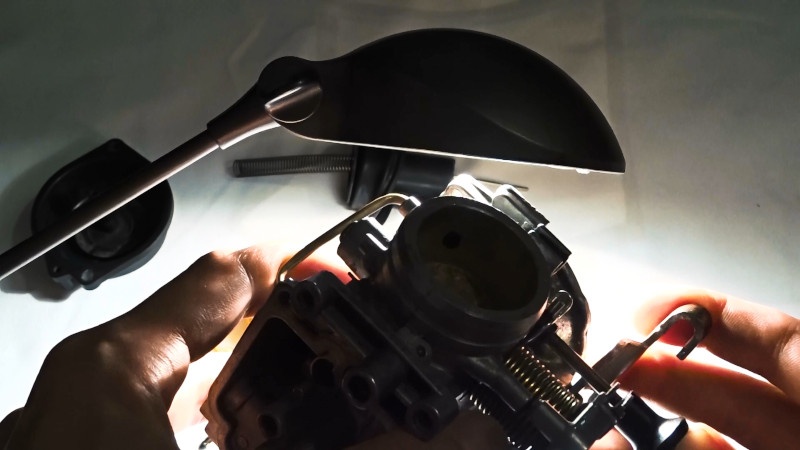
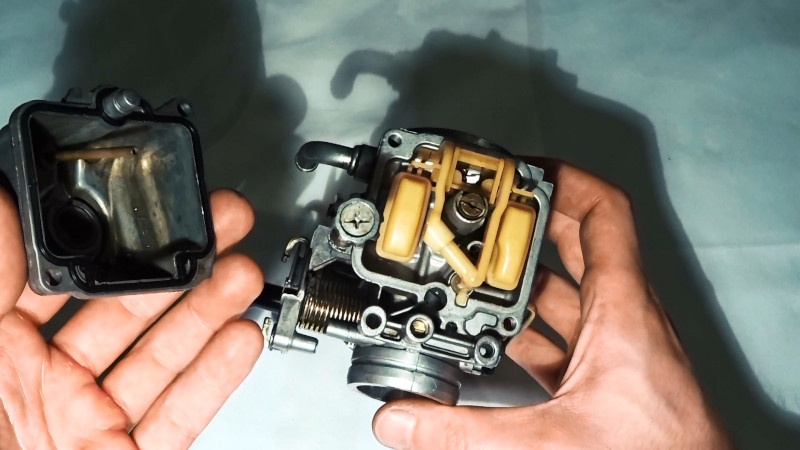
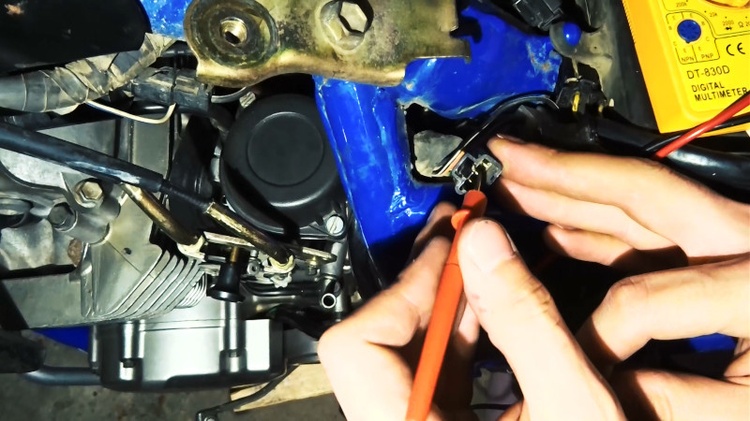
After we pulled the carb out, what drew our attention was this stub connector:
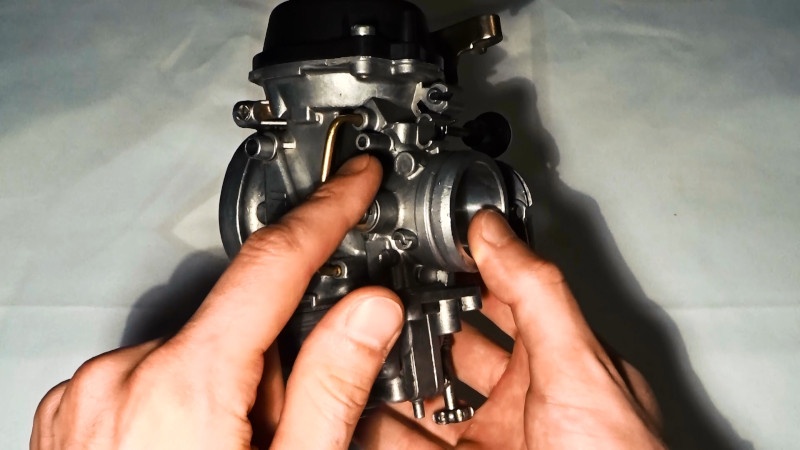
Shouldn’t it be capped? But either way, we thought that we should take the whole carb into parts and clean thoroughly. So let’s first see to that ᕦ(ò_óˇ)ᕤ
Carburetor bottom disassembly
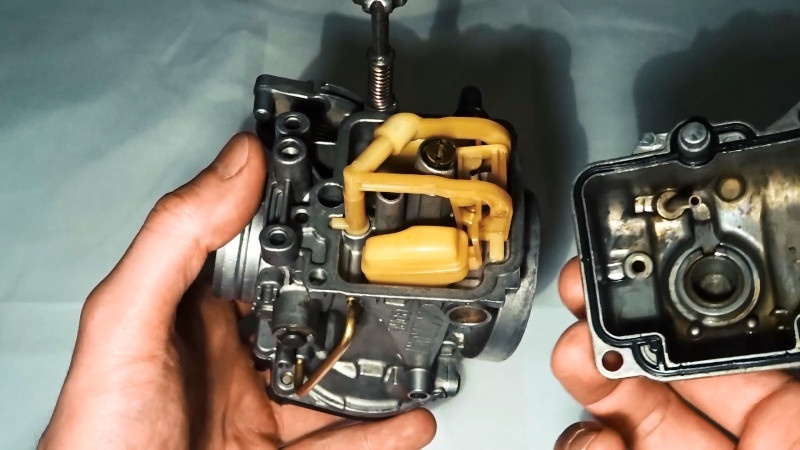
First we take out the carburetor float bowl, so we just have to unscrew two bolts. Then we have to pull off the bowl quite carefully, because its overflow pipe is a little bit angled. So just be a little gentle and don’t use too much force.
We thought that we will see Armageddon on our own eyes inside, but it looked ok.
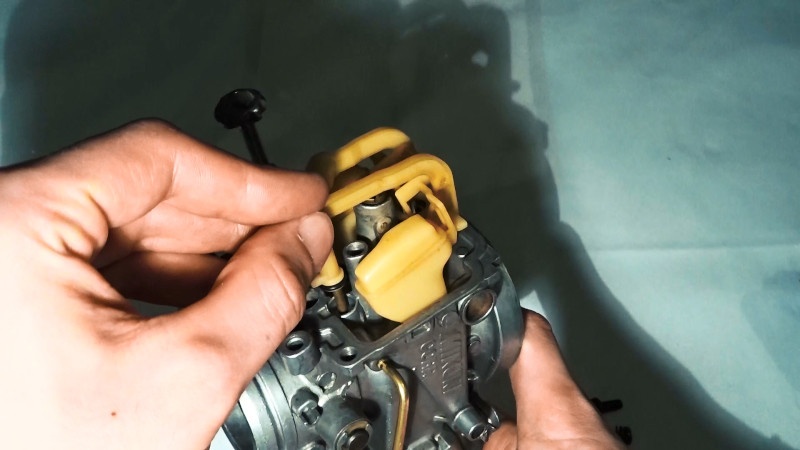
Next we check out if the little yellow fellow, float, isn’t stuck and can move freely. If it can, we also check out if the needle valve didn’t stick into its socket and if the needle valve internal spring bumper works smooth.
As everything is fine, we take out the float. It sits on a frame, which can be easily pulled out. We don’t have to unscrew anything. Here’s what we found under our float:
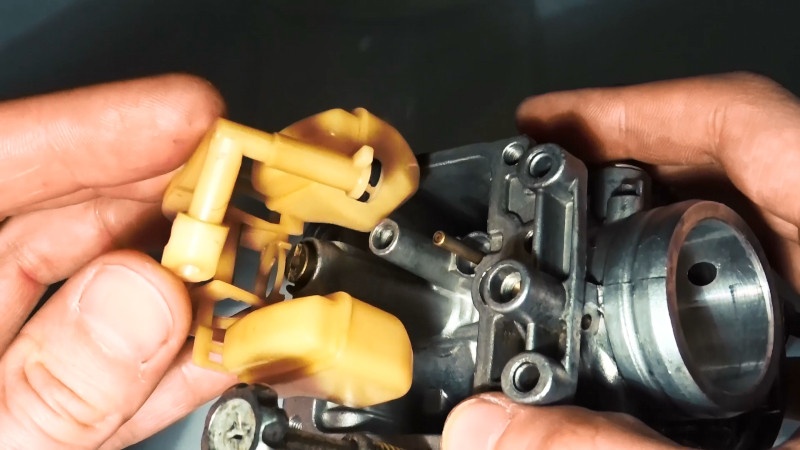
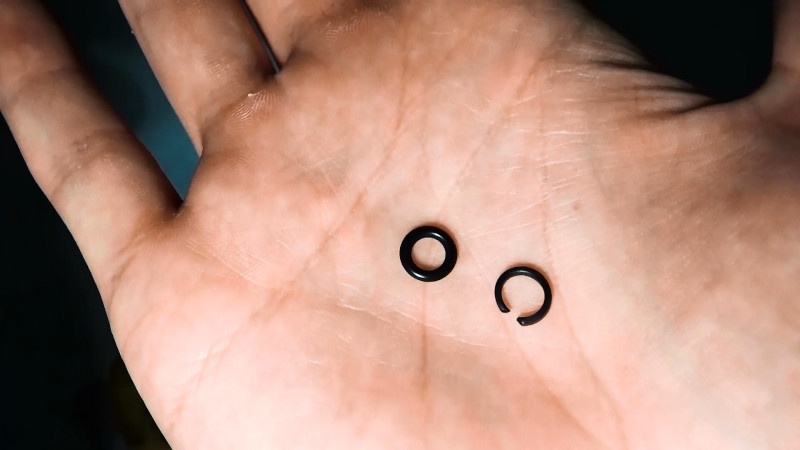
The O-ring died (ಠ_ಠ)
It was all cracked, flatten and obviously broken. And so the float frame was mounted very loosely.
Interestingly, this O-ring not only mounts the float to the carburetor, but also seals that connection. The O-ring is put on the pipe by which the fuel is sucked in. So if this connection isn’t sealed well, there’s a chance that instead of the fuel, the air was actually sucked in.
But that’s not the end!
Now when the float is free, we can check out how is the needle valve.
There should be no pitting at the needle valve tip and the internal spring bumper, on the opposite side, should work smoothly.
Carburetor top disassembly
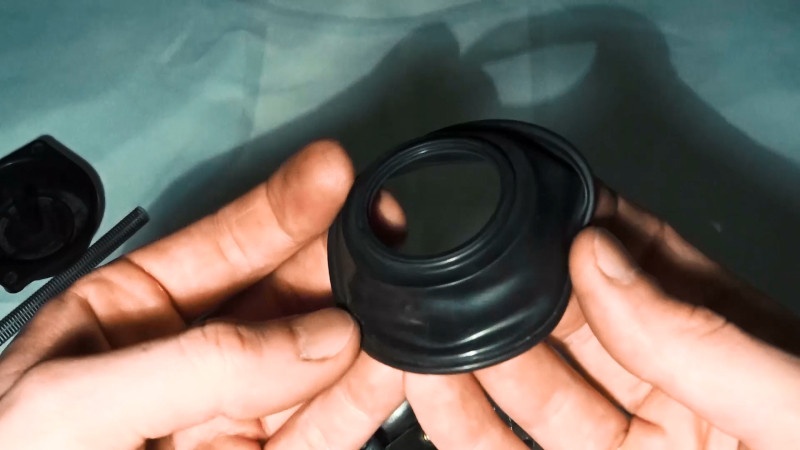
As our needle valve is ok, we can move on to the carburetor top and dismount the diaphragm cover. Two bolts and it’s ready:
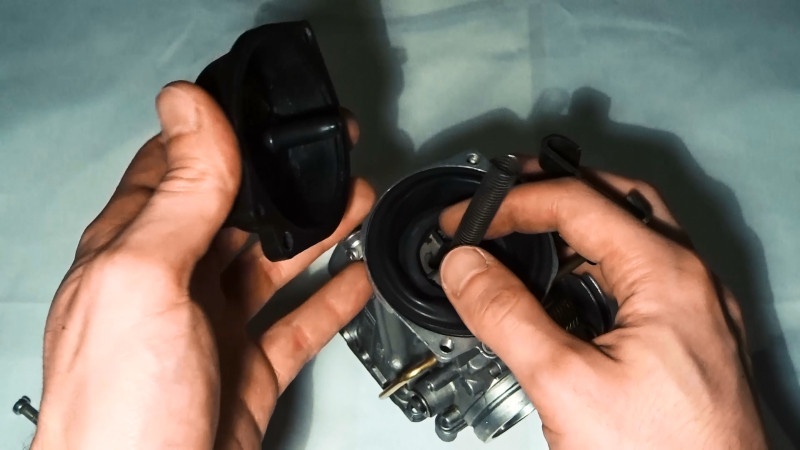
Next we pull out the slider with diaphragm and main jet needle.
It’s worth while to take a closer look on the diaphragm ans stretch it a bit to be sure if it’s intact.
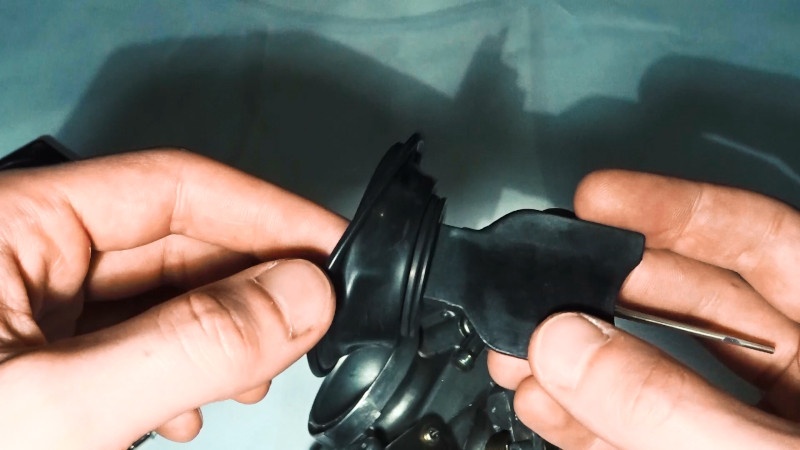
We can also take the diaphragm off the slider to check its inner side, where its firmly mounted to the slider.
By the way, we found a trace of last human being, which disassembled our carb. This was a quite interesting washer underneath the slider spring. Interesting,because it didn’t look like an original OEM part:
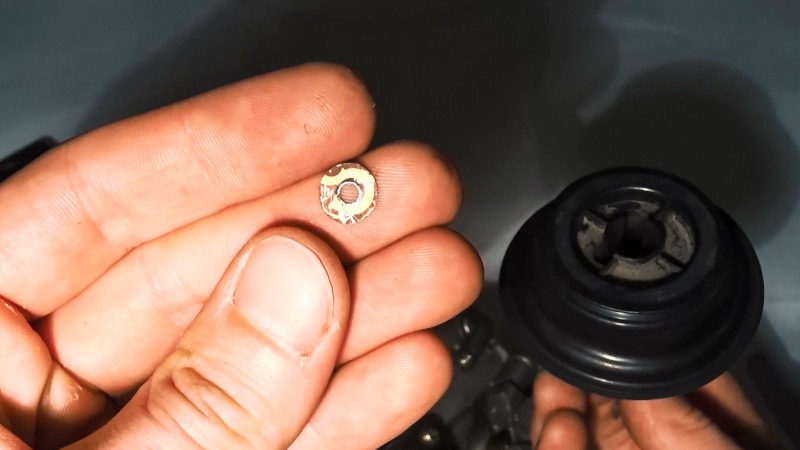
In general, we didn’t find any problem at the carb top. Only the main jet needled looked like a little bit distorted and worn out. So we centered and straightened it up. Though, note, this is a temporary solution as we later bought a brand new carburetor repair kit. And if you face the same problem, then we would advise that you buy one also :)
Checking the carburetor’s jets and choke
After disassembling the carburetor’s top and bottom, we can check if none of the jets is blocked.
More or less we can do it with a help of a stronger light.
Though, even if everything is ok, it’s good to blow some compressed air through each jet for a double-check.
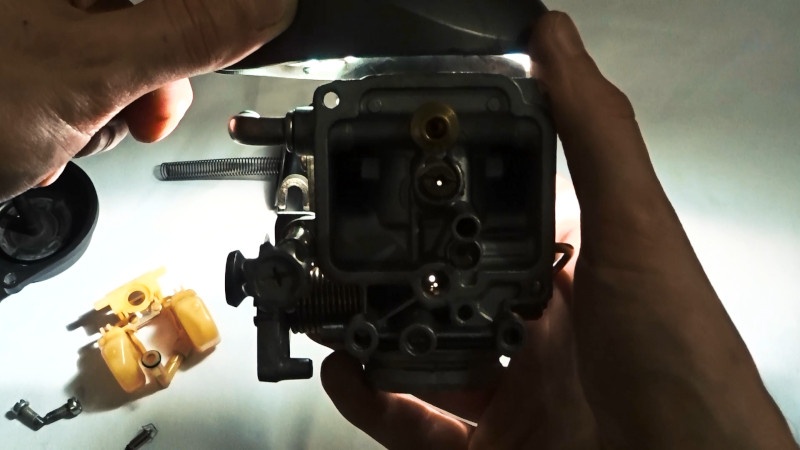
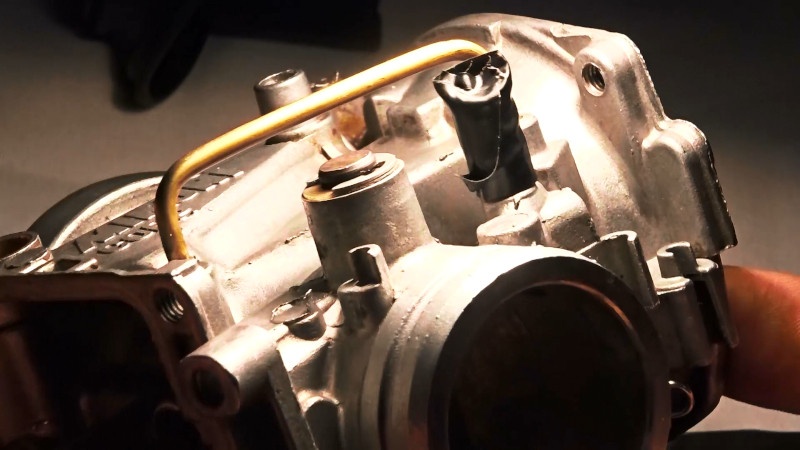
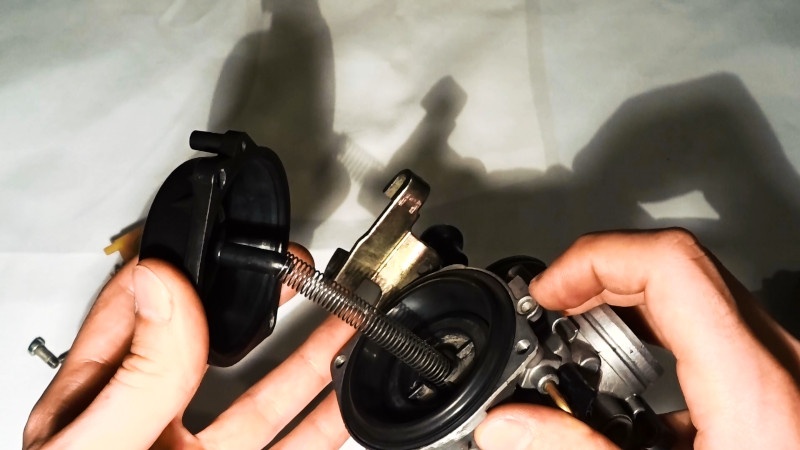
Next we move on to the choke mechanism.

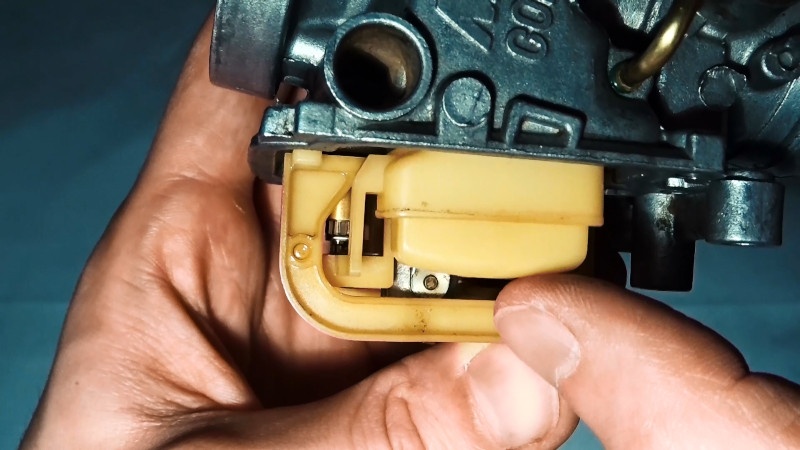
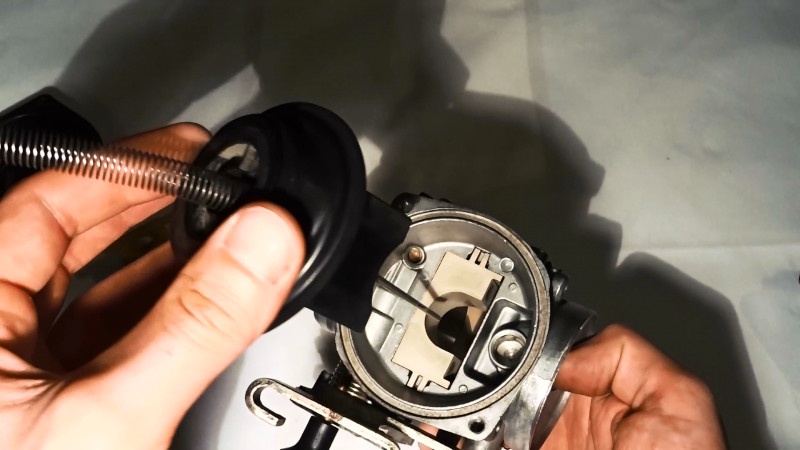
Let’s check how the choke valve looks like (at the bottom left), when we pull the choke:
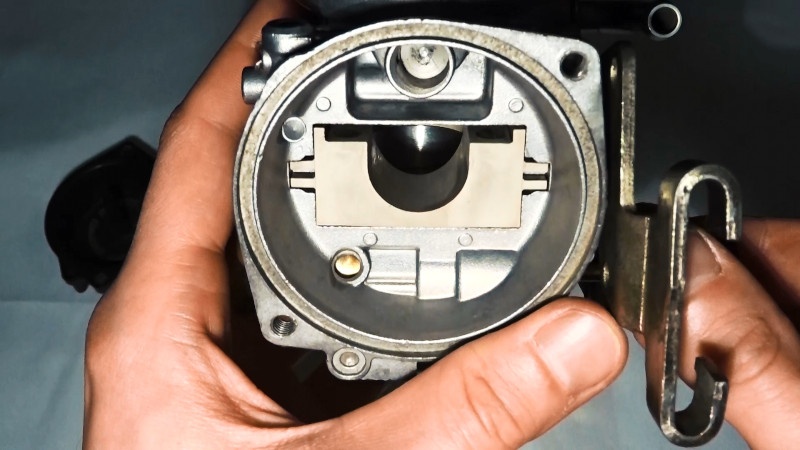
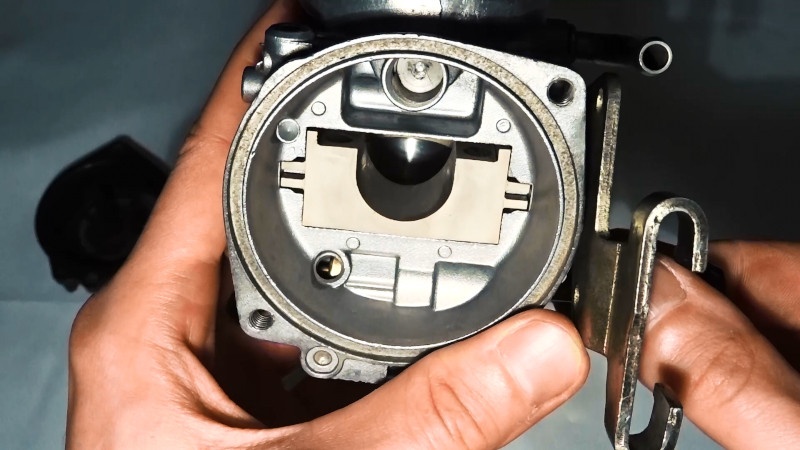
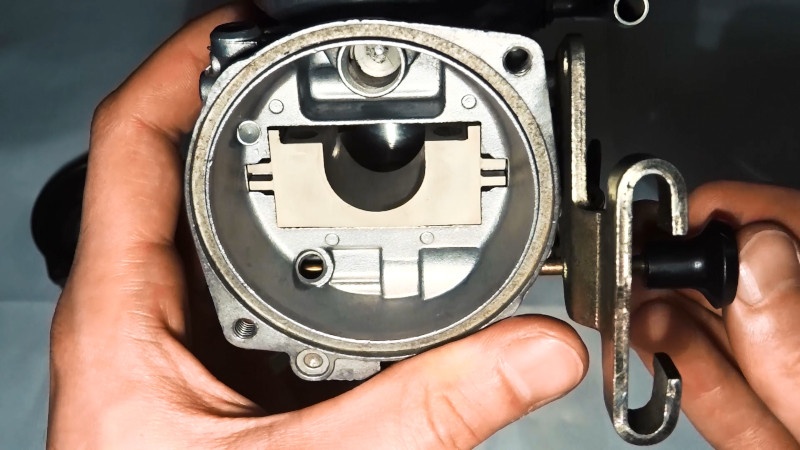
At all the choke lever opens the air valve, which lies underneath the diaphragm and additionally – opens the fuel valve.
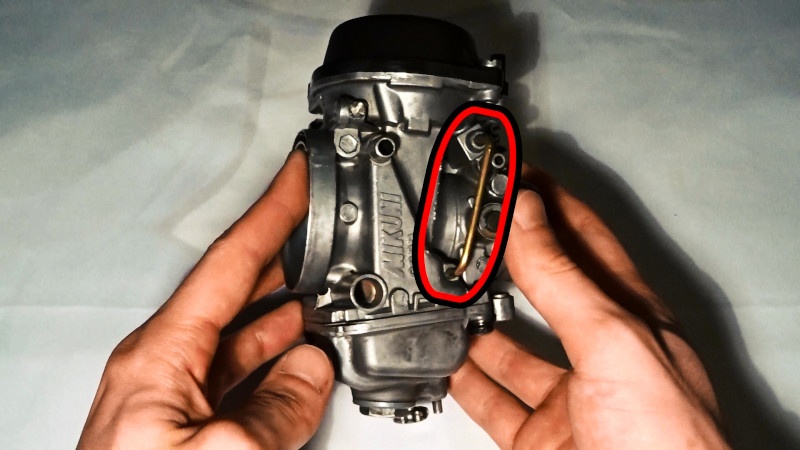
The air flowing through the open valve sucks in the fuel through this vertical pipe marked red in the picture above. The engine gets more fuel, so it’s easier to start it.
Here you can see the connection between the carburetors outlet (engine intake) and air chamber beneath the diaphragm, from which the air is drawn out:
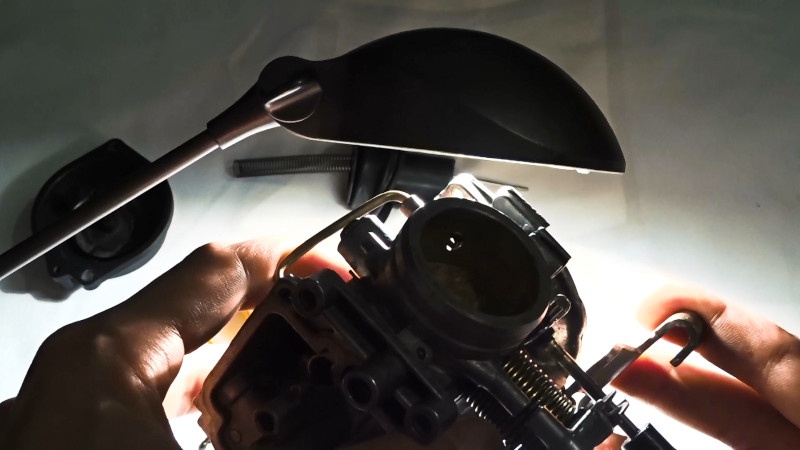
It looks fine. But! When we direct the light to our suspicious stub connector with the choke on…
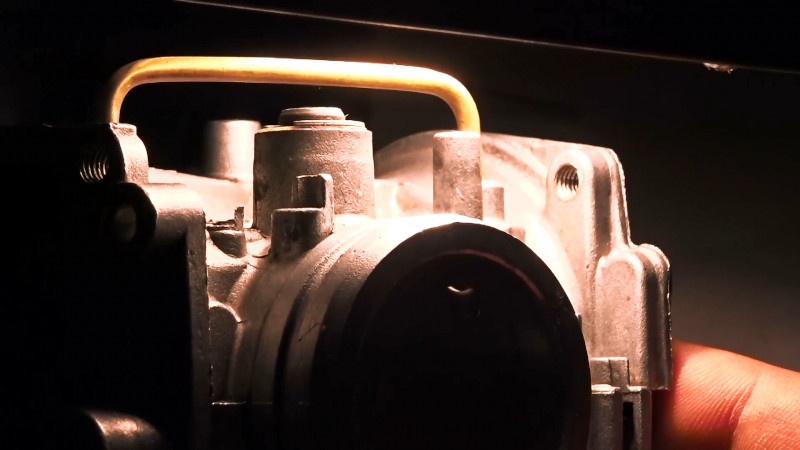
Yes! There’s a light in the channel between the carburetors outlet and air chamber beneath the diaphragm!
And that should never happen (⨀_⨀)
With this stub connector open, the engine was able suck in the air from the outside, omitting the air filter. So this stub connector is not just some stub connector, but a subpressure stub connector. So it has to be capped:
Probably, without the cap, the choke didn’t work at all. The air was running in by the open end, instead of drawing in the fuel to the carb. Like this:

Whereas the air should flow like that:
Assembling the carb back
Now that everything was inspected, we can assemble everything back and, of course, check out if our findings about the stub pipe are really true!
First we start with changing the dead O-ring we found on the float.
Then we put back the needle valve and mount back the frame with the float.
Then we can put on the float bowl. Though, we have to still be careful with that angled overflow pipe.
Next after we screwed in the bowl, we can move back to the carb top. We put on the slider, making sure we land the main jet needle into the main jet.
After that, we put back the diaphragm into its groove and slide the top cover into the spring, so in the end we can screw it back in.
And we’re ready for a startup test! (◕‿◕)
If your feel that our carburetor debugging description here is not sufficient, you can check out this video:
And, of course, let us know if something’s missing! (^‿^)
Results
After two kicks our DR talked to us again! (ʘ‿ʘ)
Although, we’re not done with the carburetor! We will rebuild the carb with the carburetor repair kit in the next carburetor post ᕙ(☉‿‿☉)ᕗ
Comments