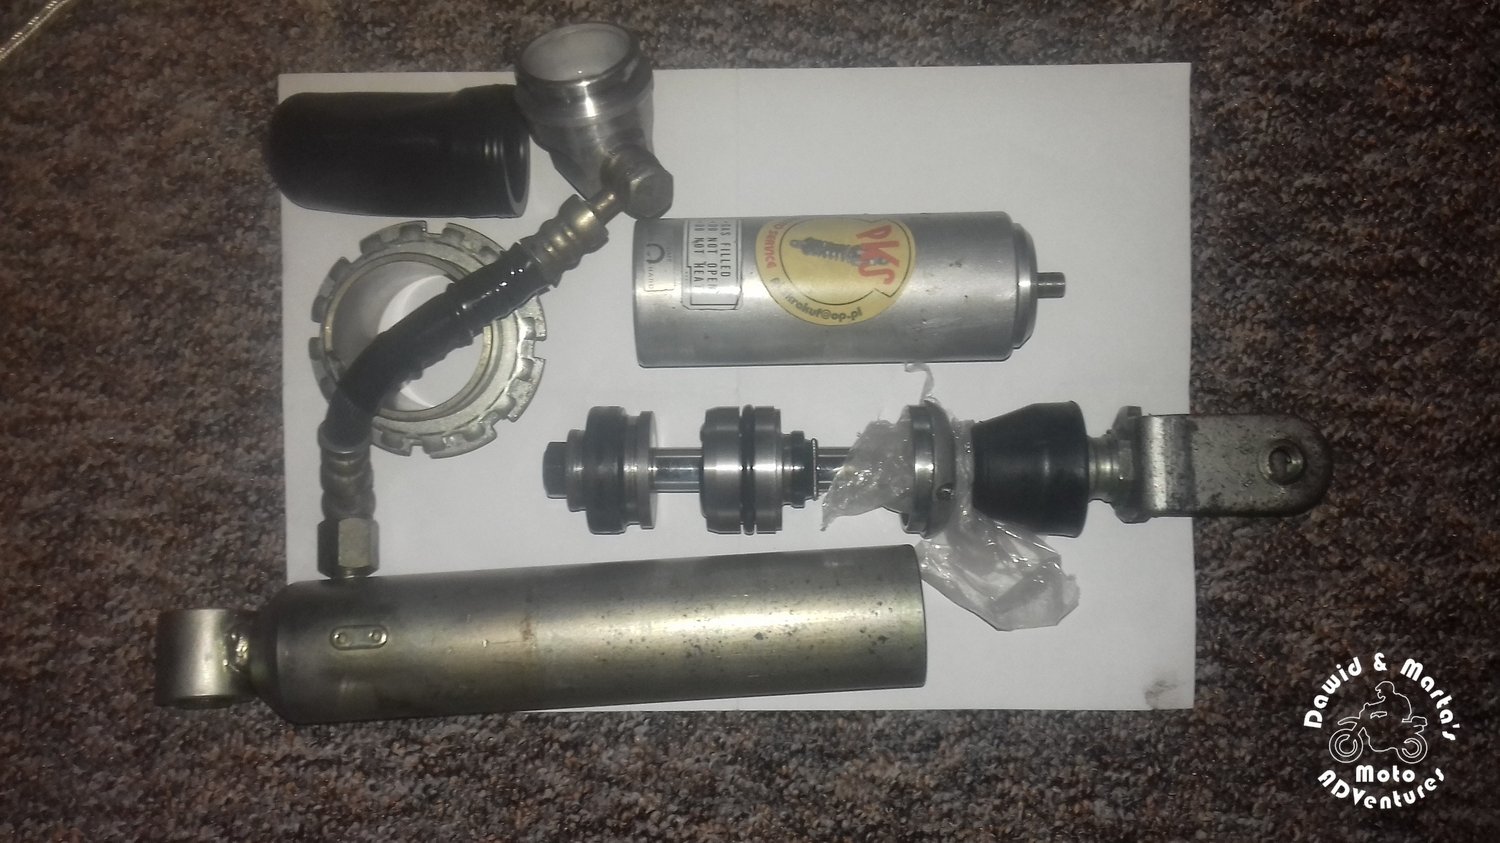
When the rear shock pours out and leaves puddles of oil at stop, it’s a sign it’s time for a rebuild.
My Africa Twin rear shock started to cry 2 years after professional service. As I like tinkering myself I took care of it and prepared this DIY Africa Twin rear shock rebuild tutorial. You will only need a hammer, a screwdriver and some patience! Follow this 19 steps how-to to get brand new rear shock ;)
There's a newer version of AT750 shock absorber service instruction!
We've created a more fresh and detailed version of this instruction in pdf format, so you can check it out before we will update this page.
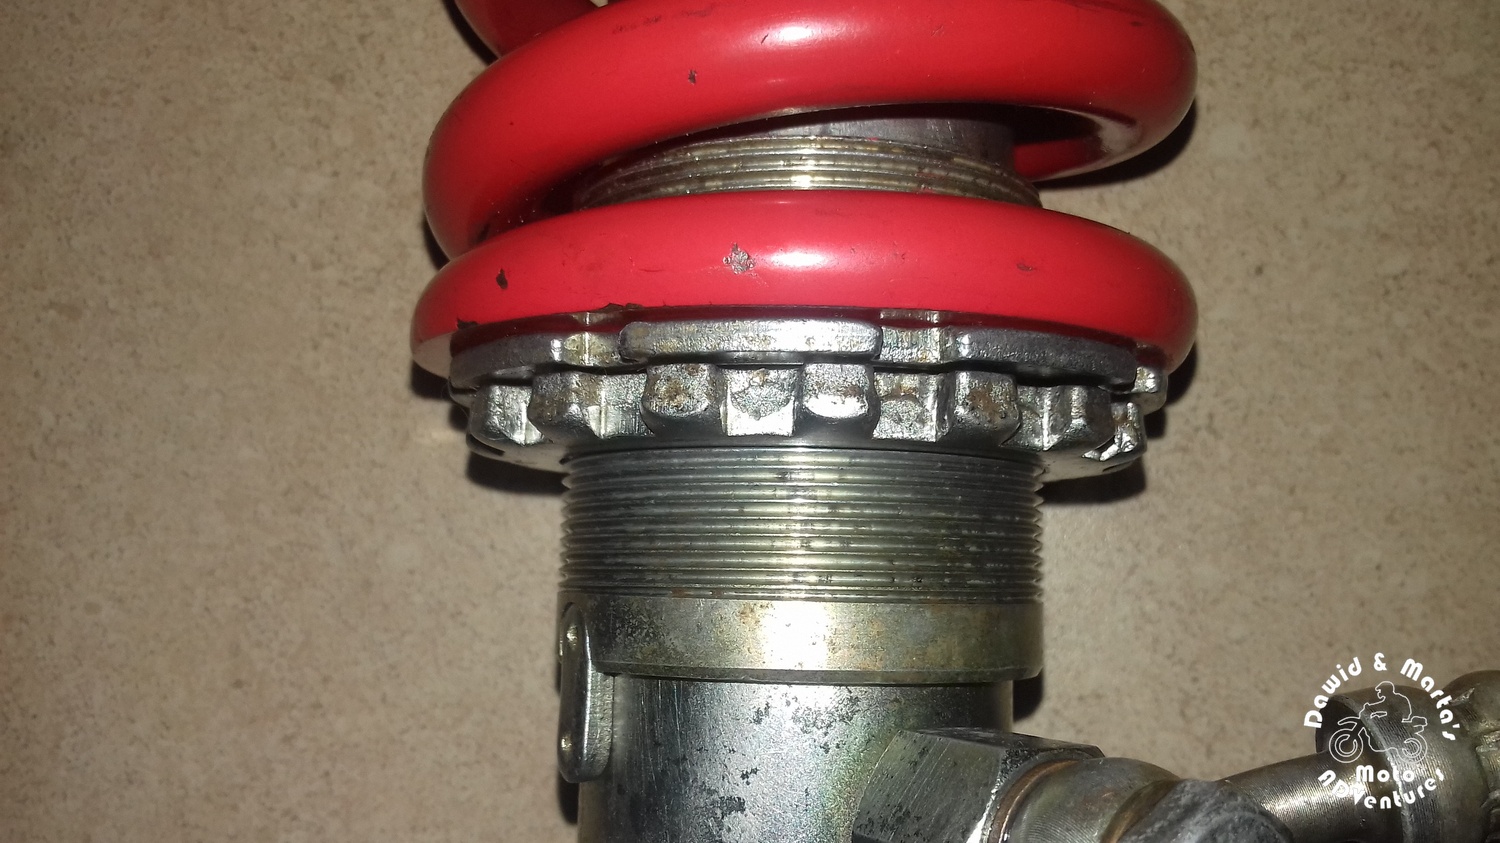
Check it out hereStep 1: Releasing the rear shock spring
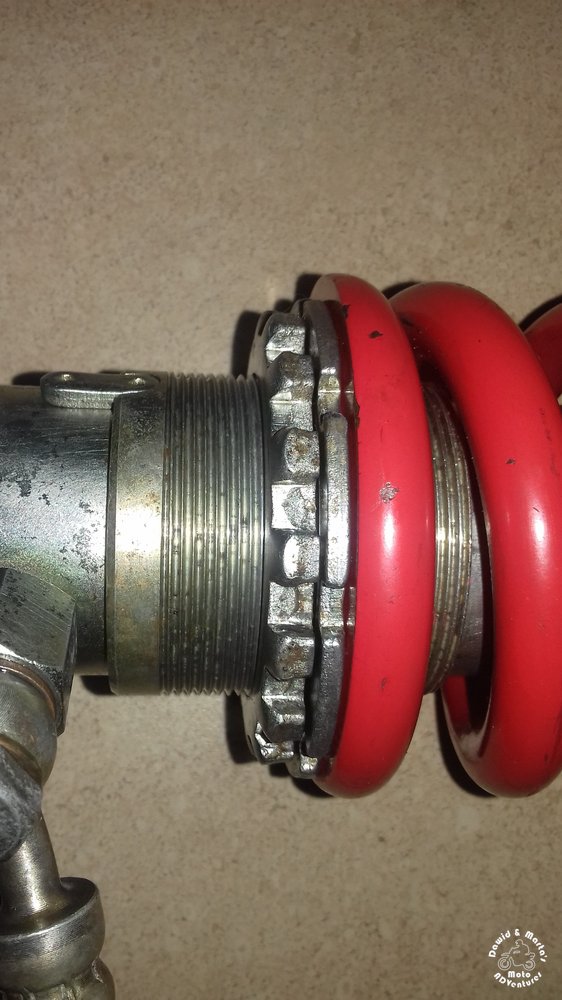
Loosen the counter nut with a special wrench or with a help of a hammer and a blunt rod. Eventually use a hammer and a plain wrench.
Next you can loosen up the spring preload nut. You should be able to do it by holding and turning the spring.
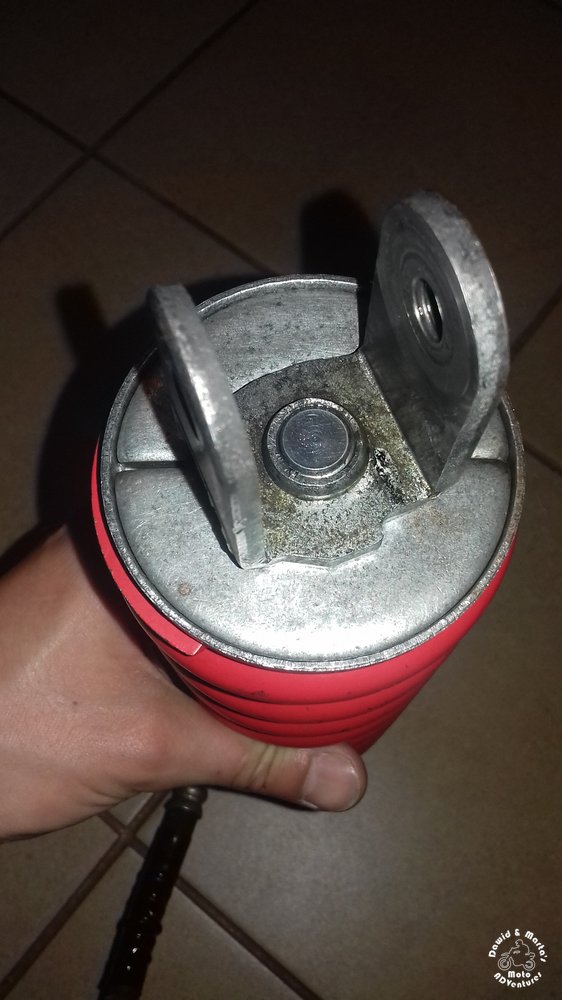
If the spring will be maximally slack, then you can to pull out those two metal sheets holding the spring in place.
Now you should pull out the spring without any problem.
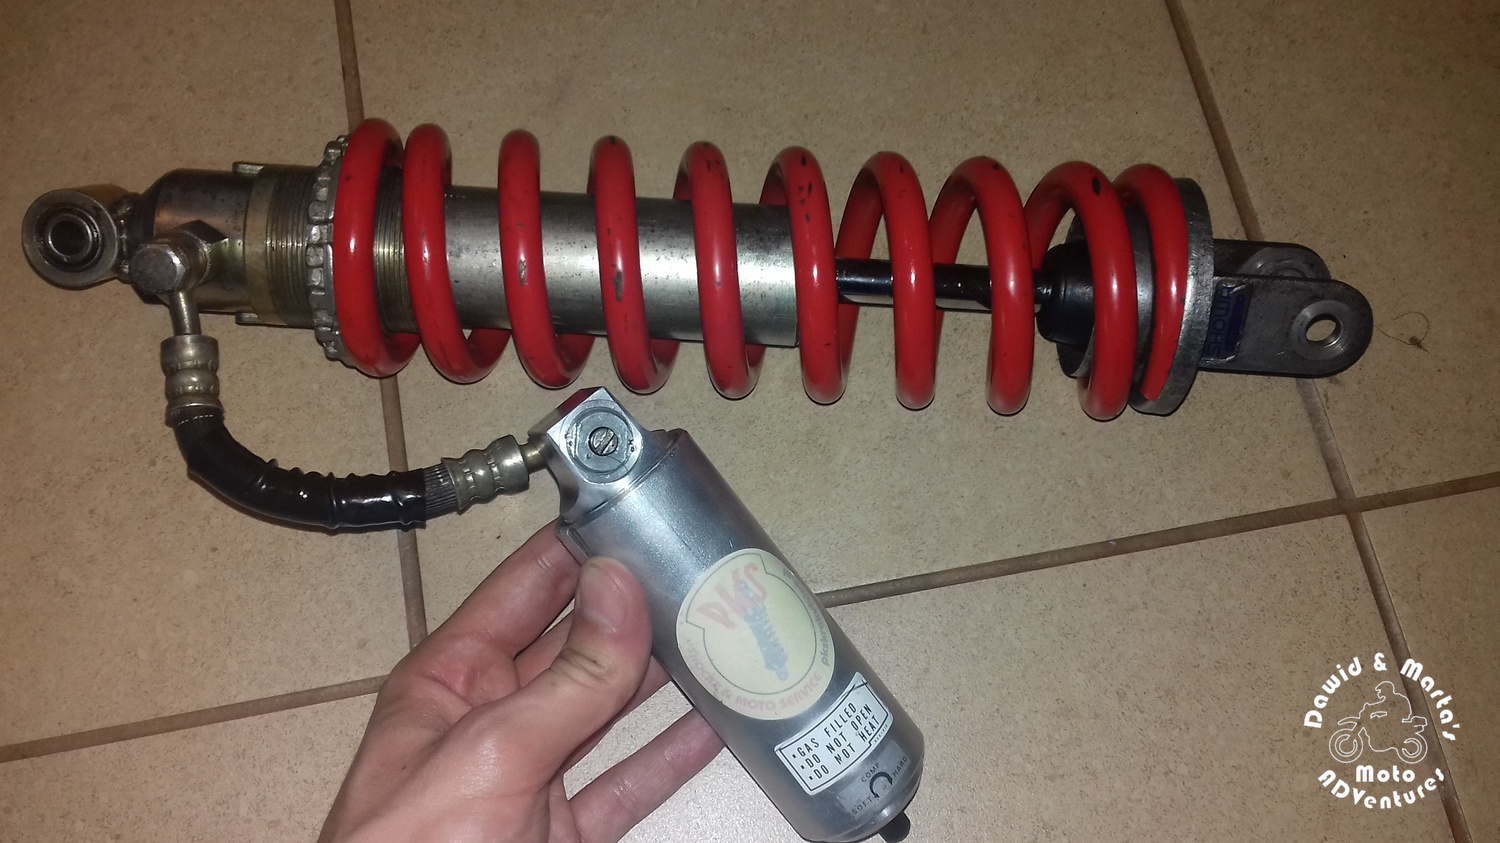
Step 2: Releasing the air from the rear shock air can
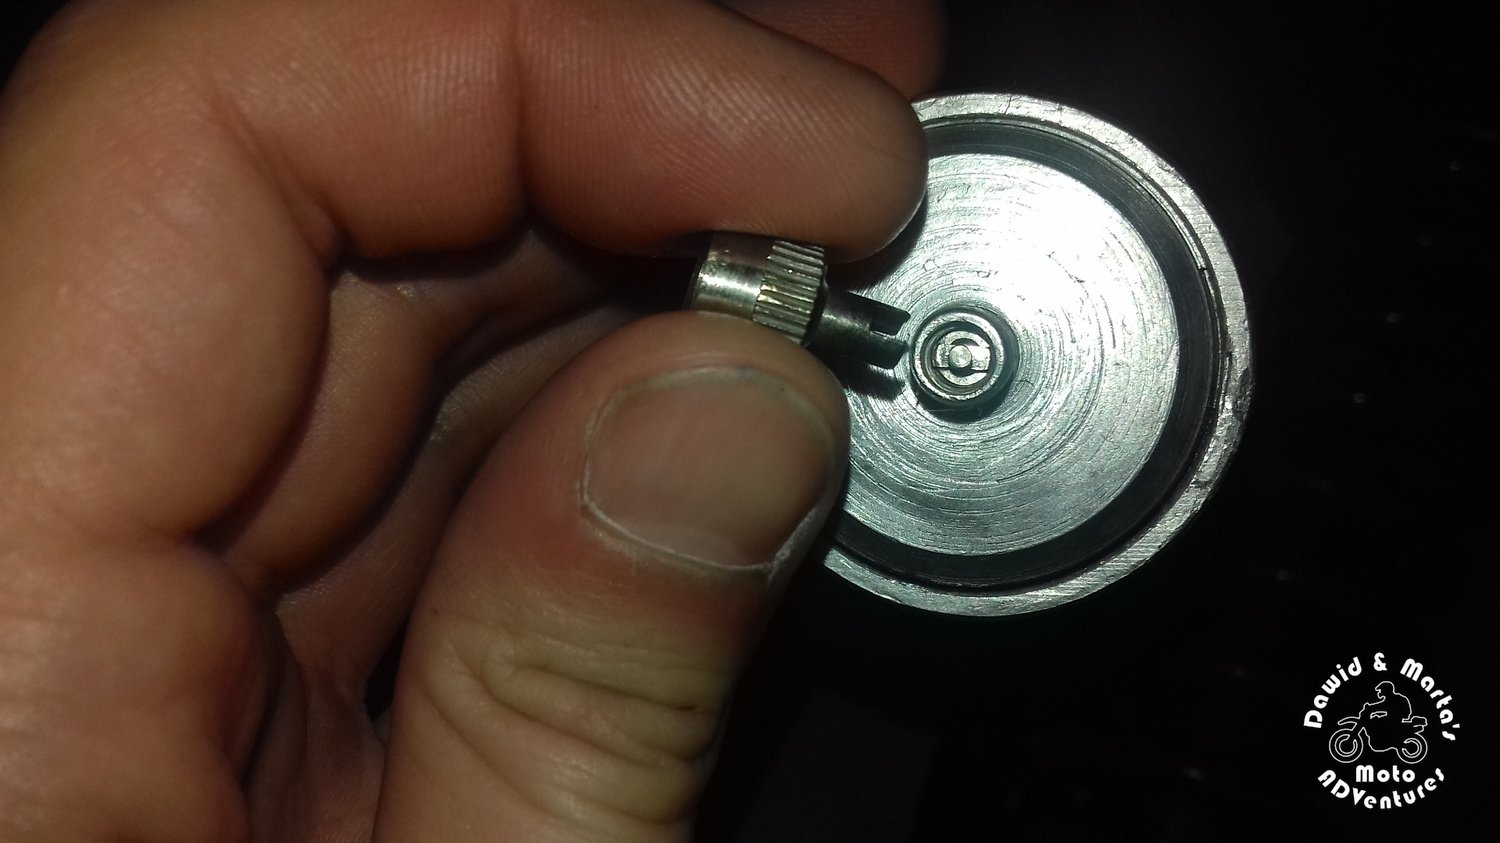
An important thing. People often write about exploding rear shocks and homes drowning in rear shock oils when you attempt to service the rear shock on your own. So proceed carefully here.
Push the air valve core to the air can and release the air . After this throw the air valve core to trash. You should exchange it.
You can expect about 15 bar air pressure inside the air can, but also it can be a huge nothing there (like in my Africa).
Step 3: Releasing the air can cover
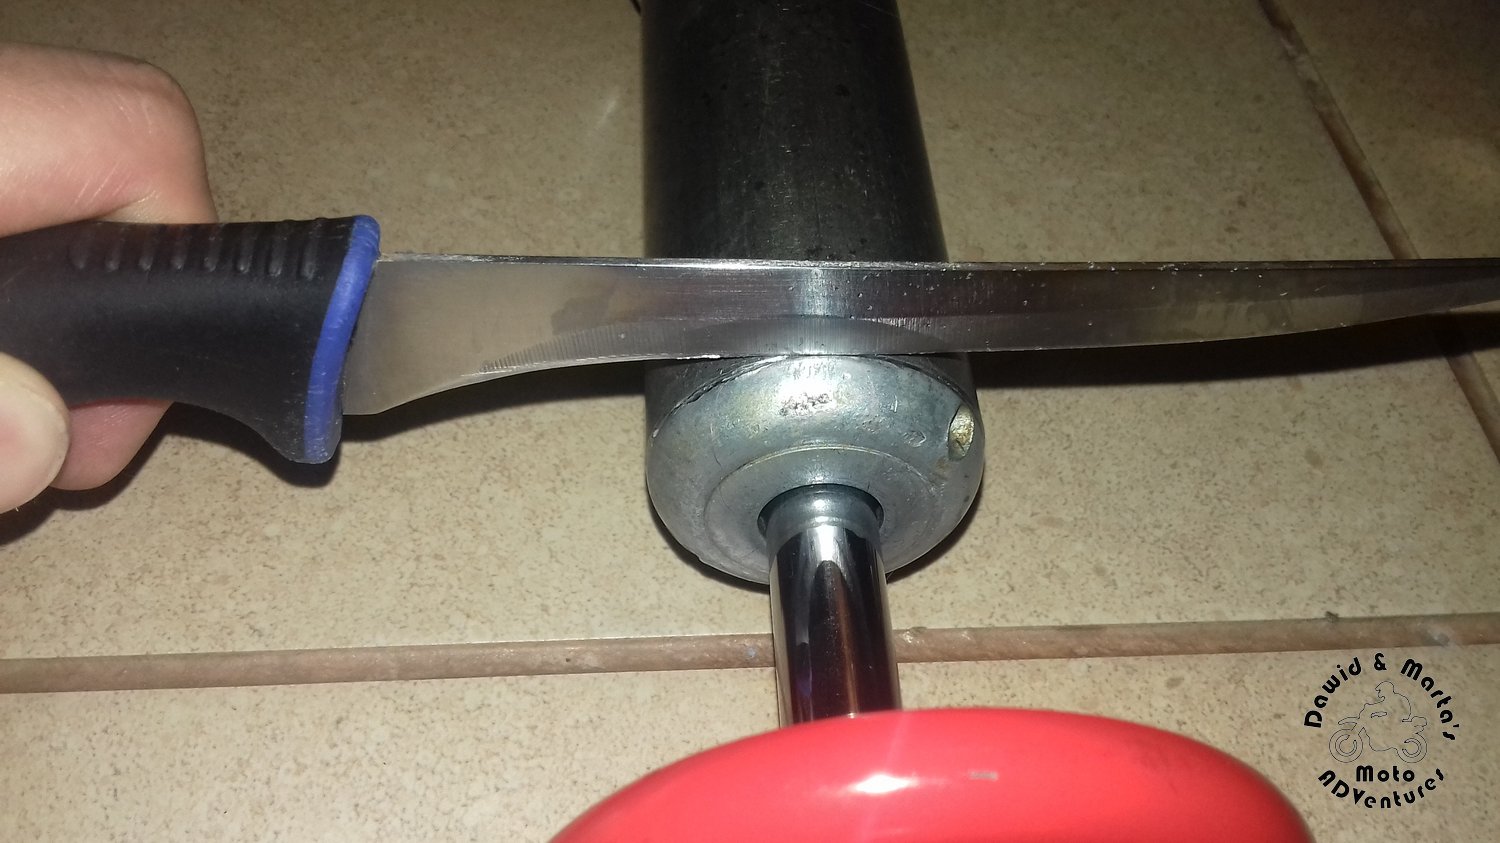
With a knife make a small gap on the whole air can circuit.
Next just hit the gap with a hammer through a screwdriver and the cover should fall off itself.
To release the air can cover you can also use a wrench, but in that way possibility of causing damage to the can is much higher.
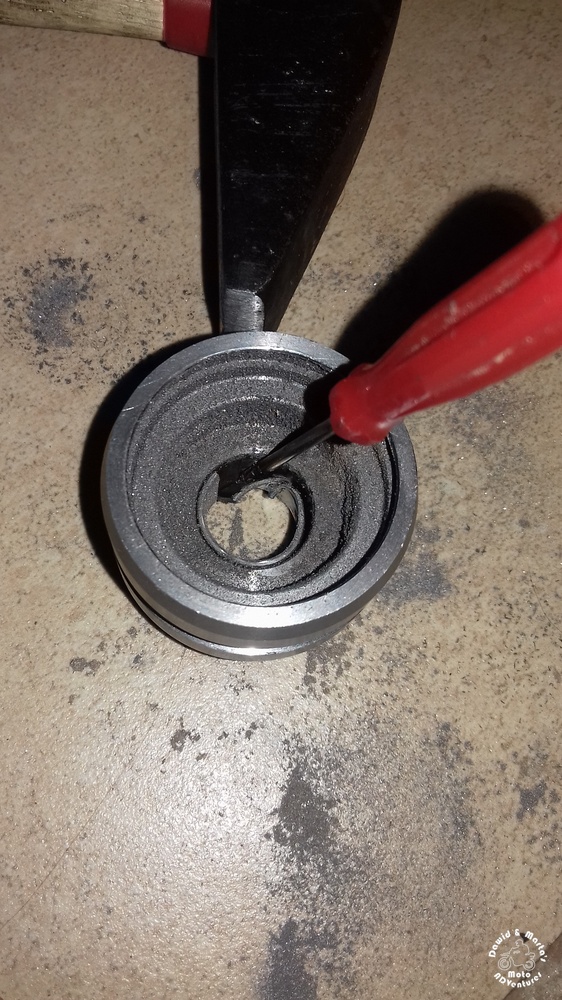
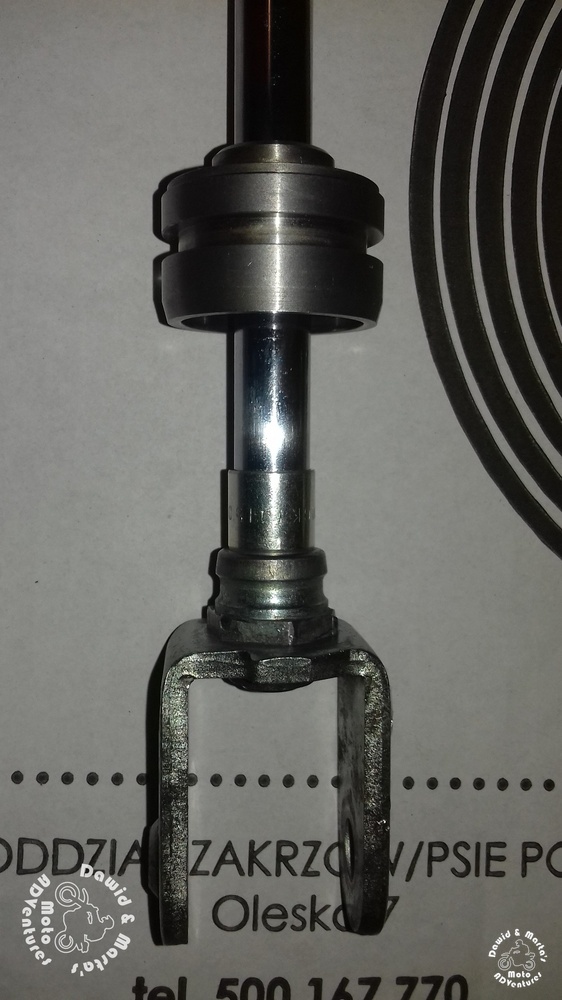
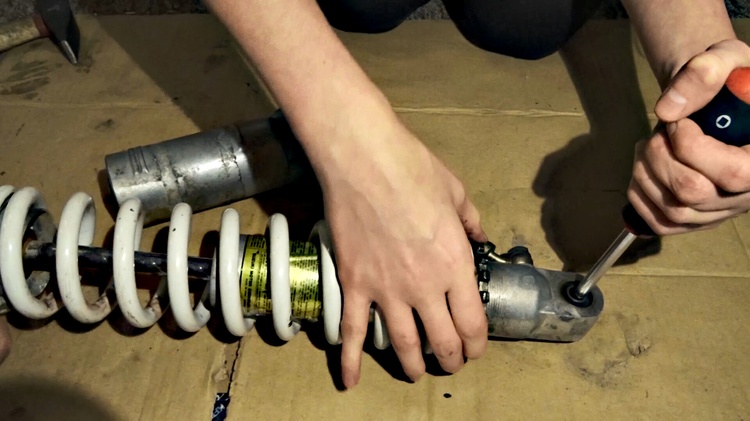
Step 4: Taking the rear shock into pieces
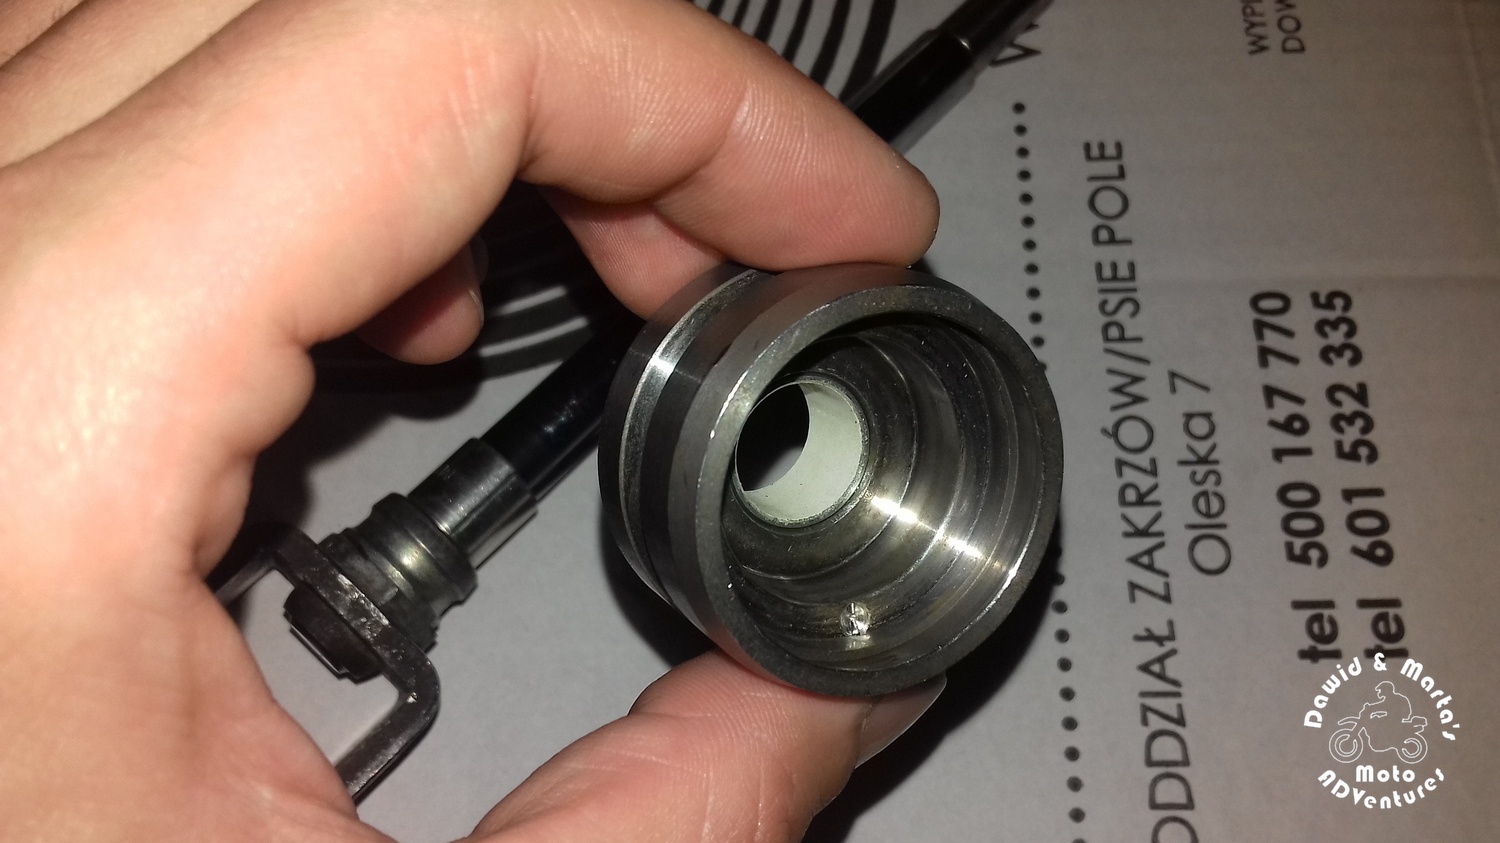
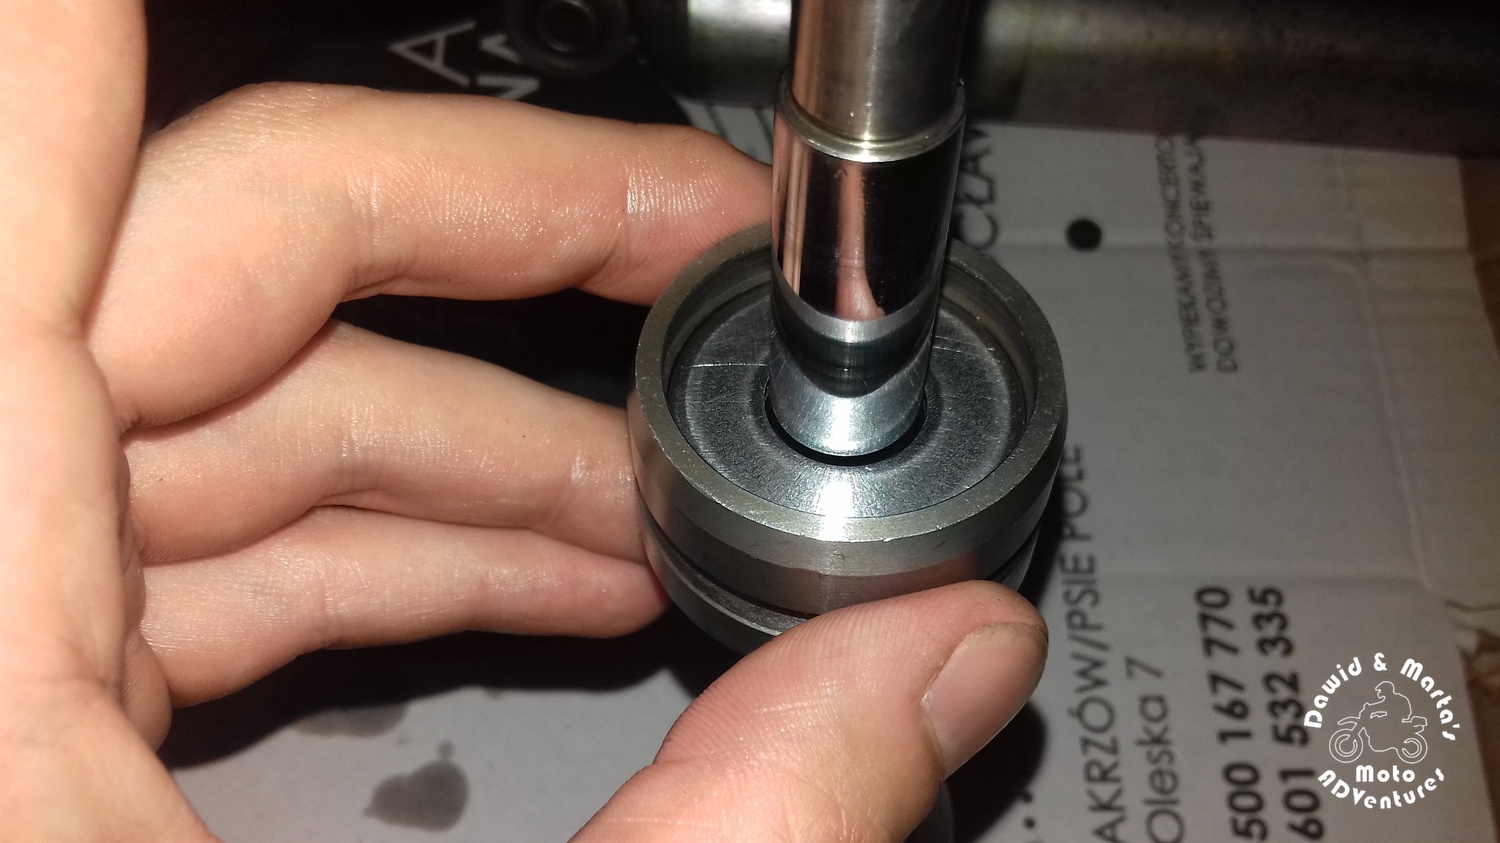
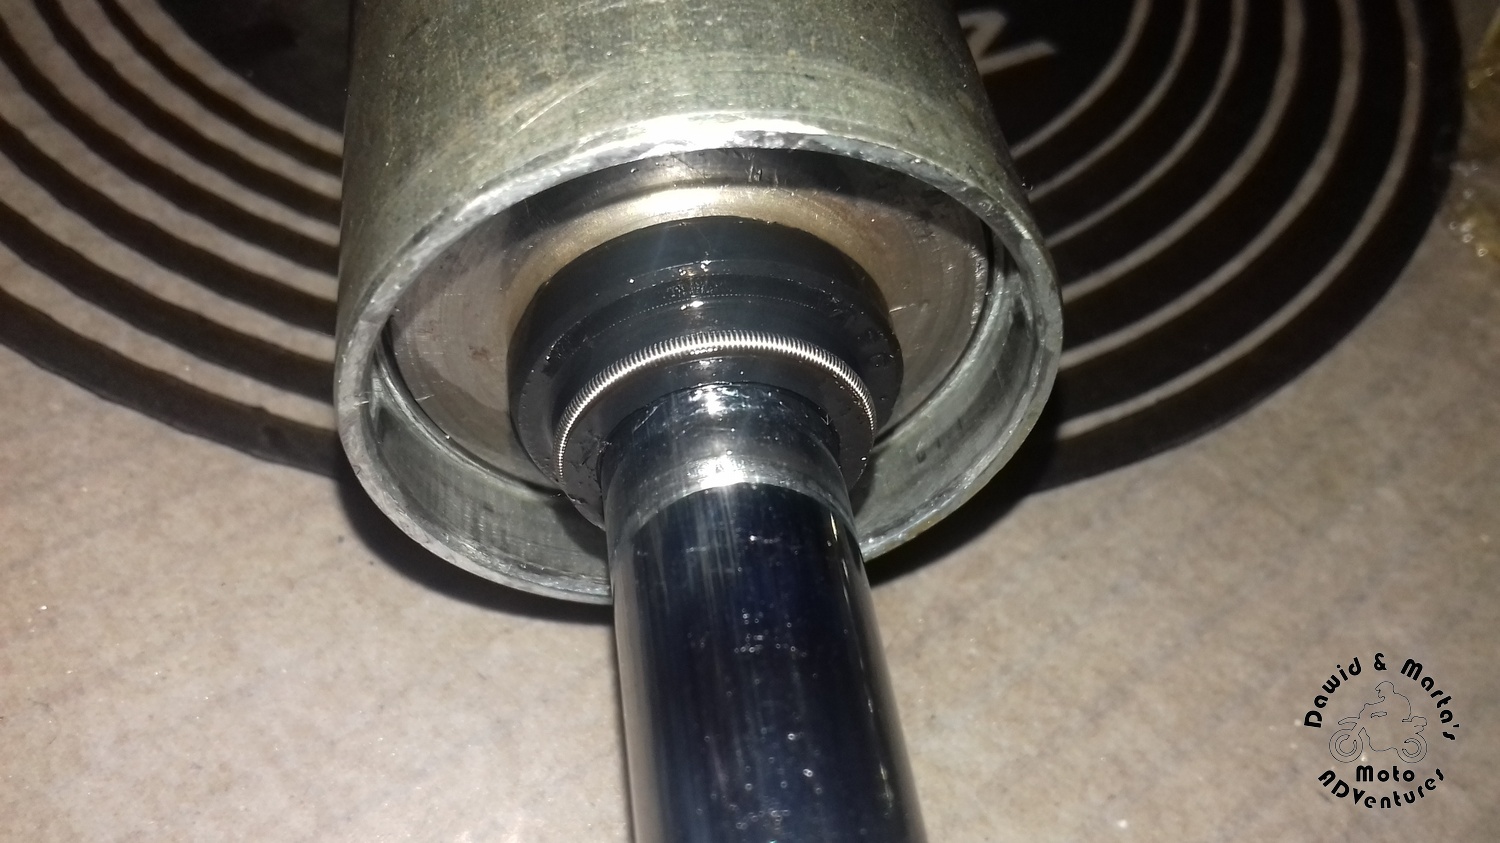
Now when you have removed air valve core and the cover, push the seal head inwards, so you will be able to unmount the securing ring. You can use a small, flat-blade screwdriver. I also used a small metal strip cut from the feeler gauge.
Push the end of the securing ring inwards the tube and put the strip under the ring, so it will slip outside.
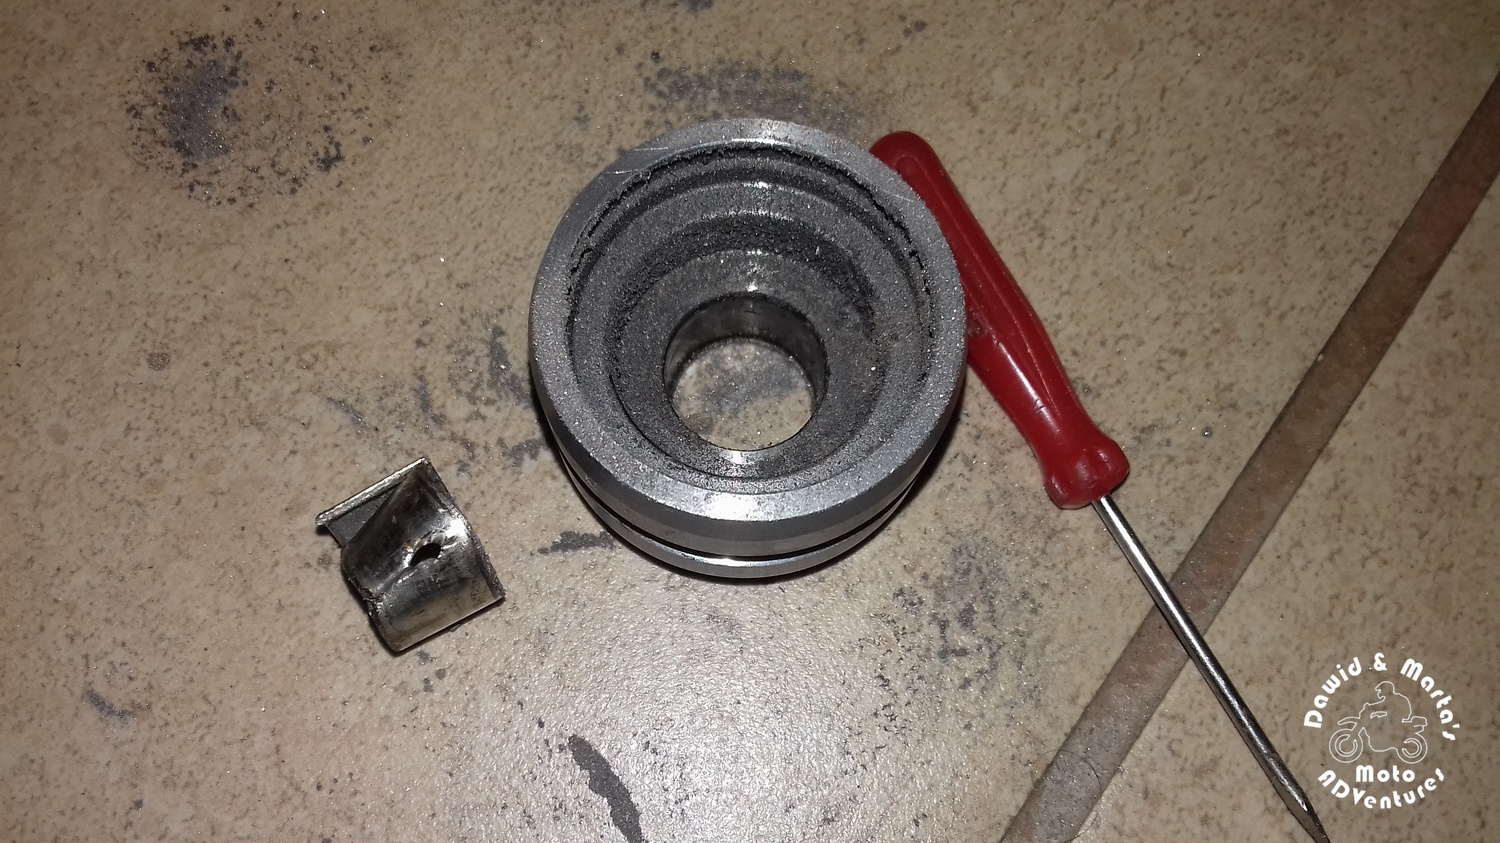
Then you can pull out the sealing head and the main shaft from the tube.
Step 5: Rear shock air can disassembling
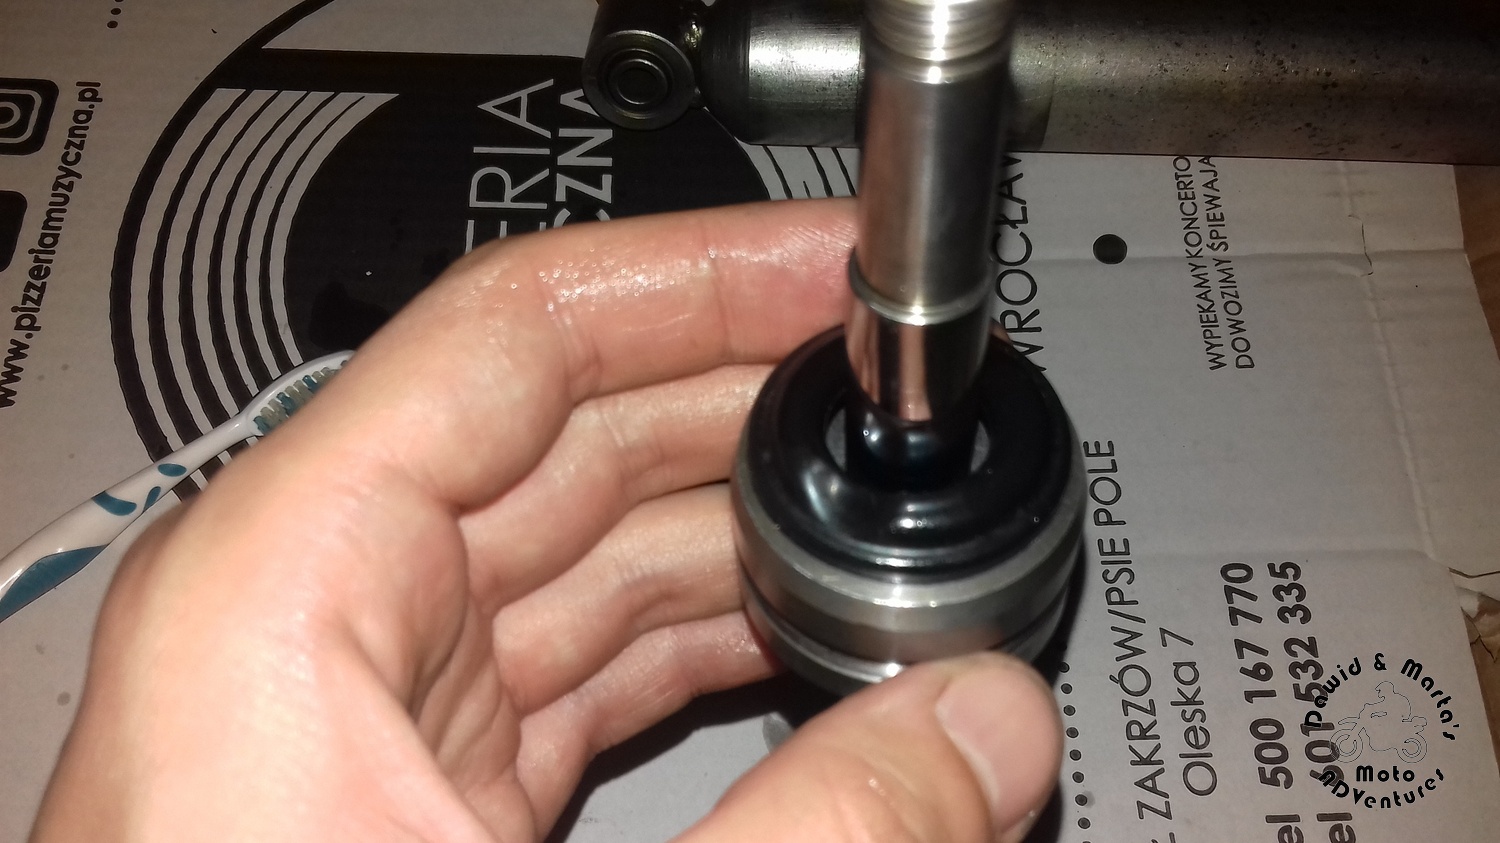
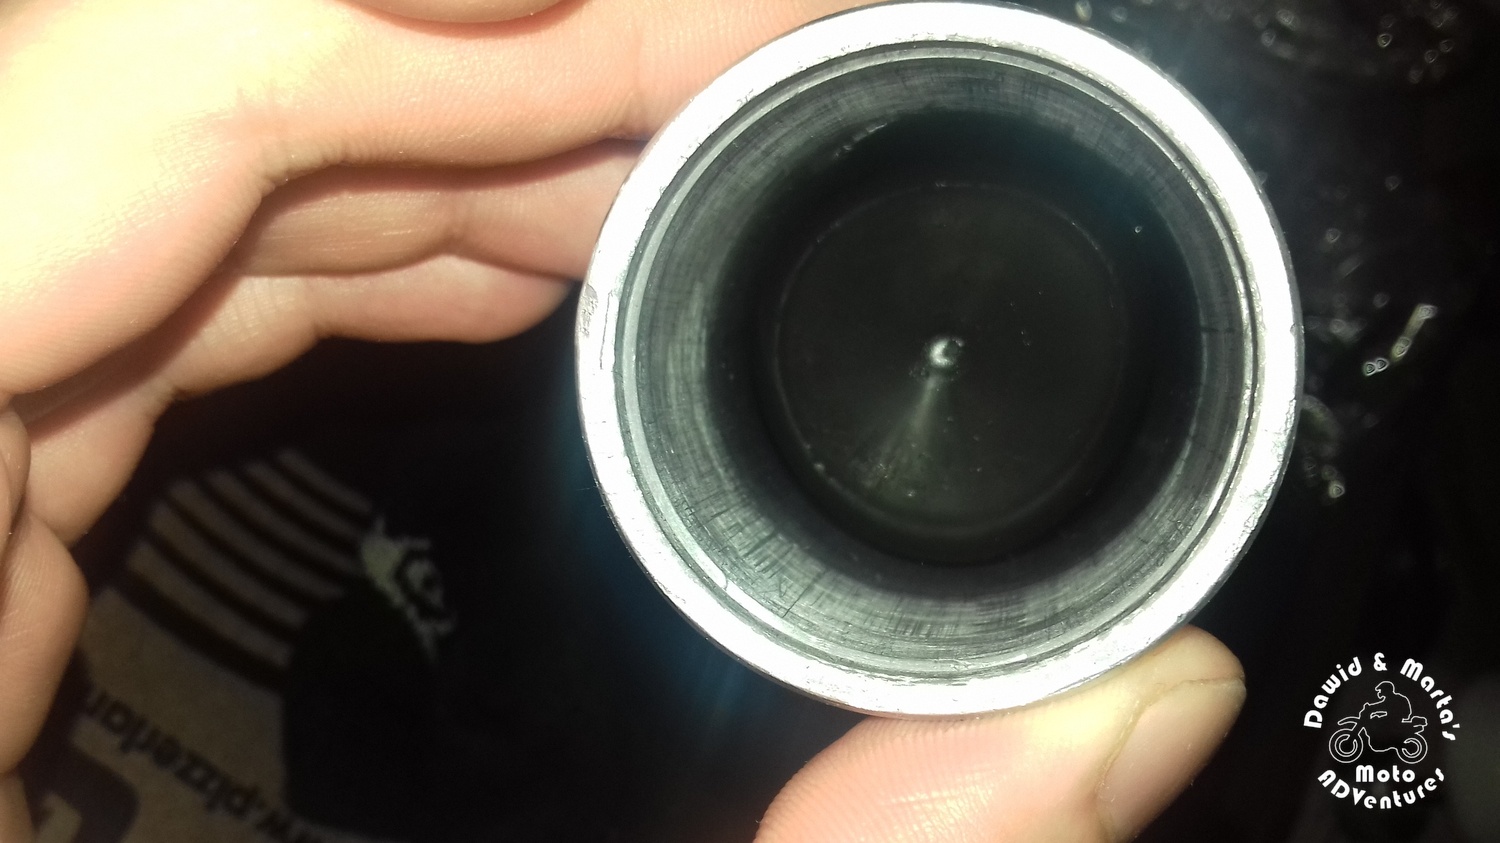
Disassemble the air can as the sealing head in the previous step. Use the screwdriver and a metal strip. Then remove the cover.
If the cover won’t come out easily, (like in my case, where the old oring blocked it) then just gently use some strength with a help of a hammer and a socked wrench ;)
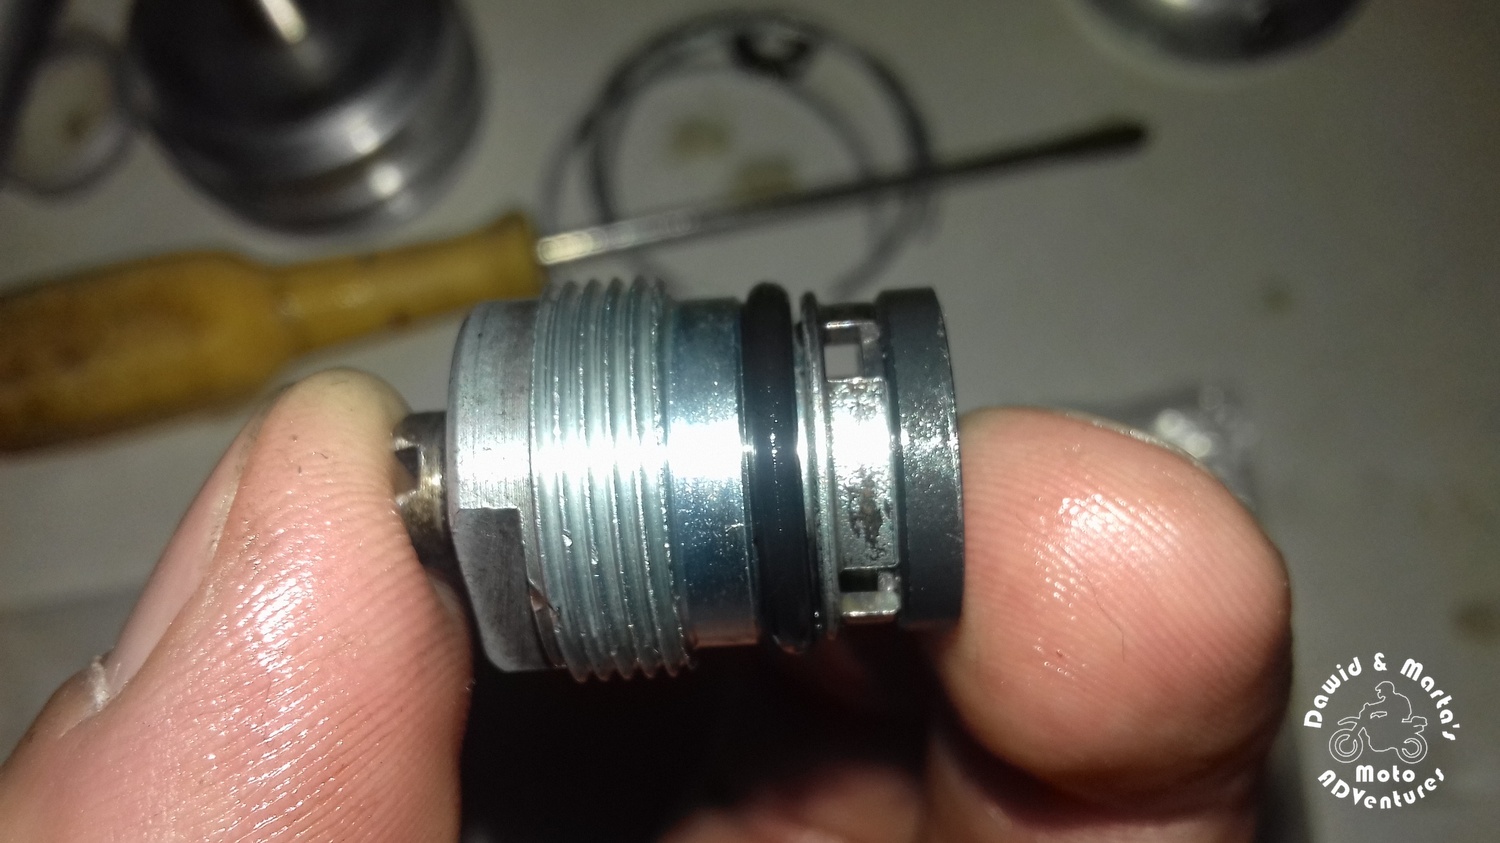
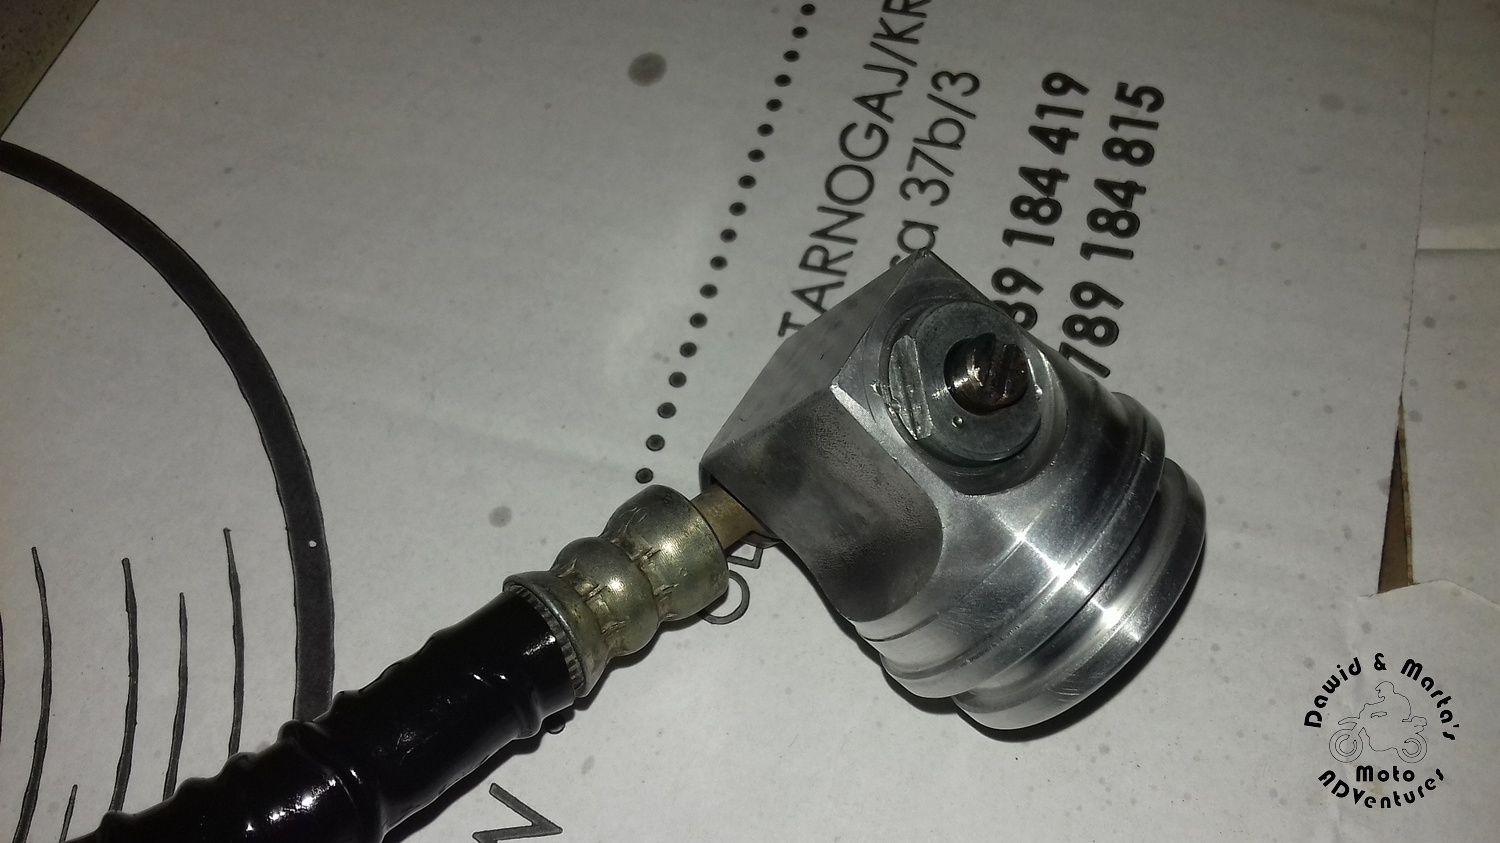
Step 6: Tearing down the air can adjustment valve
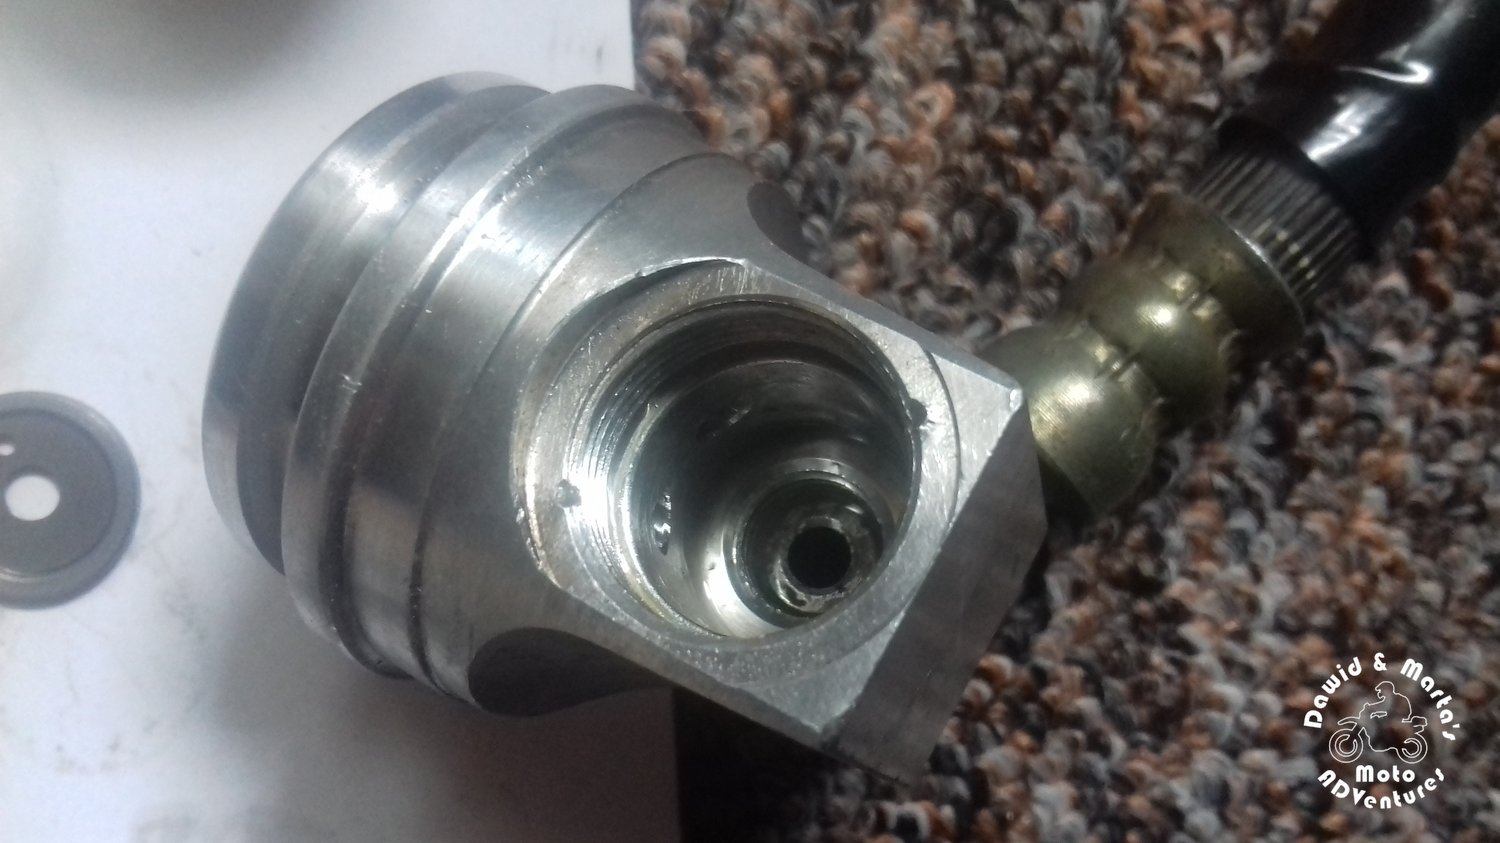
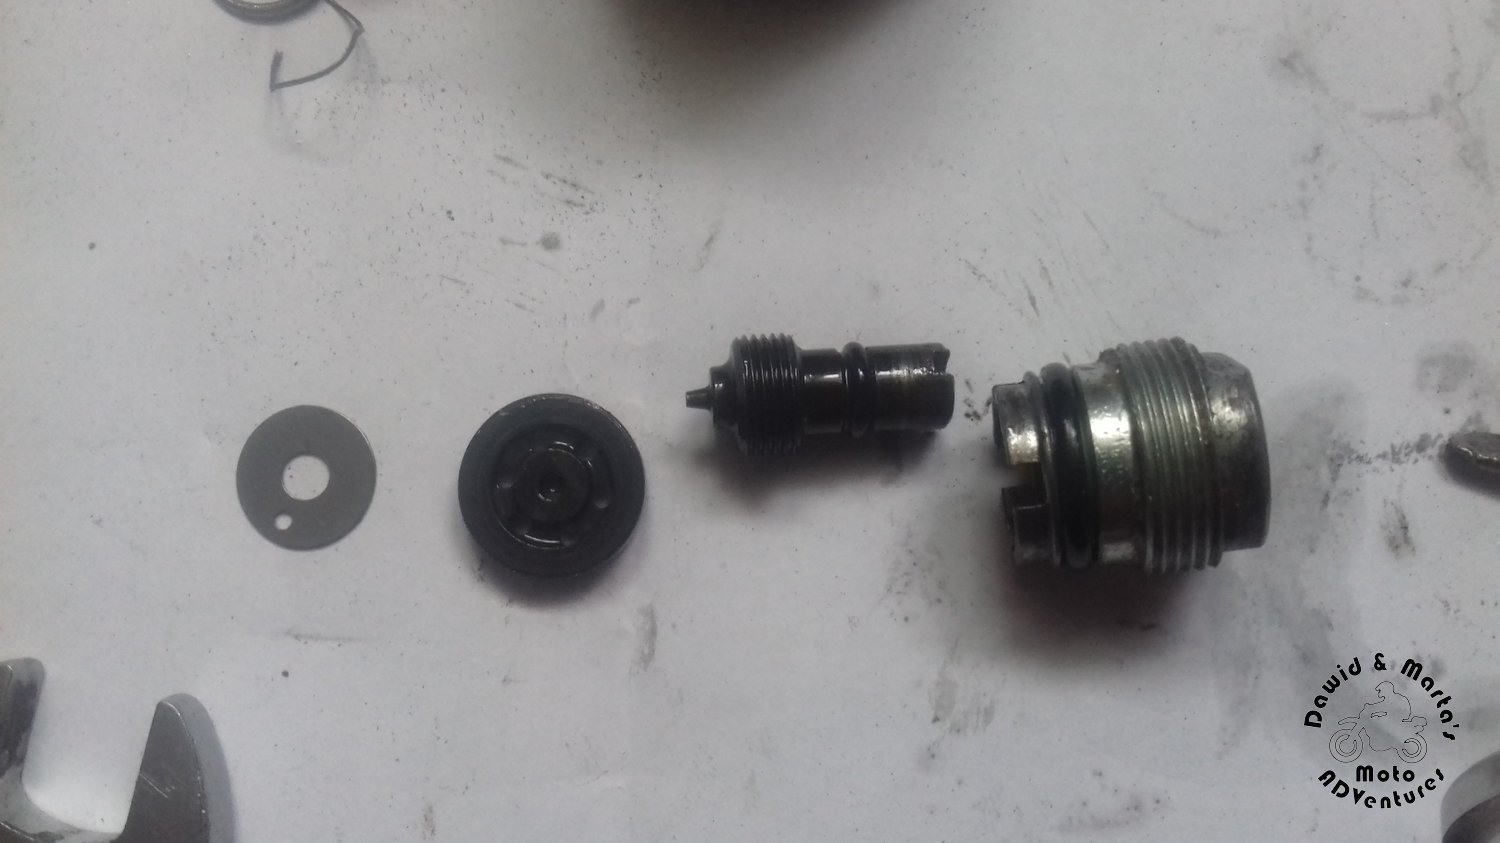
Simply use a wrench to remove the adjustment valve from the socket.
Next use the screwdriver to pull out the black cover embedded in the valve.
Dismantle the valve as much as possible.
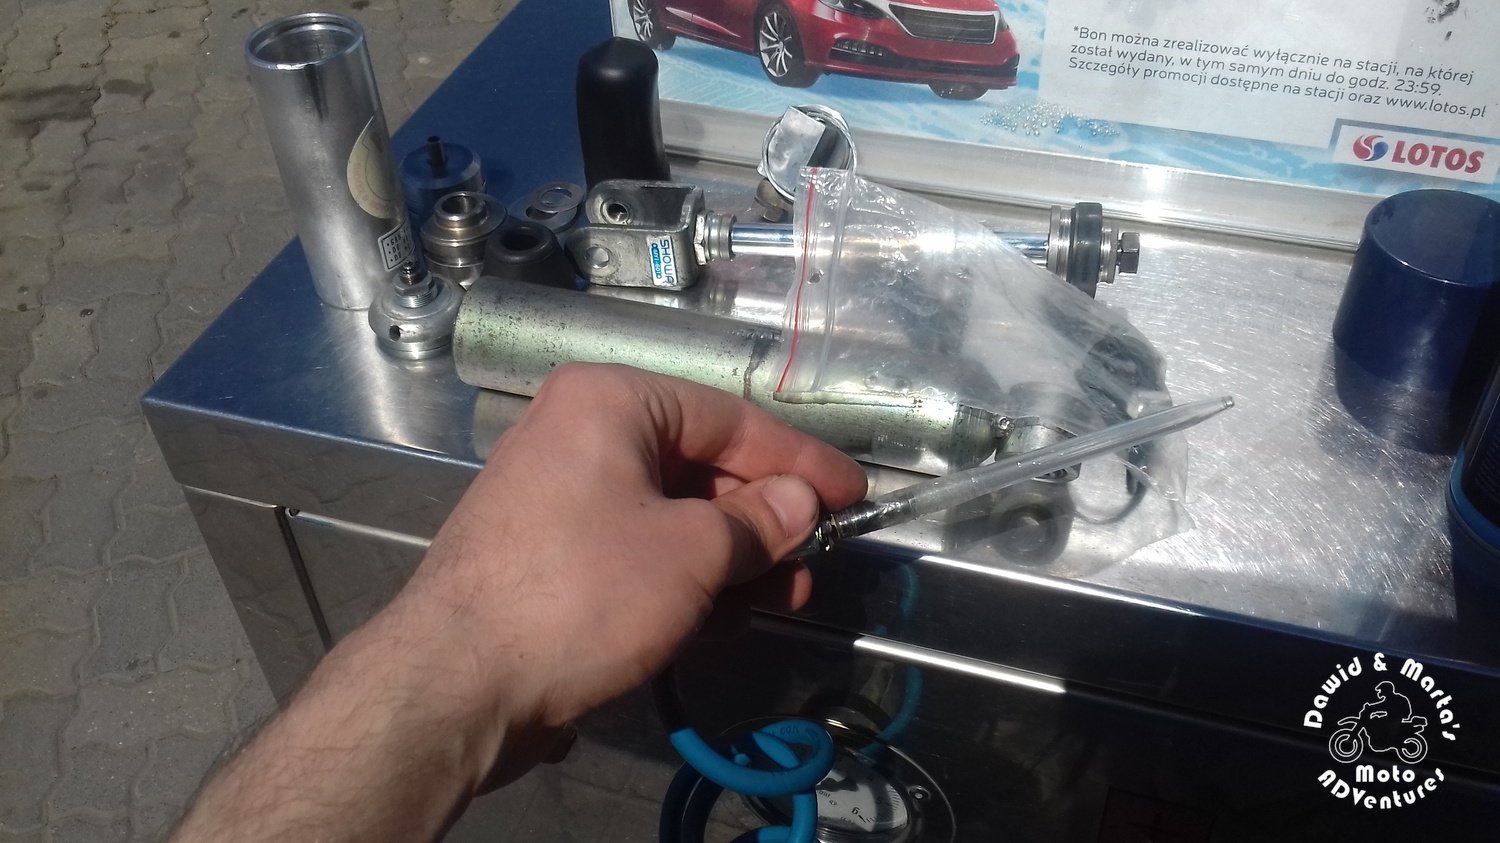
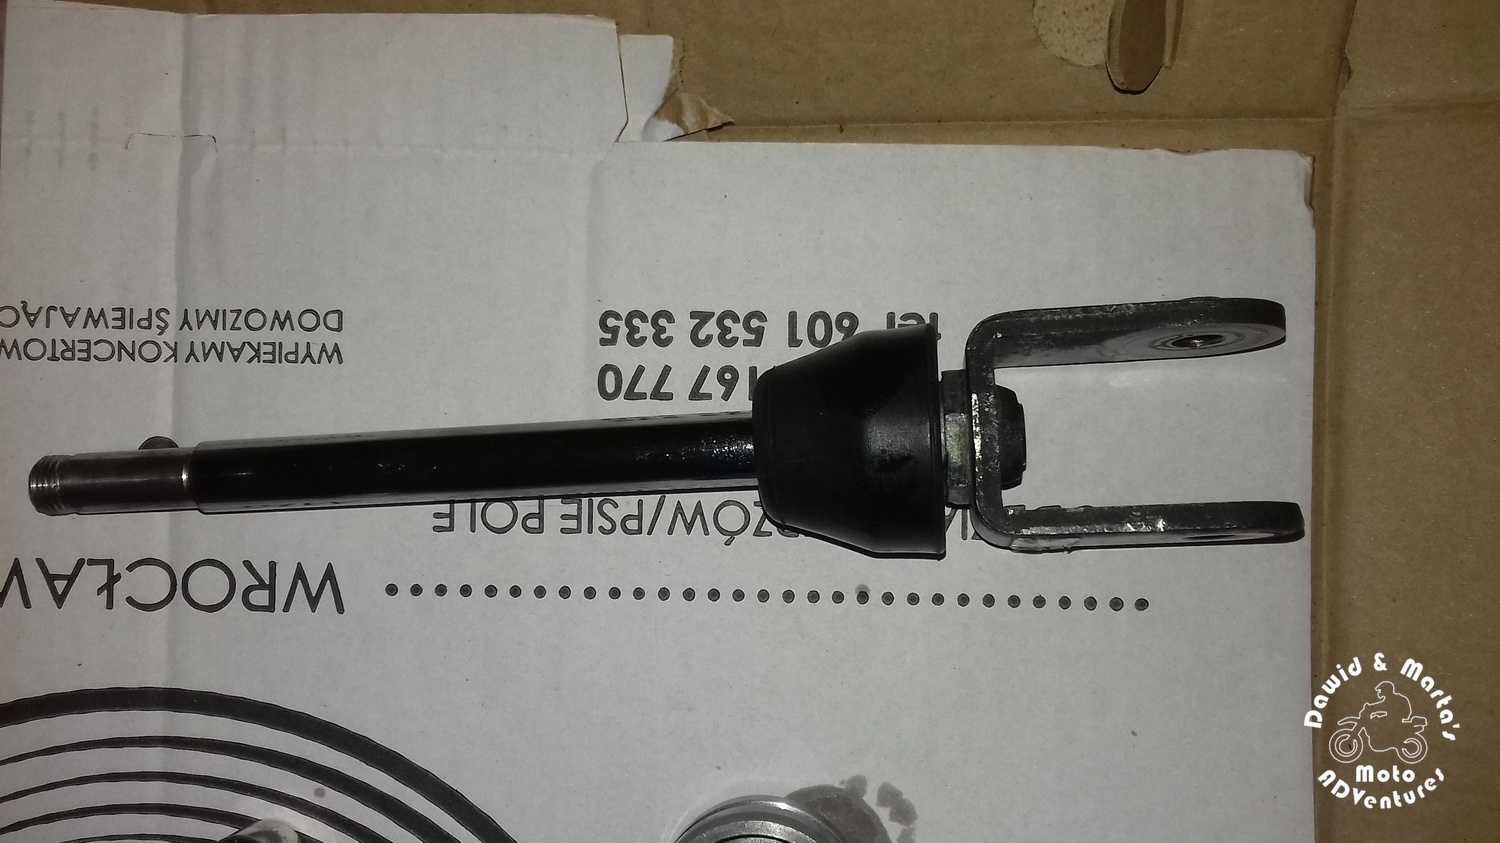
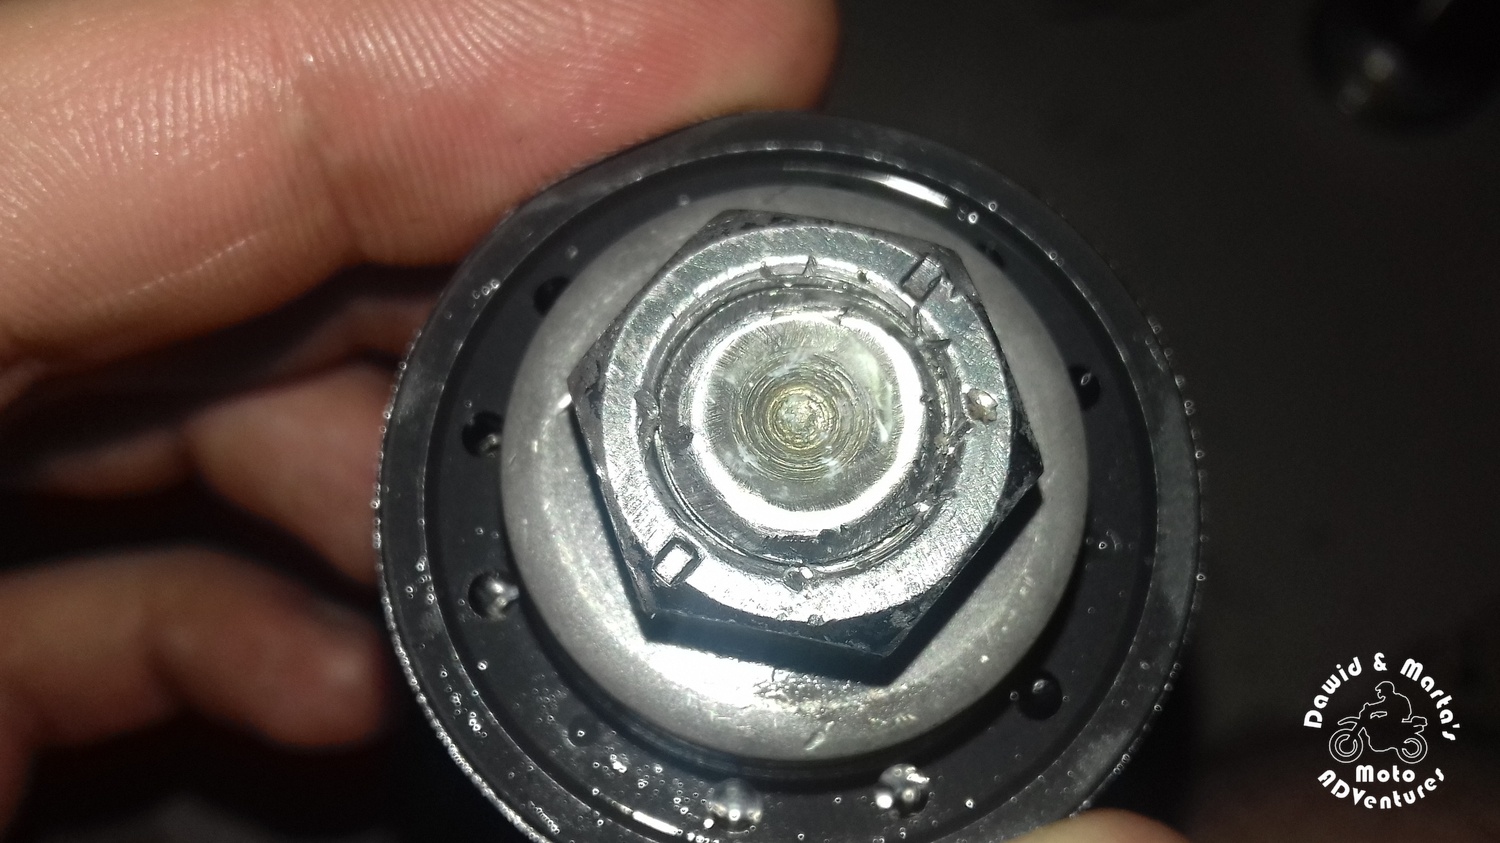
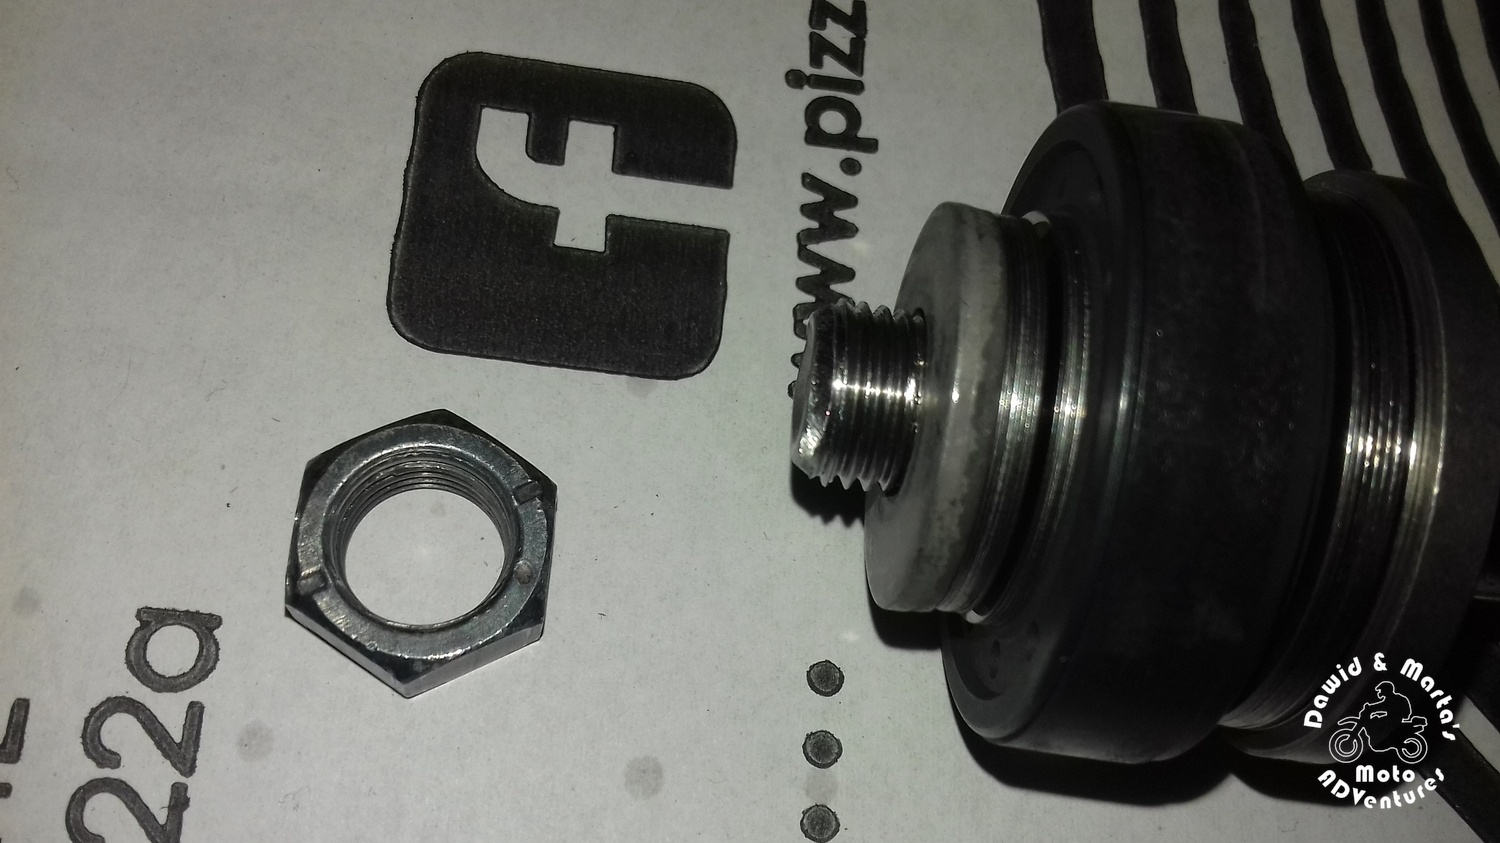
Step 7: Releasing the piston from the rear shock main shaft
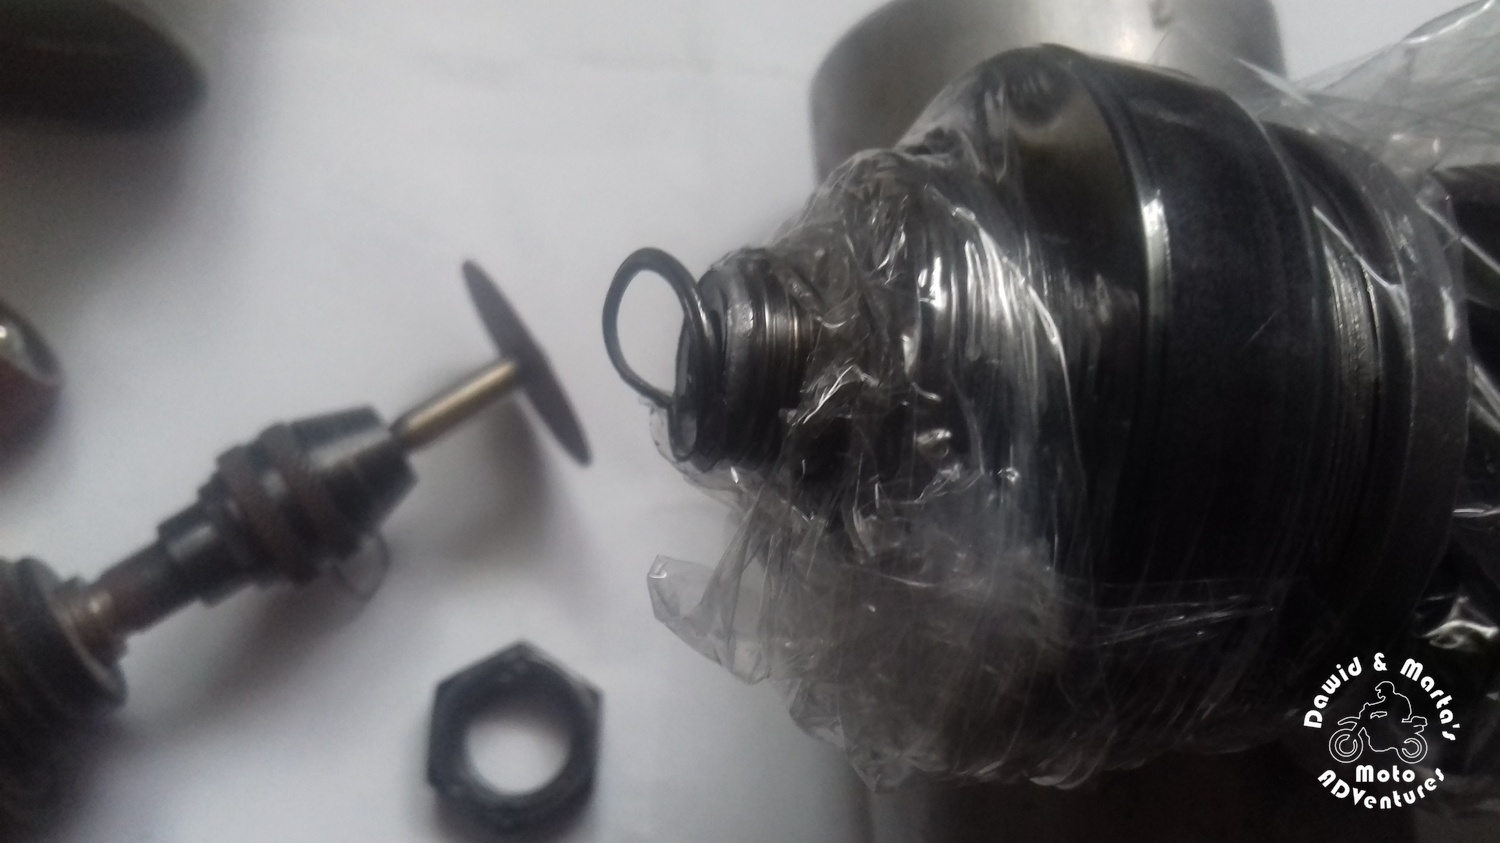

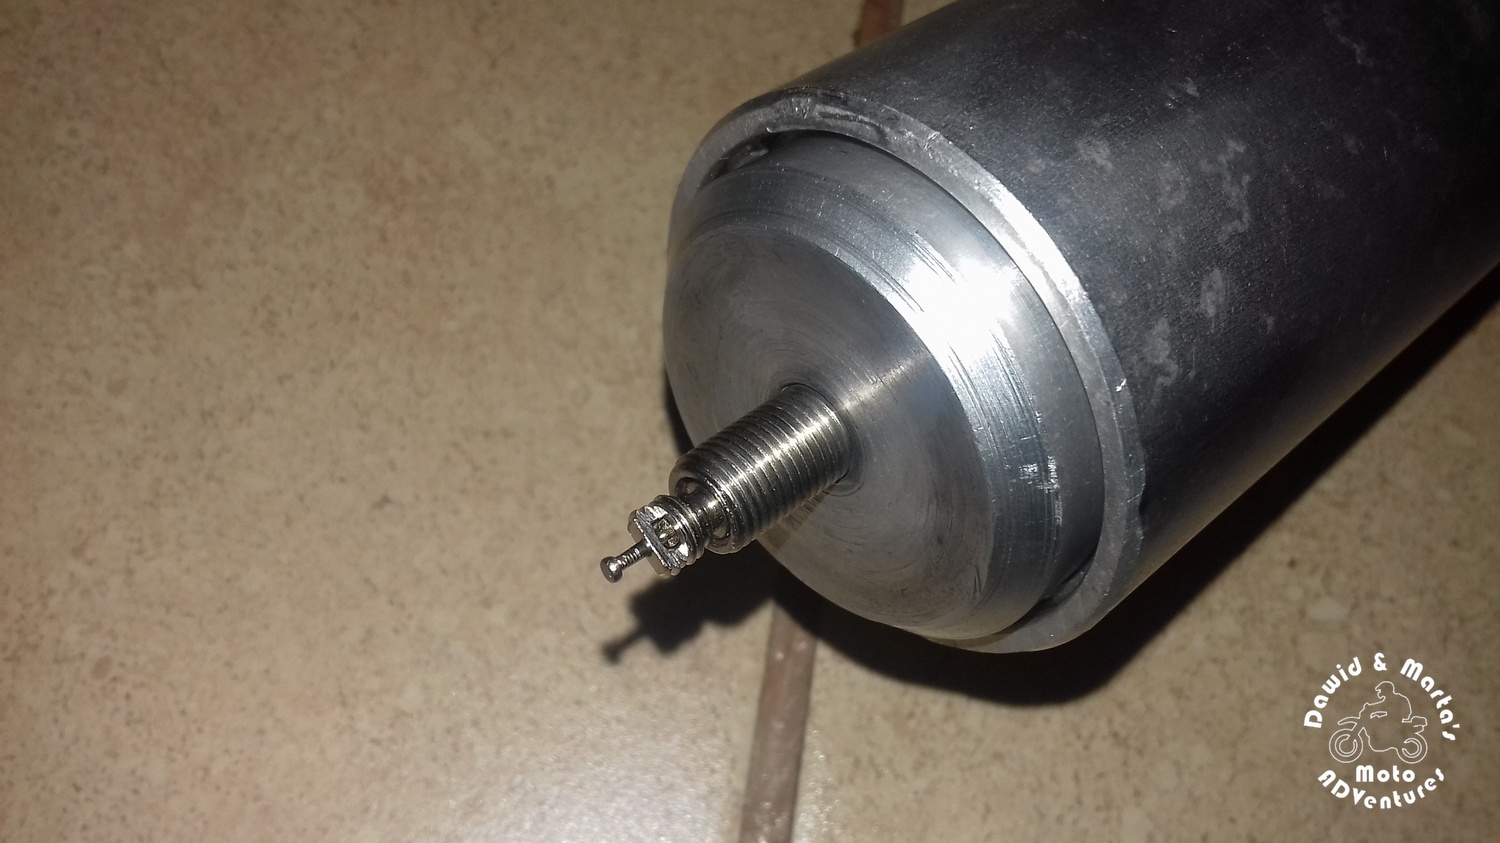
Simply remove the nut blocking the piston with a wrench.
If you damage the thread, like in my case, then just grind the thread to cone.
Then you can remove all the elements form the shaft. Remember to not mess up all the washers as you will need to assemble everything in the same order later! For example put the piston on the screwdriver.
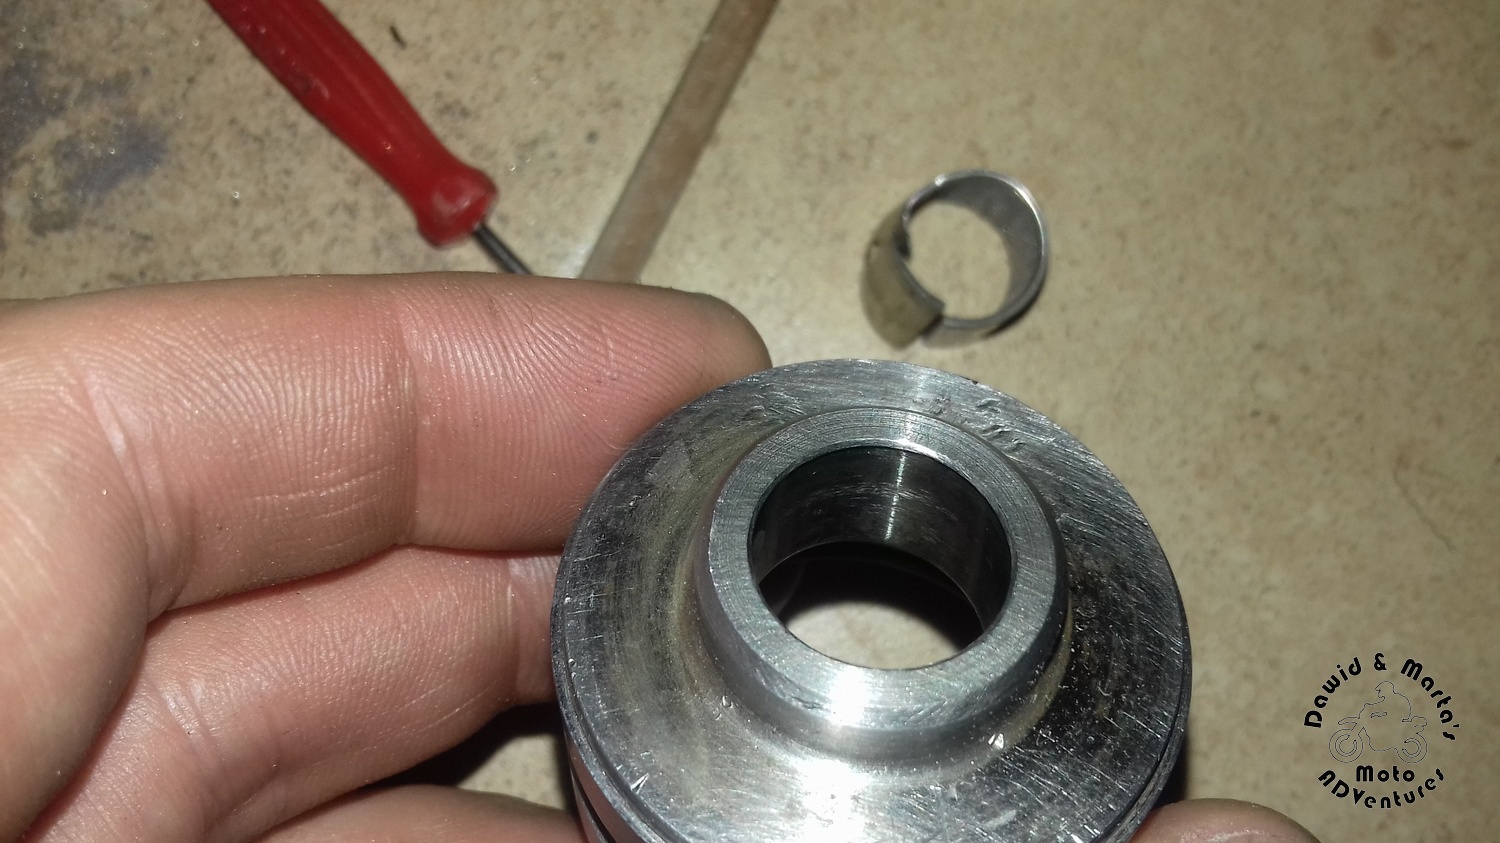
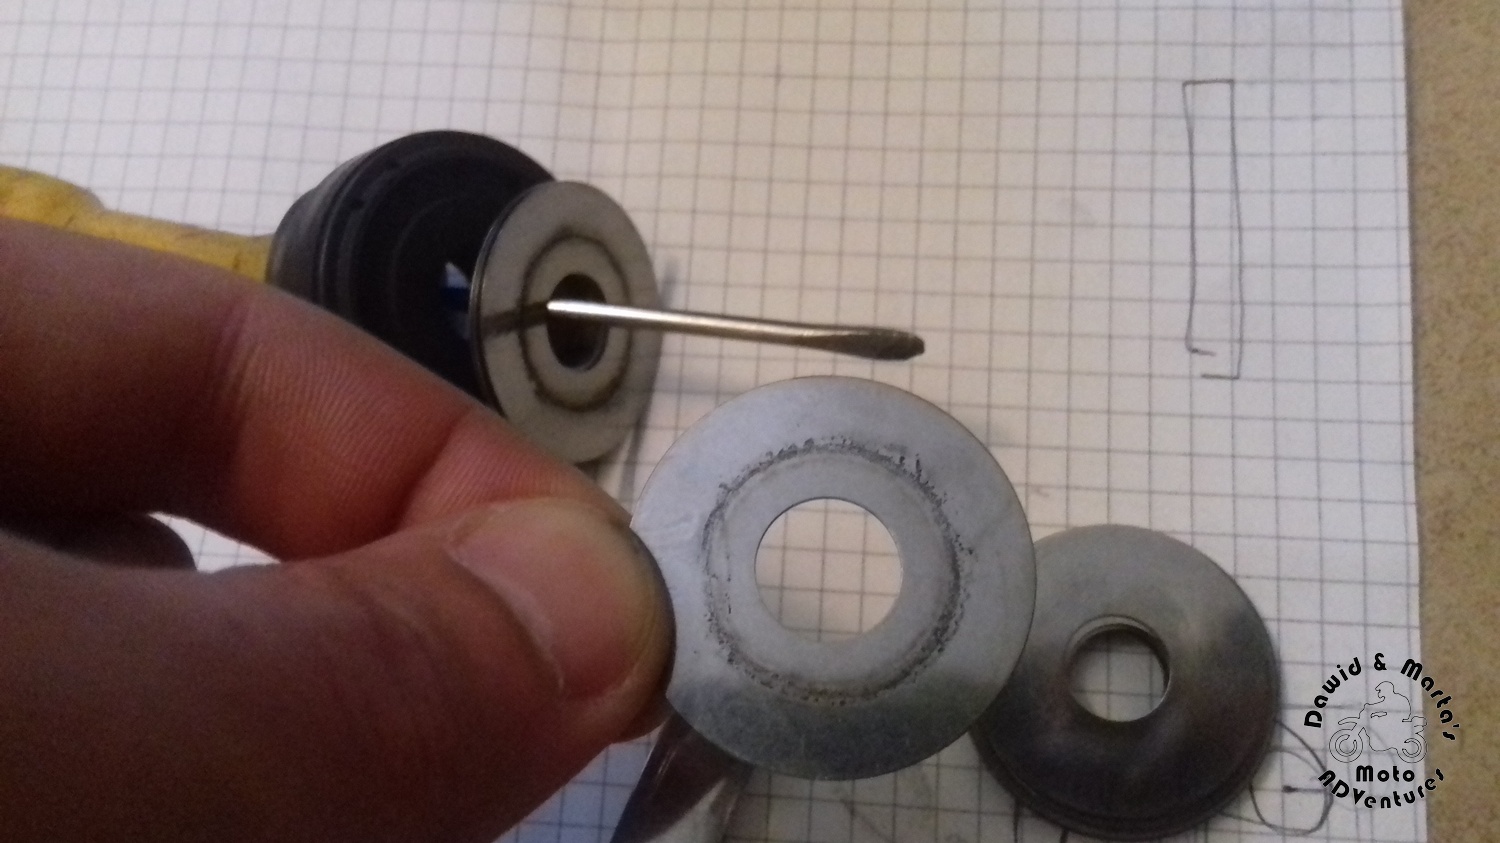
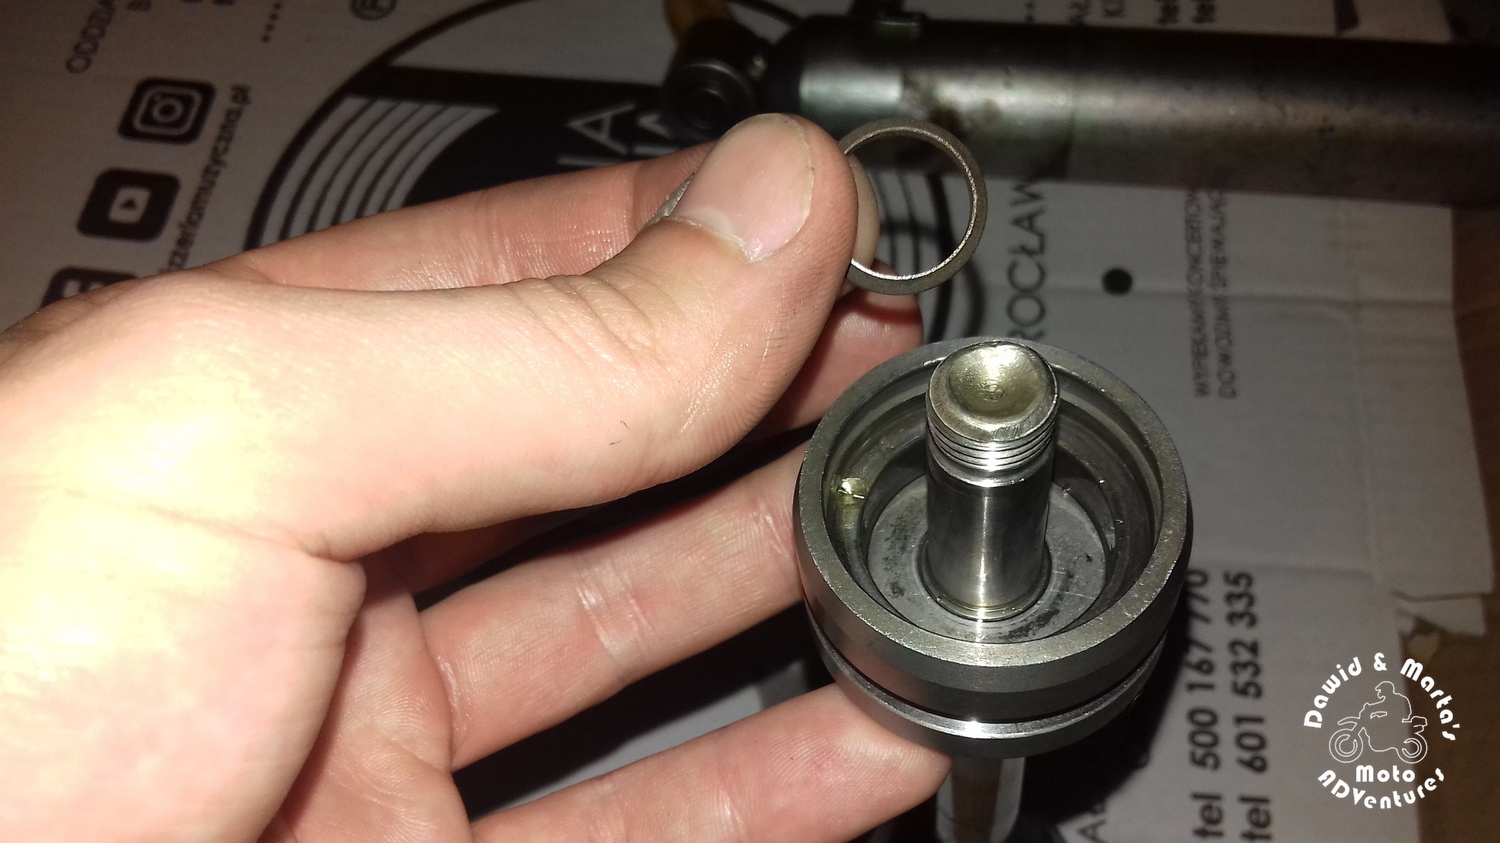
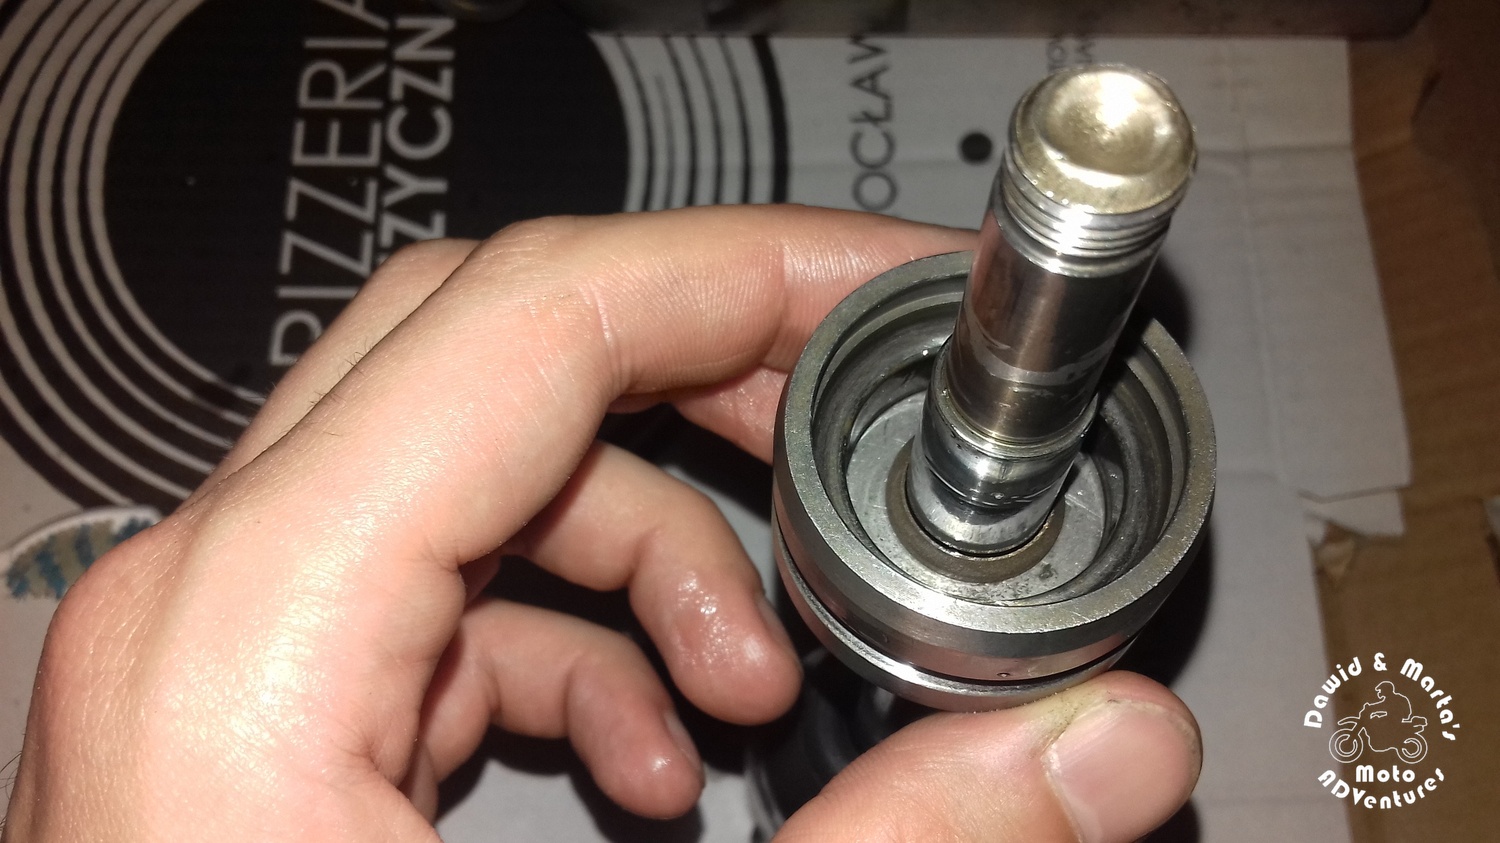
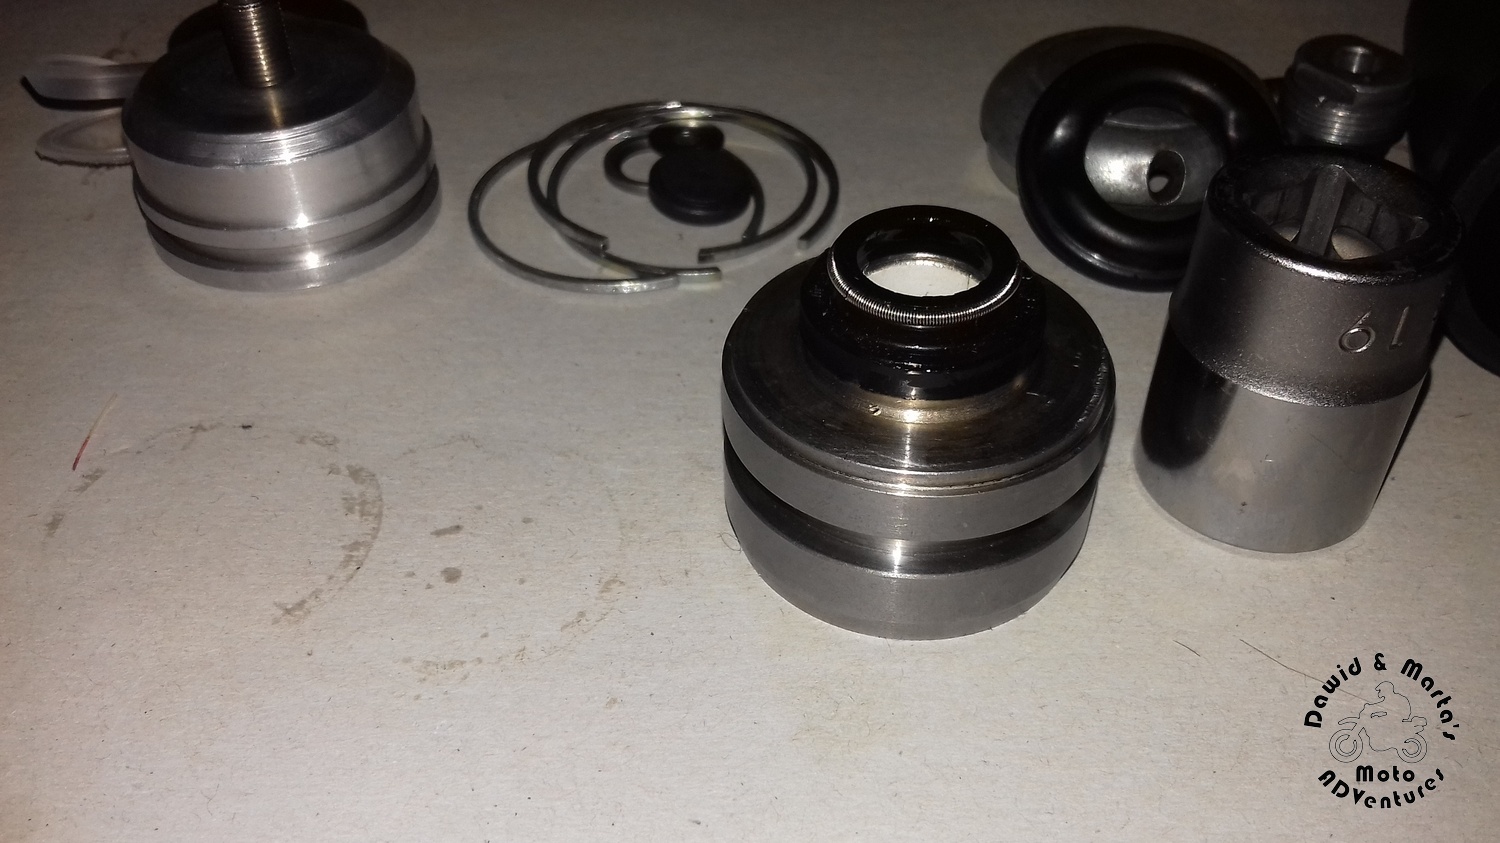
Step 8: Rear shock seal head disassembling
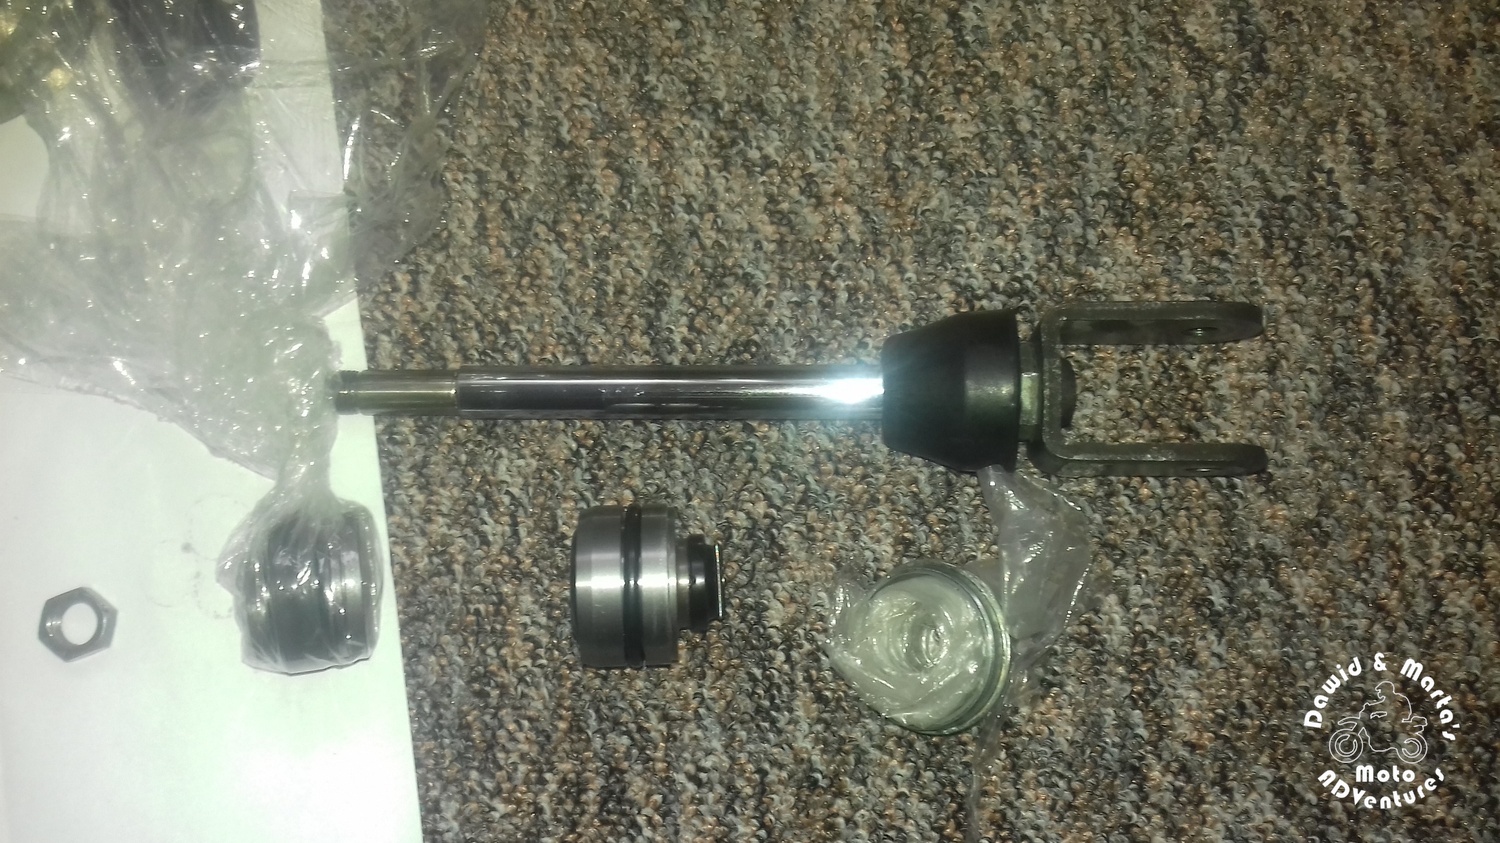
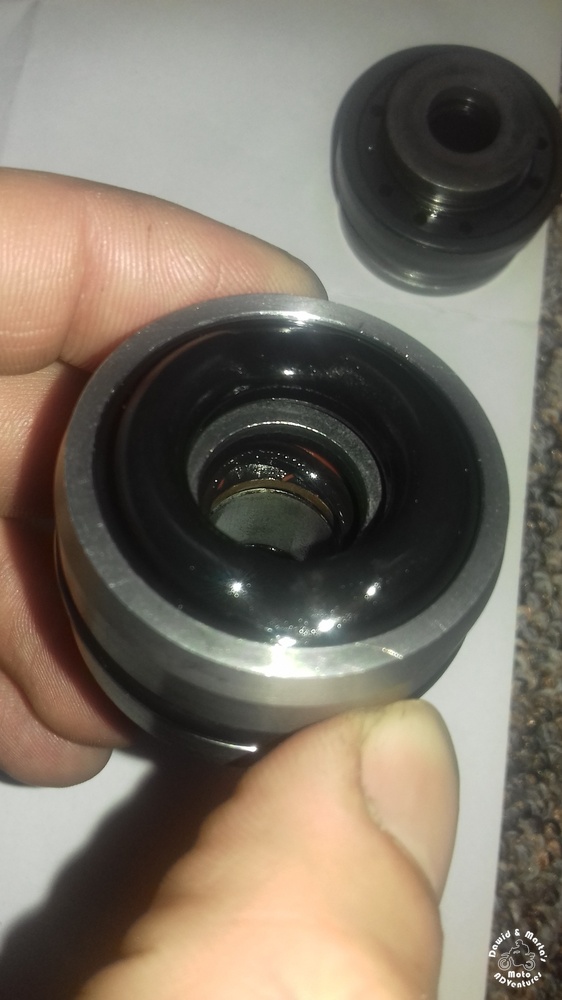
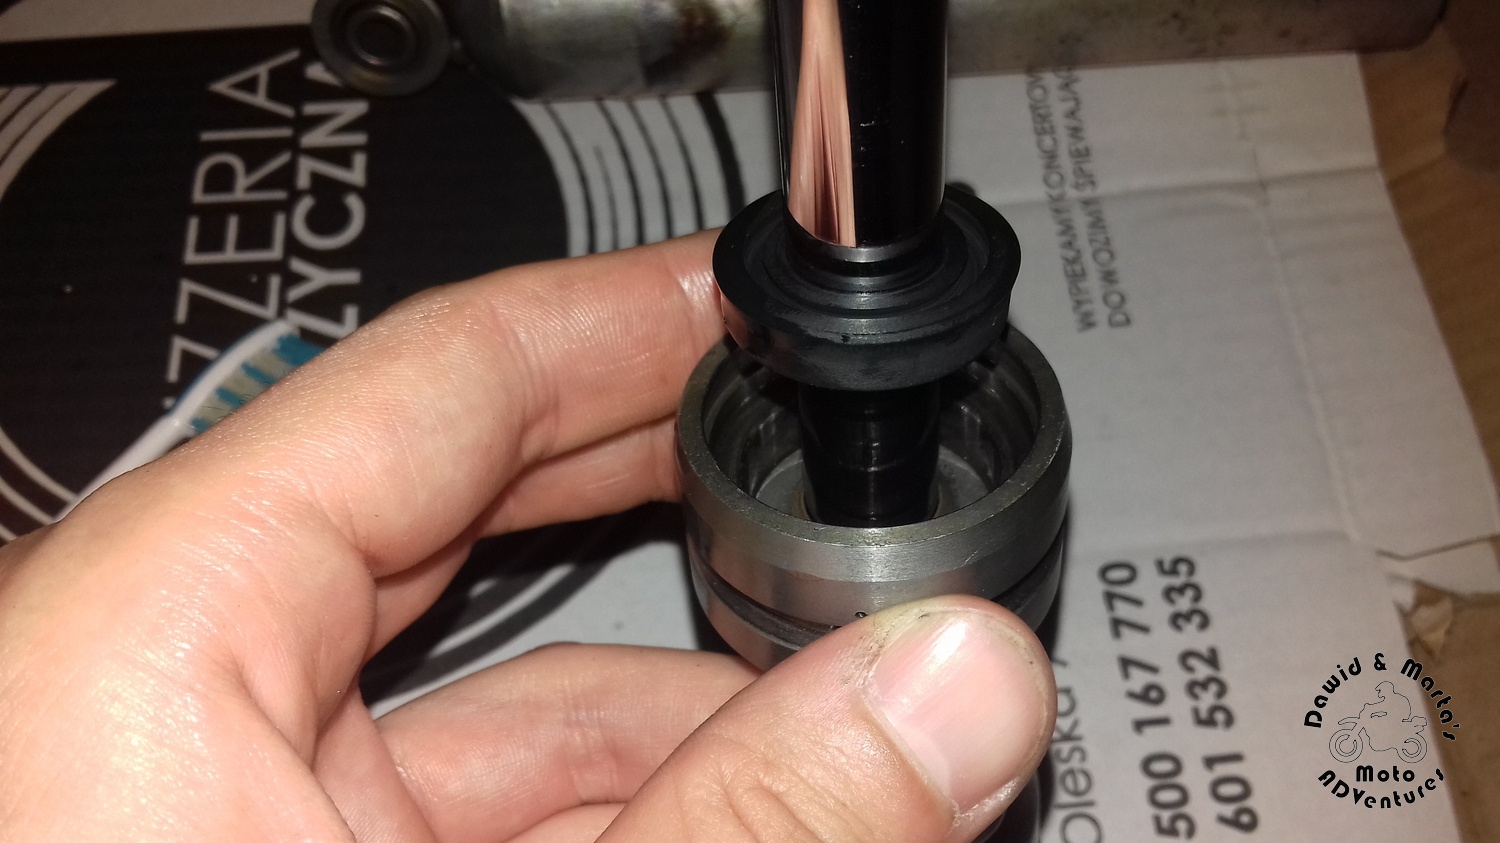
Now when the blocking nut of the piston was removed and the piston and the seal head are released – remove the rubber washer with something with blunt edges.
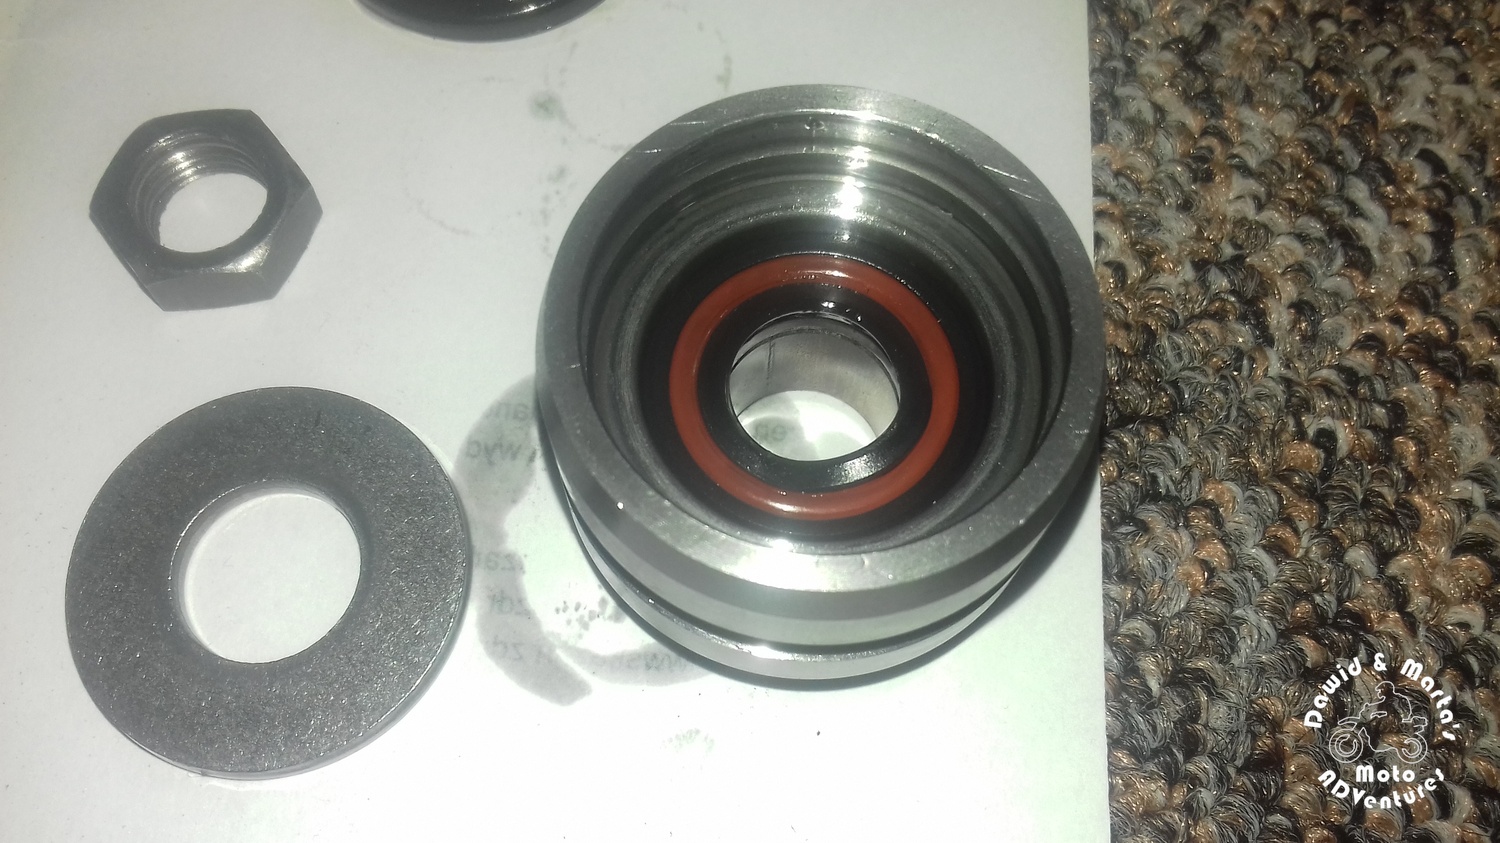
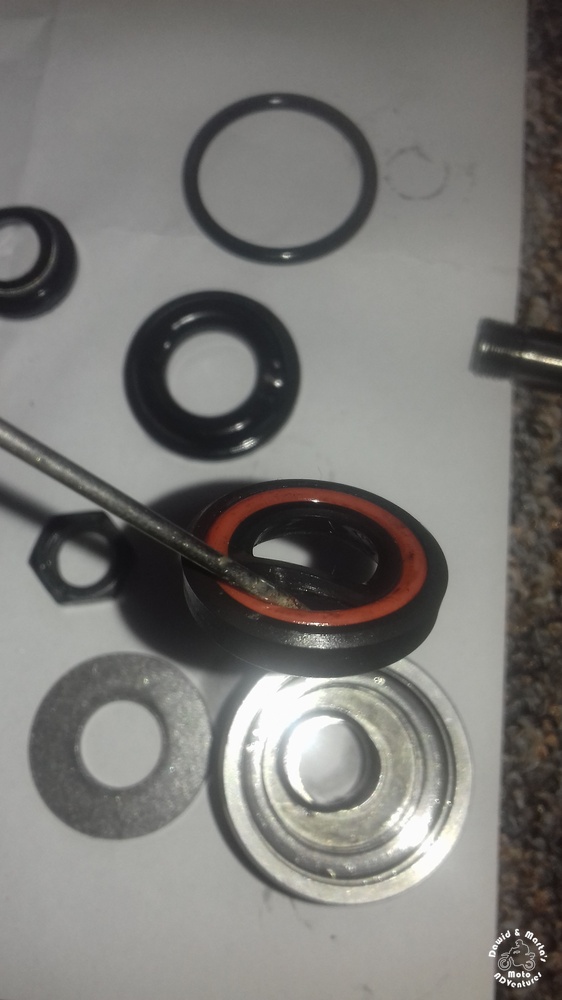
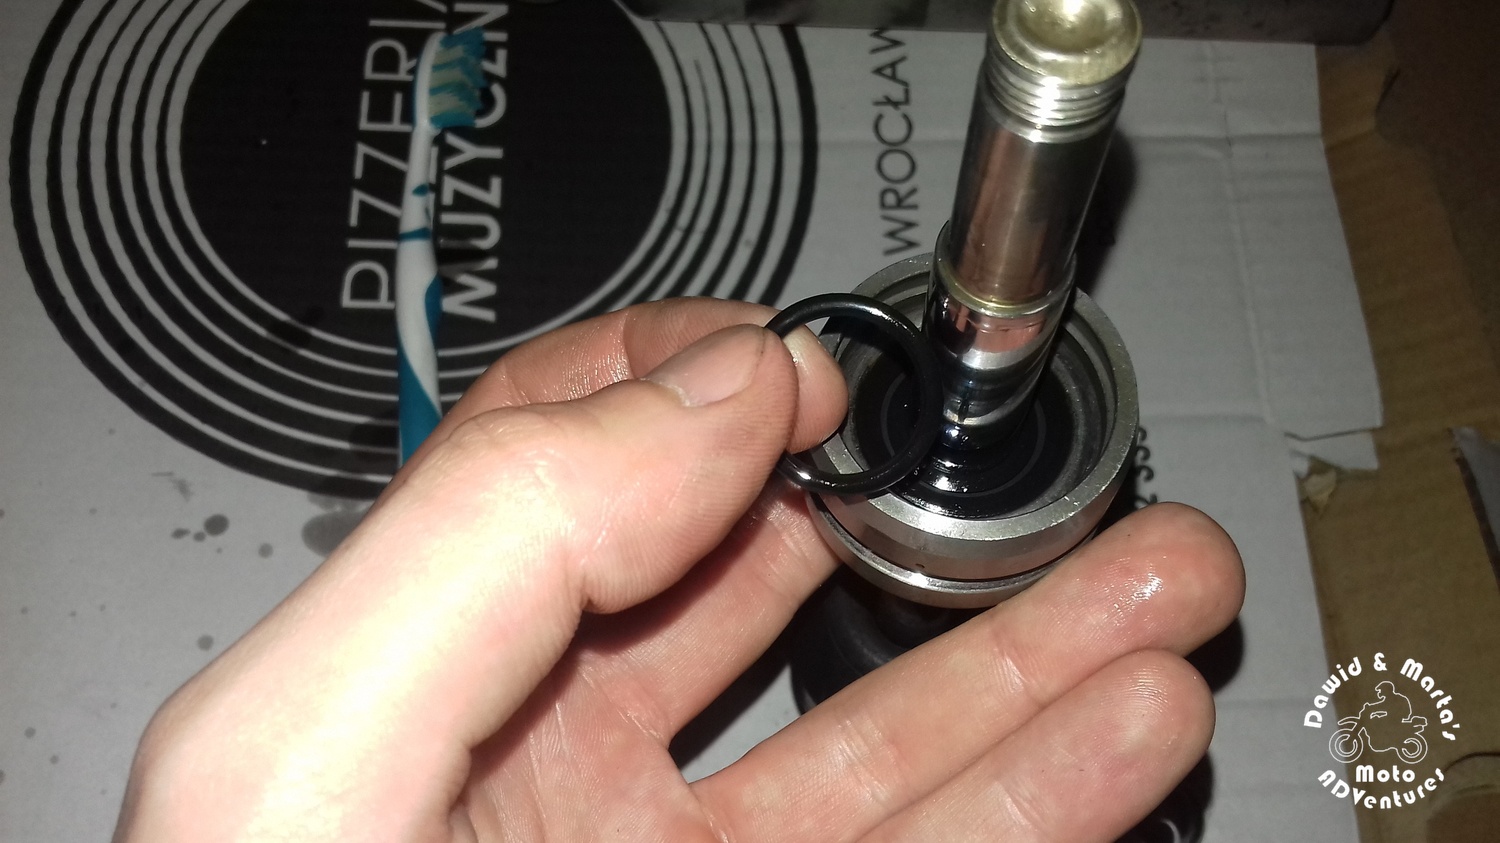
Behind it lays a metal washer. Under the metal washer you will find the main shaft sealing – pull it out. It consists of a sealing, oring and support.
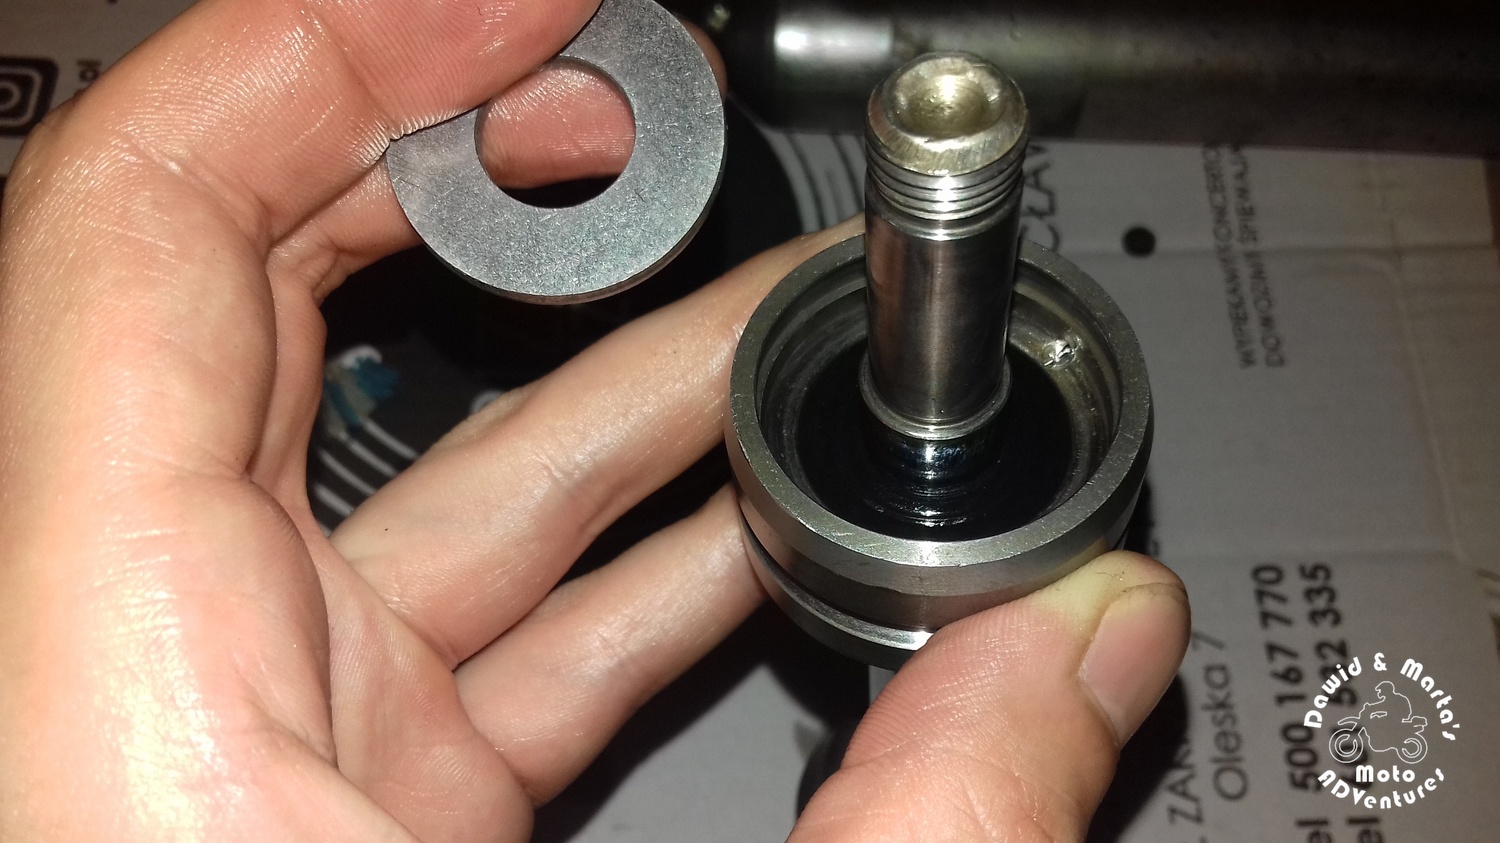
Beneath the seal head sealing another steel washer is hidden – take it out too.
After dismantling all of those elements you will see a slide bush. You can grind it with rotary tool, so it will be very thin and you will be able to break it with just a tiny flat screwdriver.
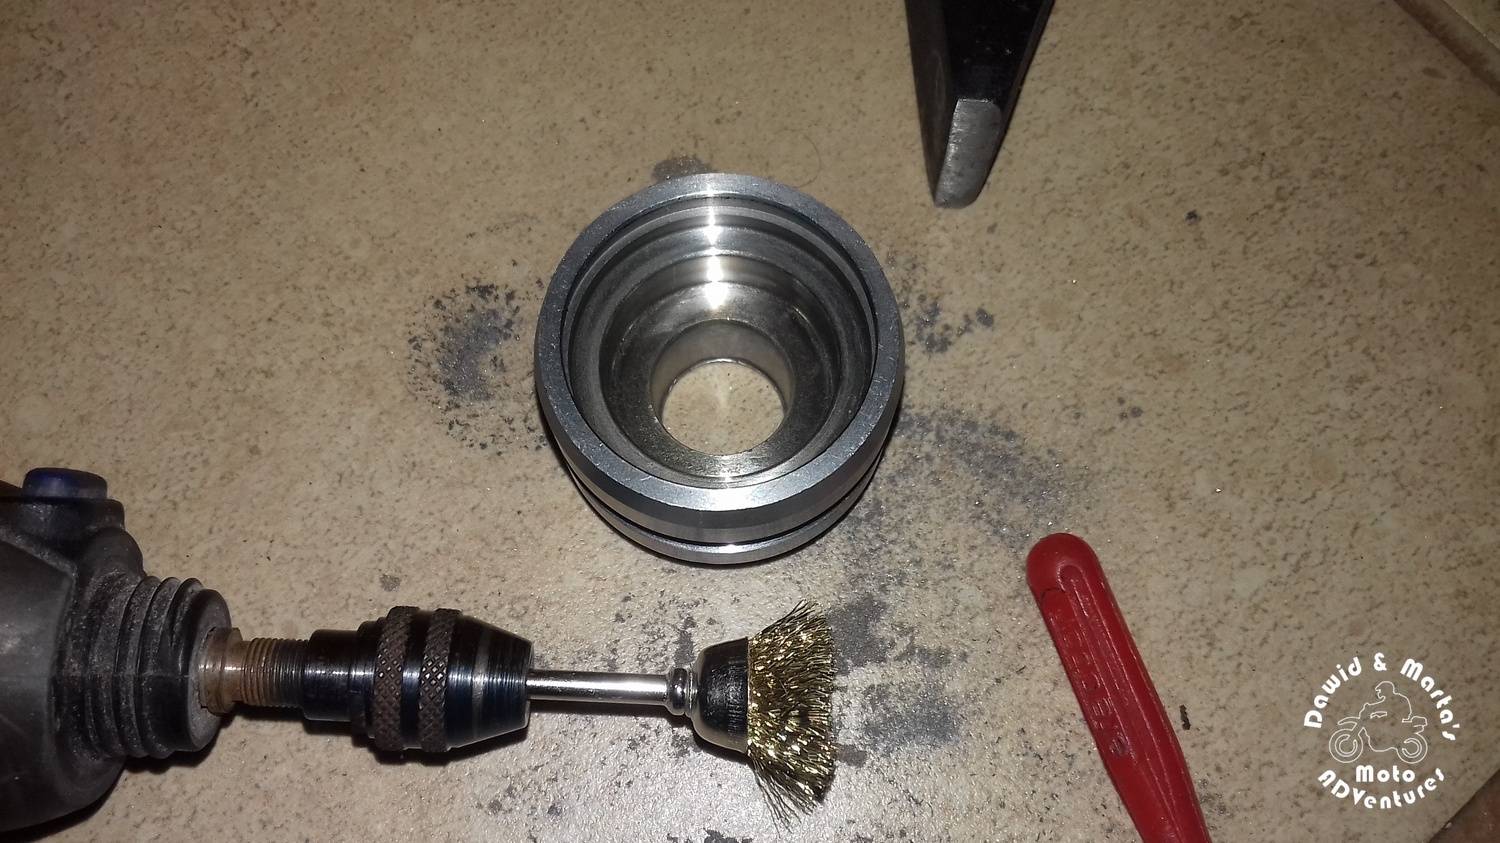
If there is some rust anywhere – use a small wire brush to remove it (again you can use rotary tool).
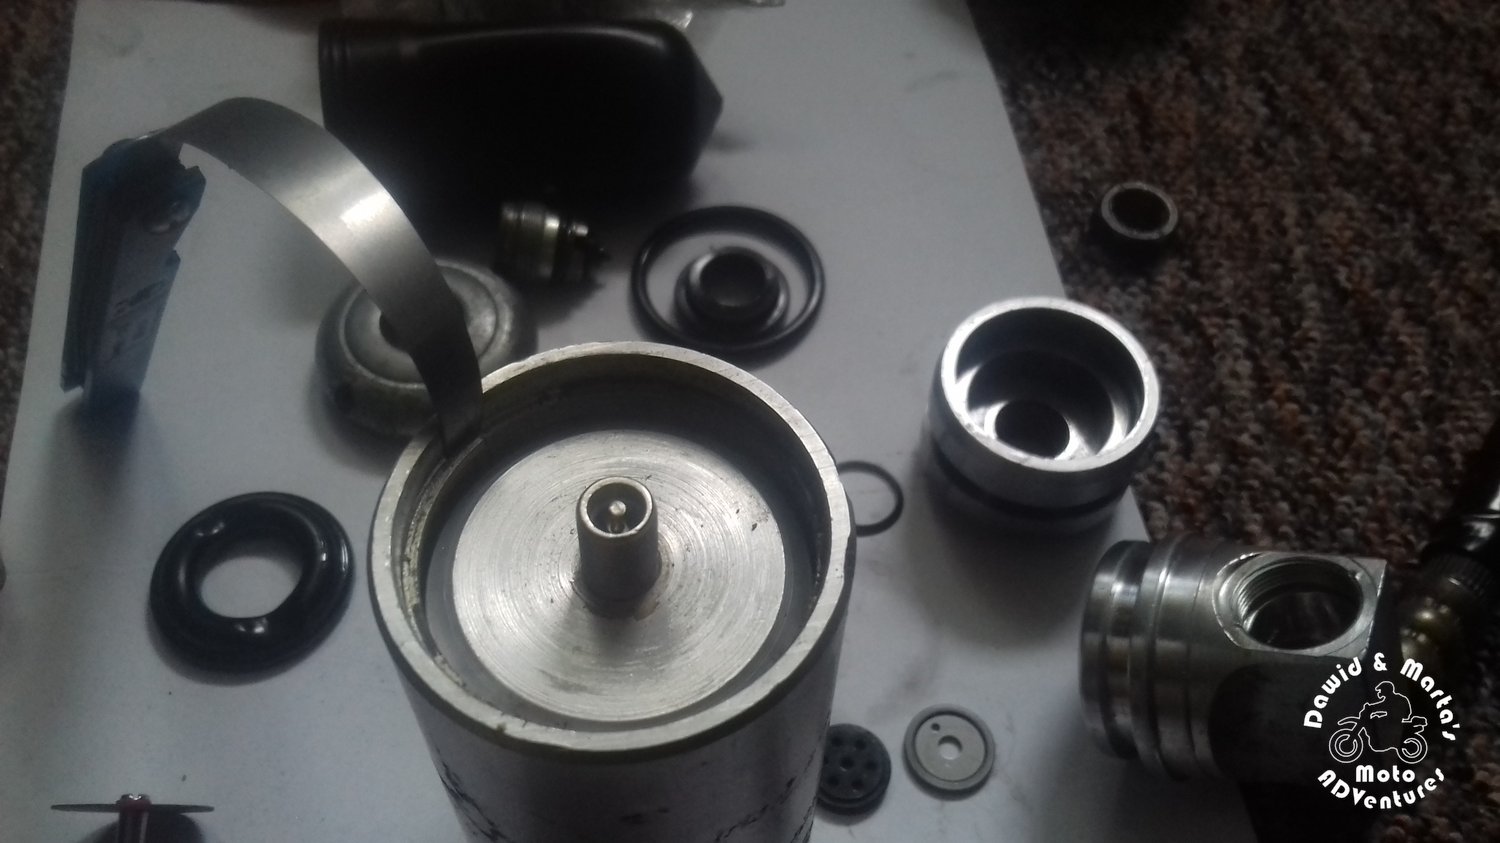
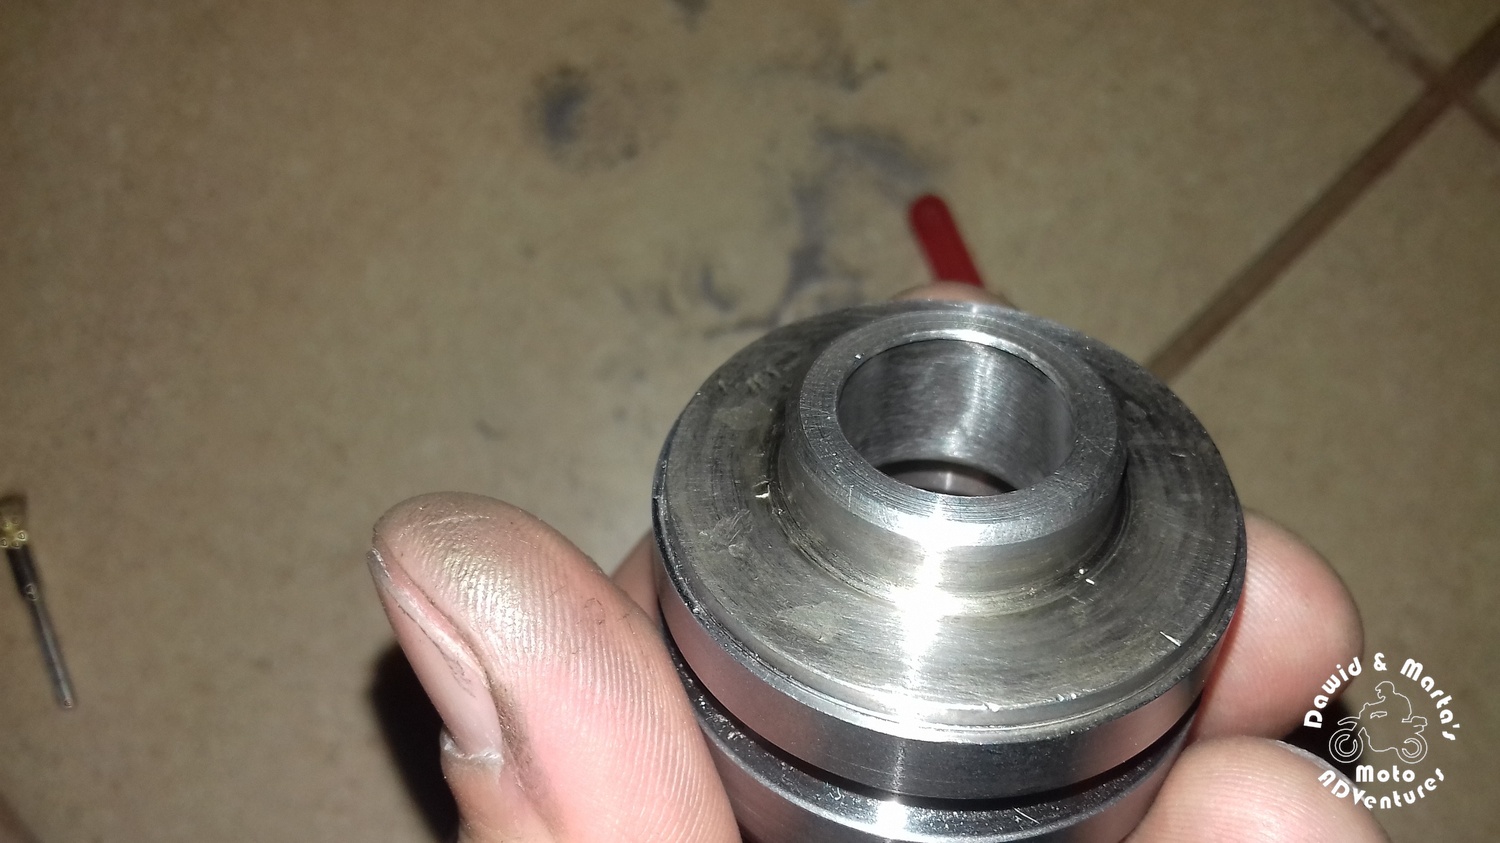
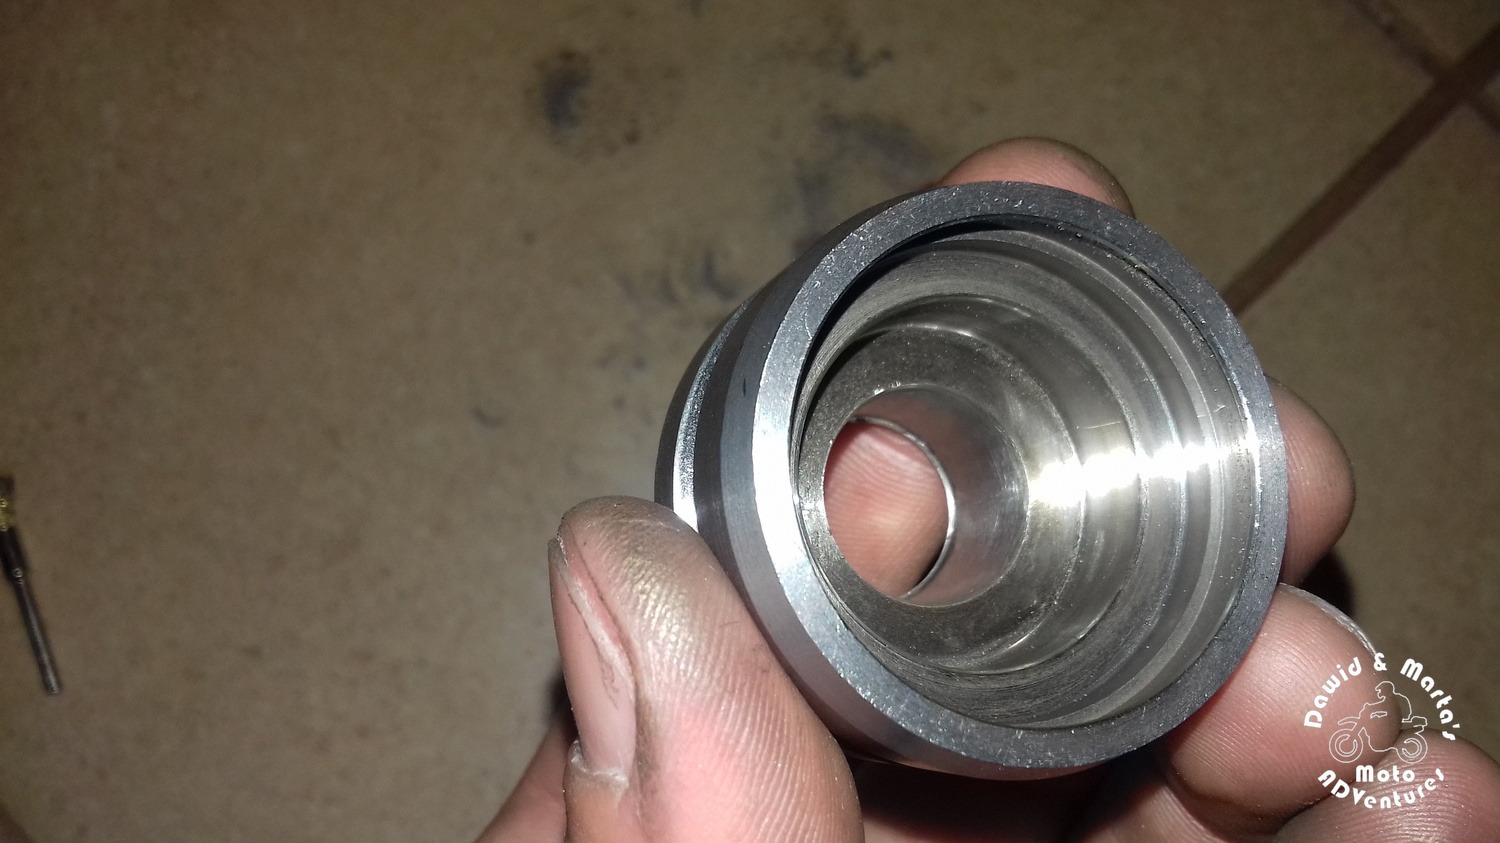
Step 9: Cleaning

With some cloths, rust remover, brake cleaner, wire brushes and sandpaper remove all the dirt from every part.
In the end blow everything through with the air from a compressor.
If you haven’t got any, like we, use compressor on the petrol station. You can make reducer for the compressor from a pen and a bike tire vent.
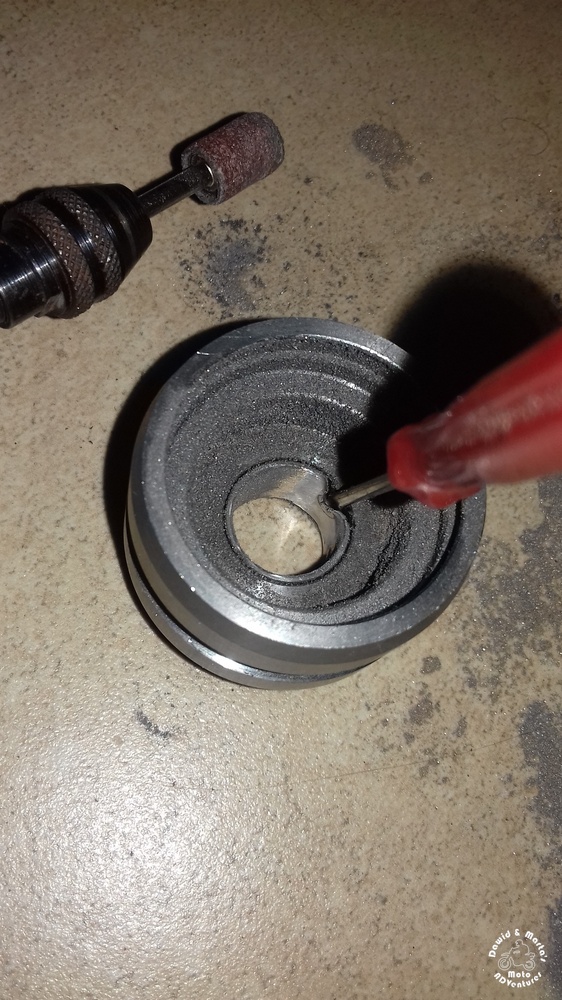
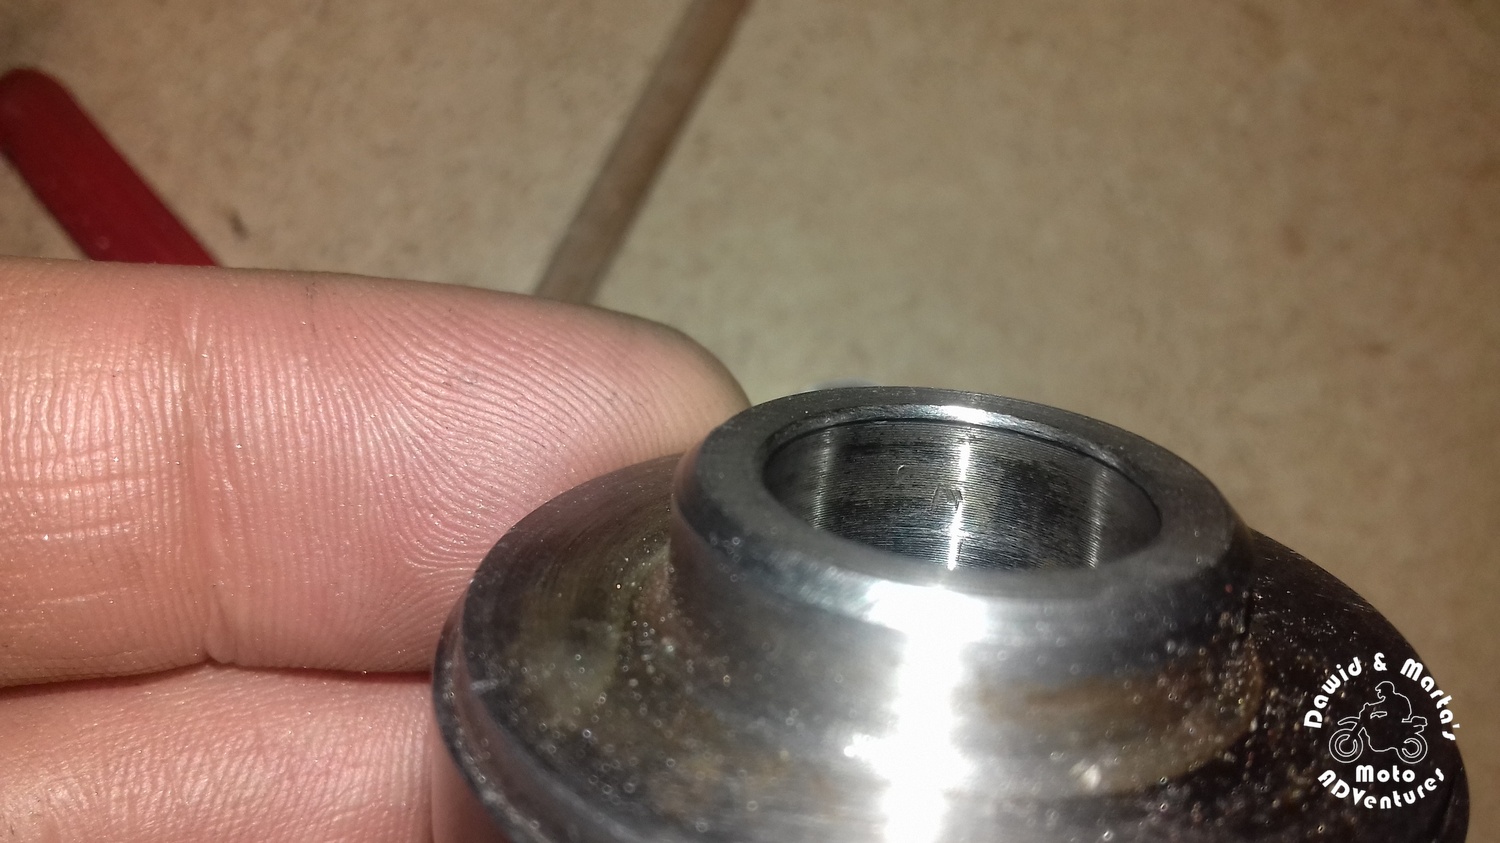
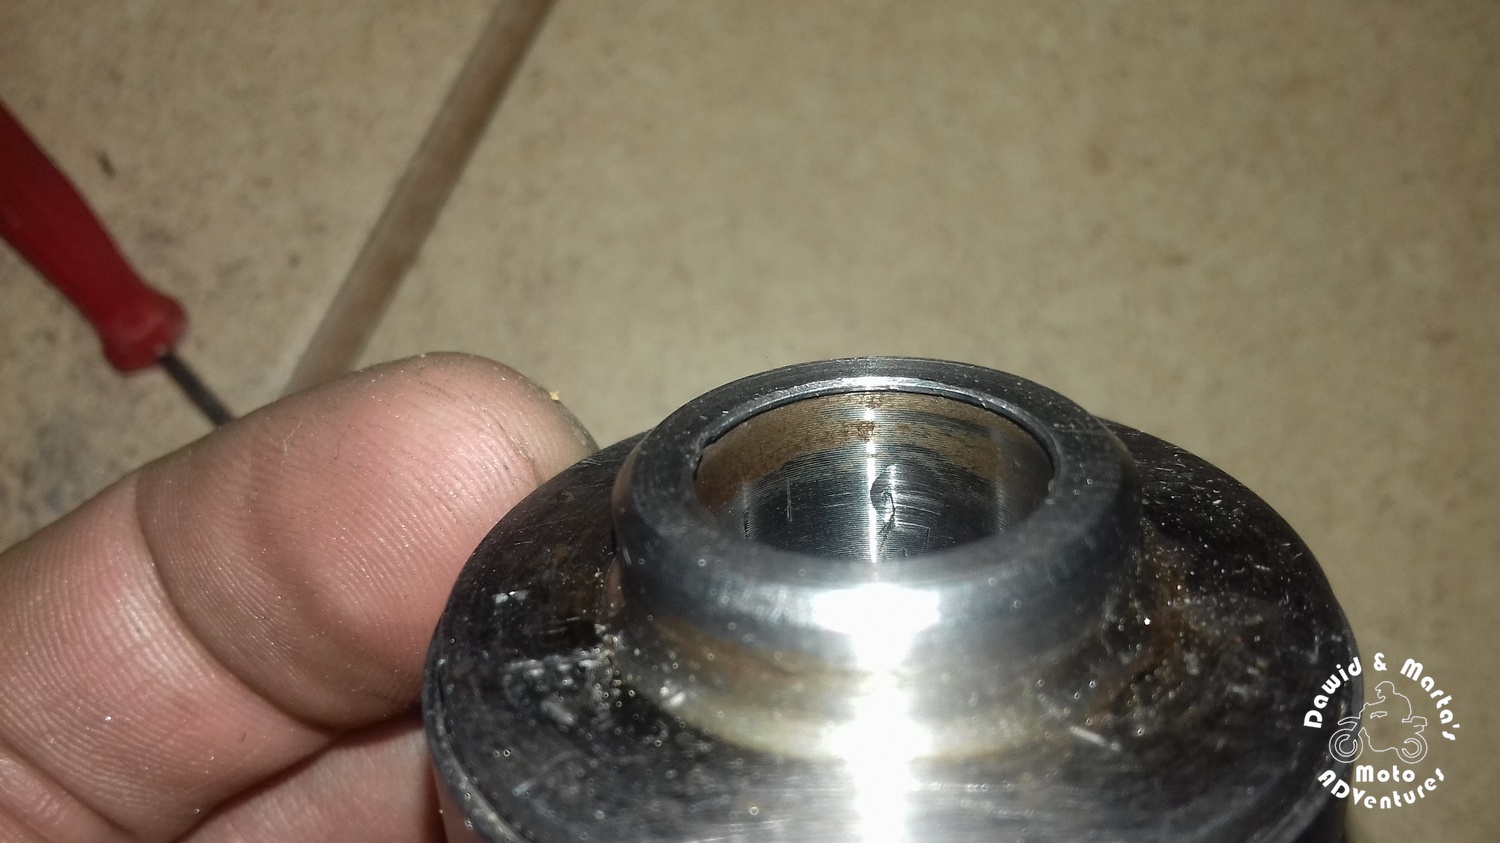
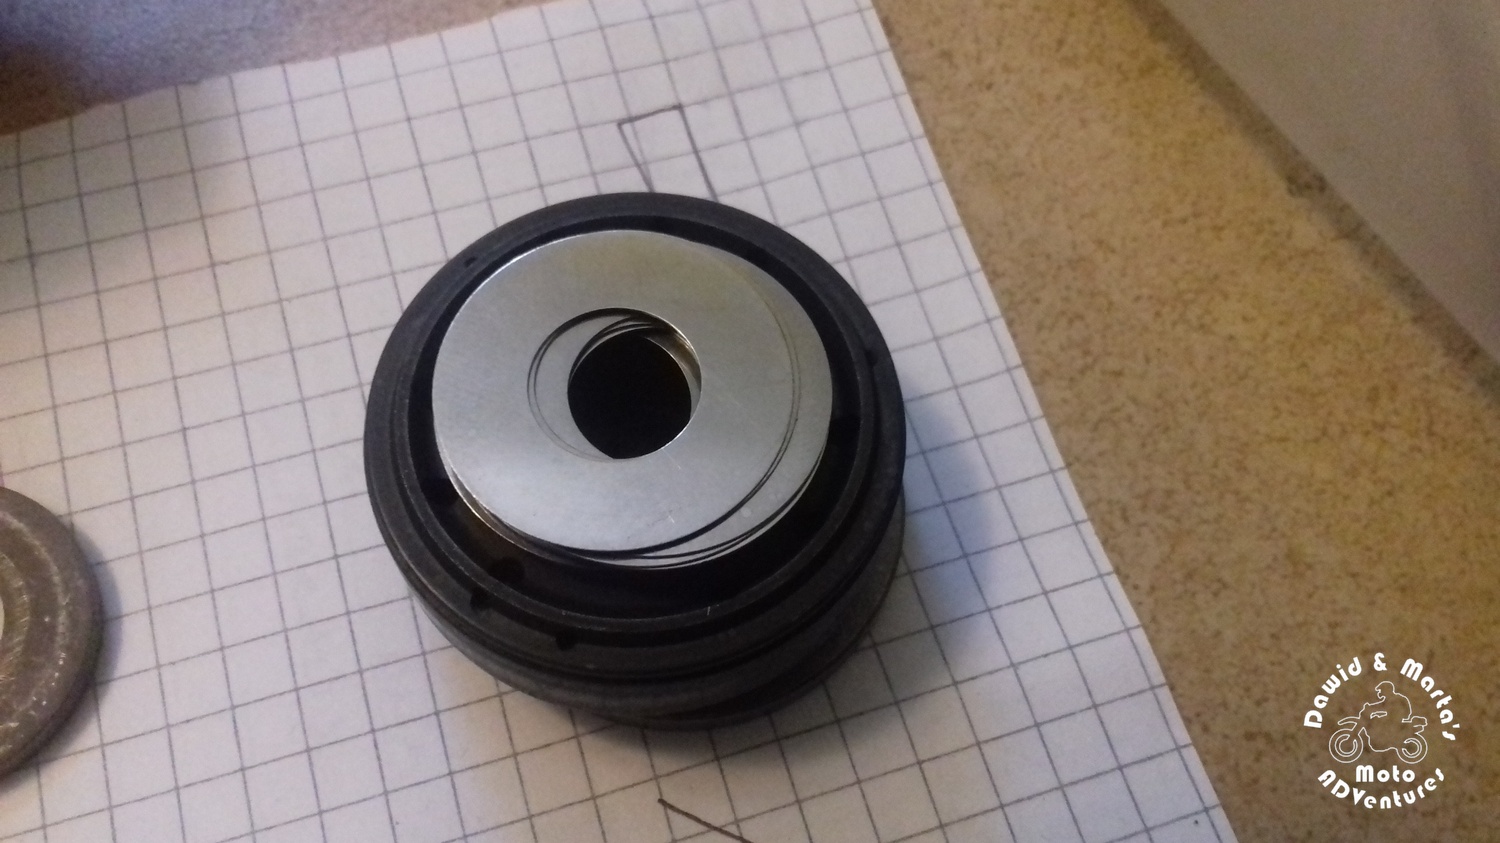
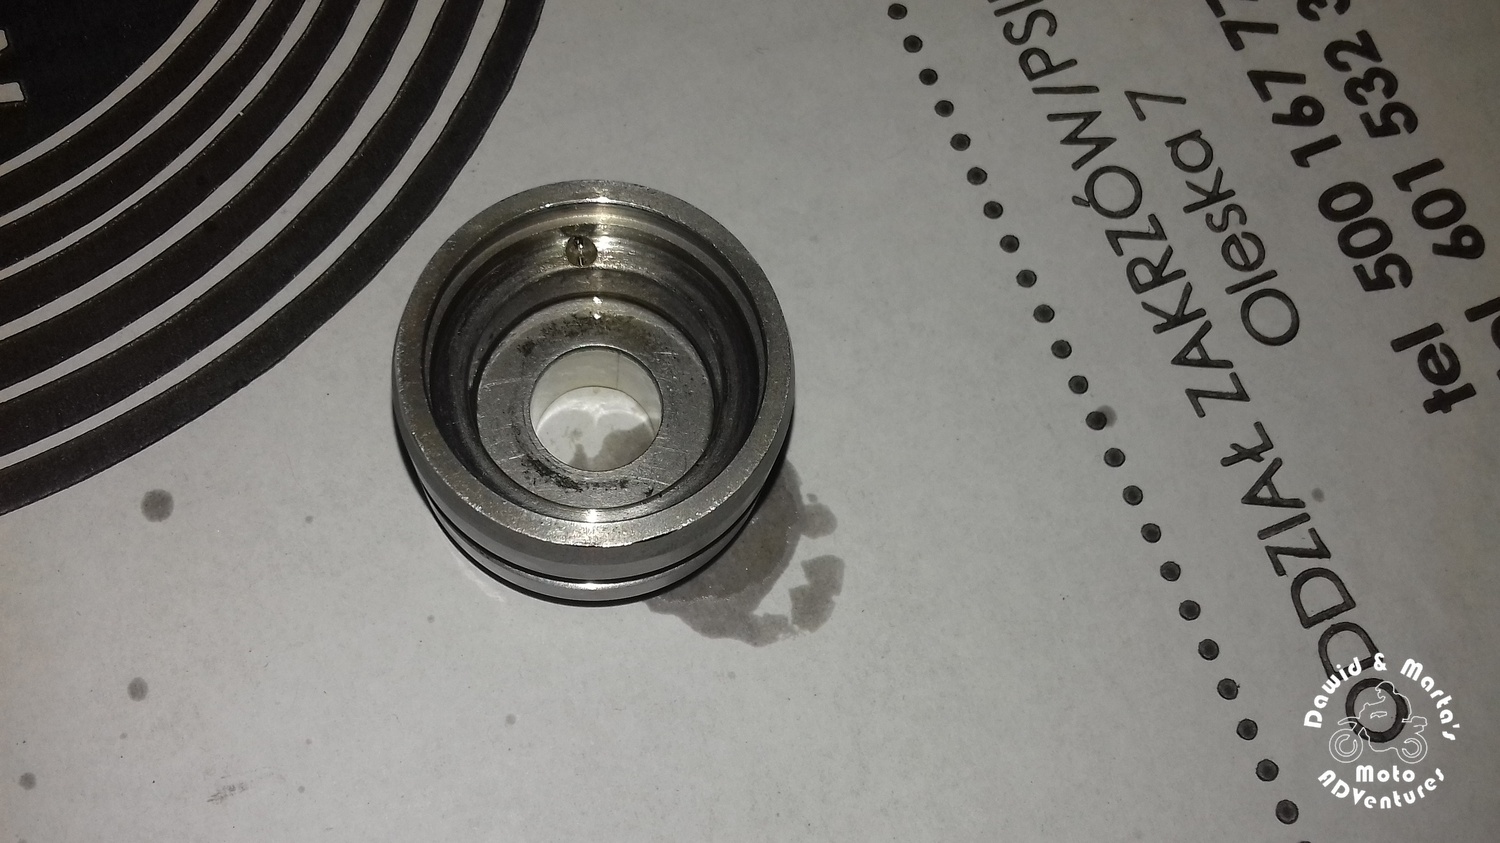
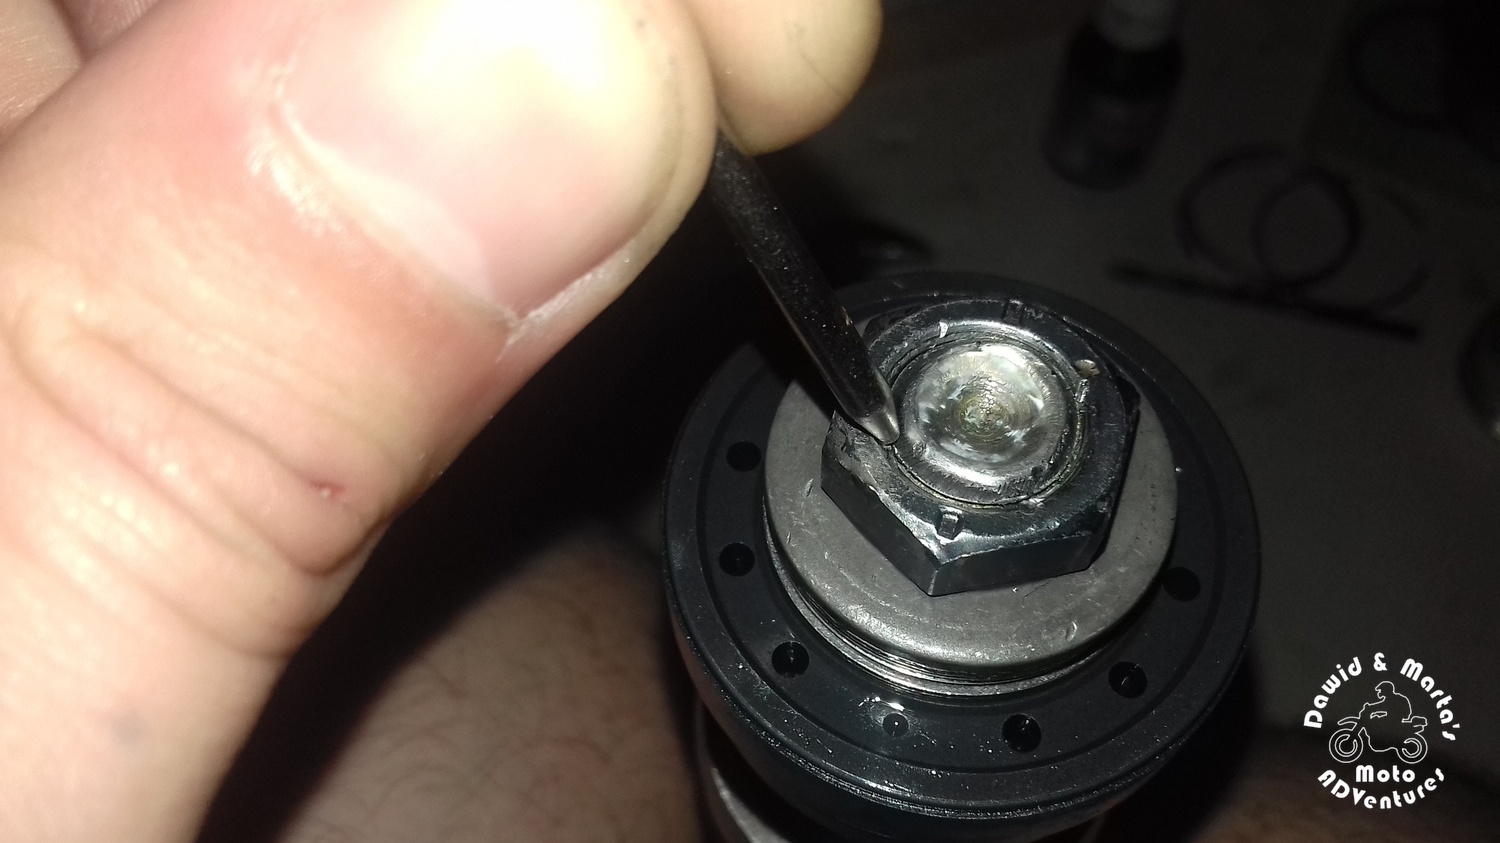
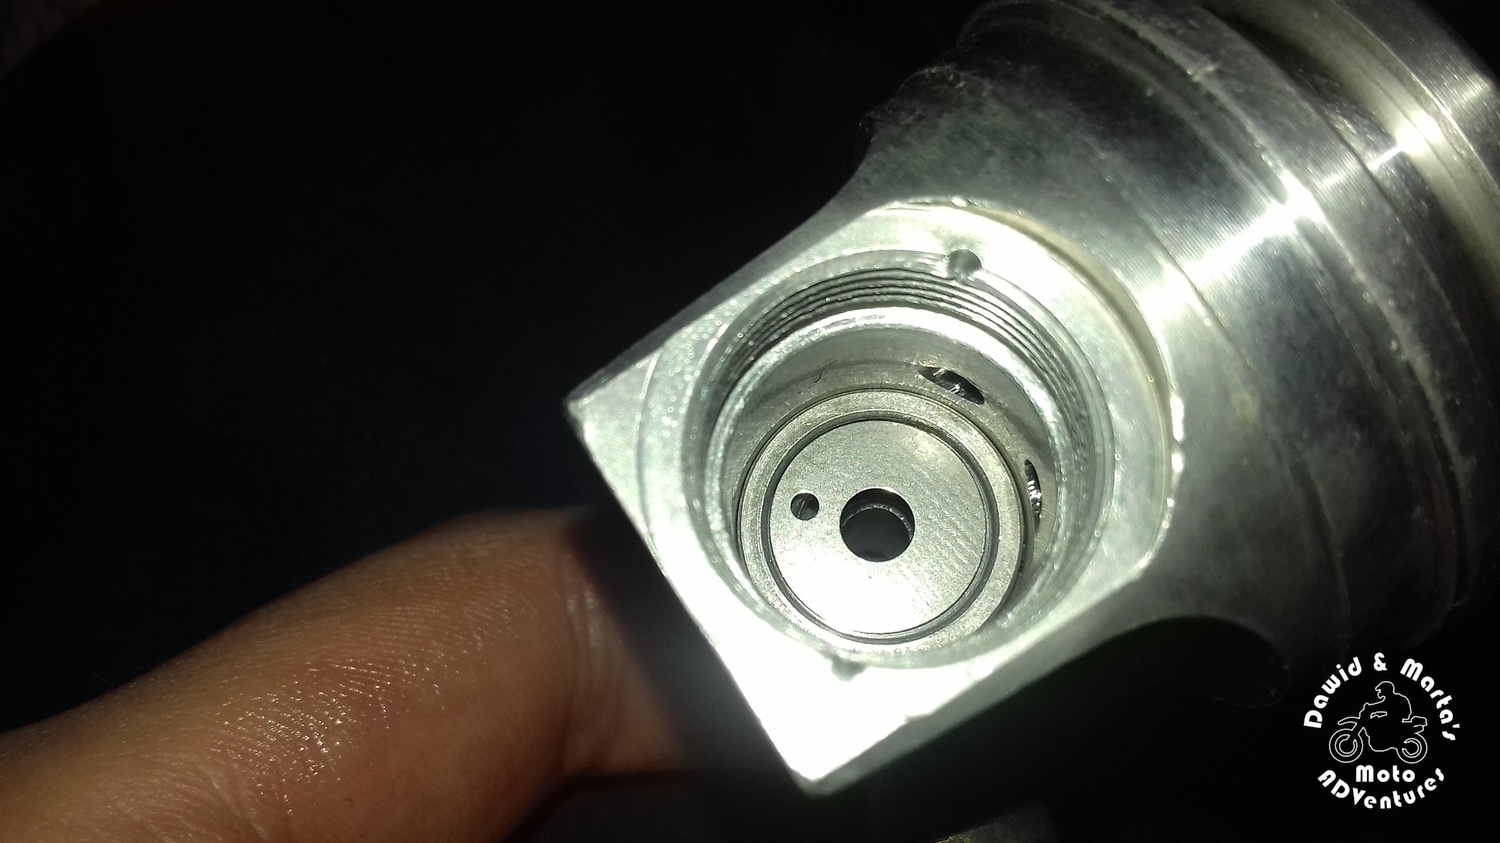
Step 10: Drilling the rear shock seal head
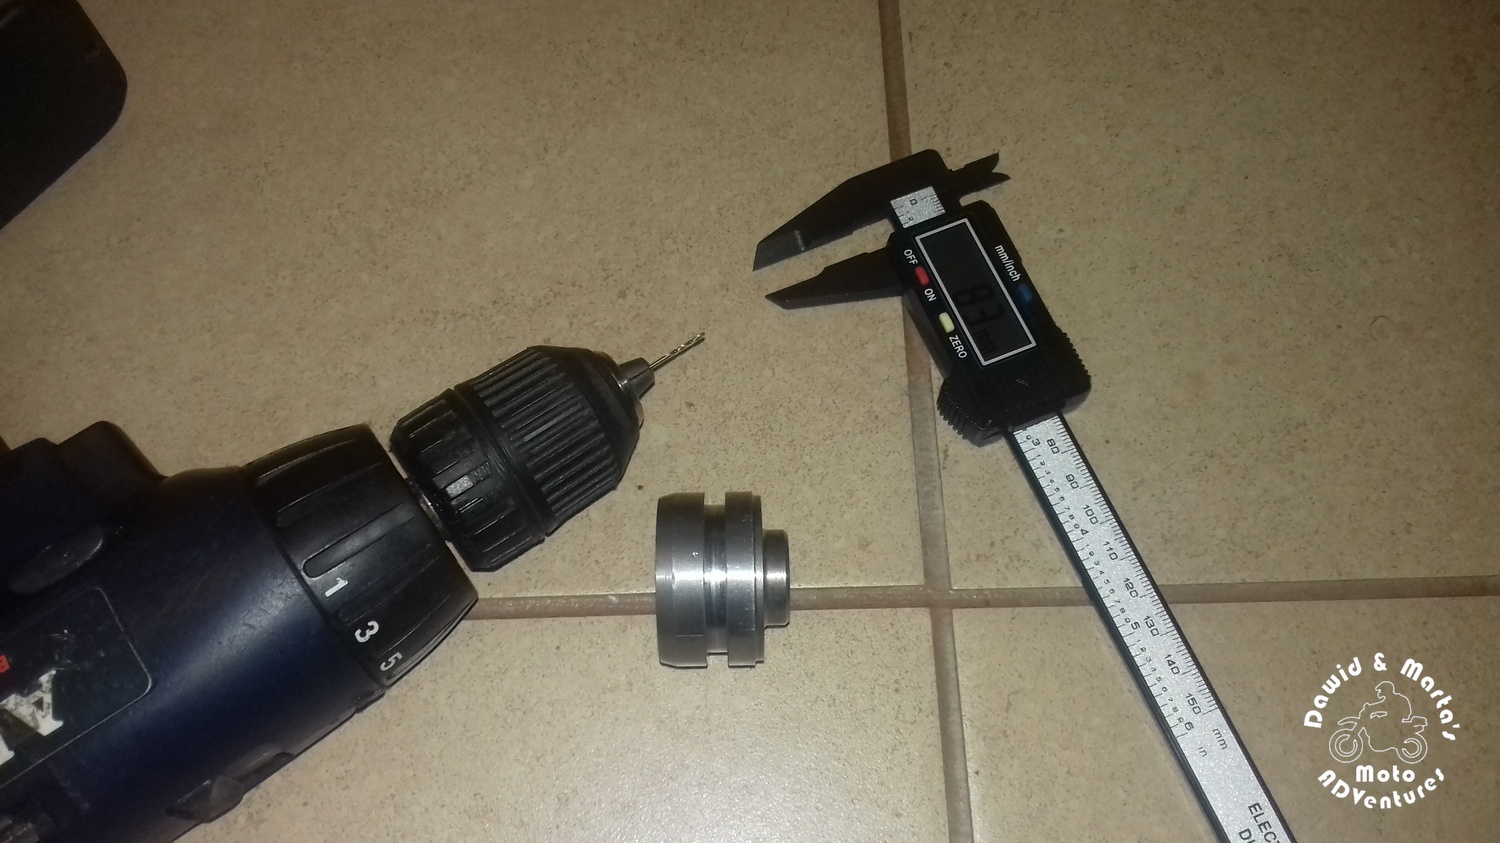
A small patent saw at seal heads of Allballs company. Drill a small hole with a 1 mm (0.04 in) drill bit under the oring – see the picture above. This will let you easily release the air from oil compartment, when mounting the seal head back in the next steps.
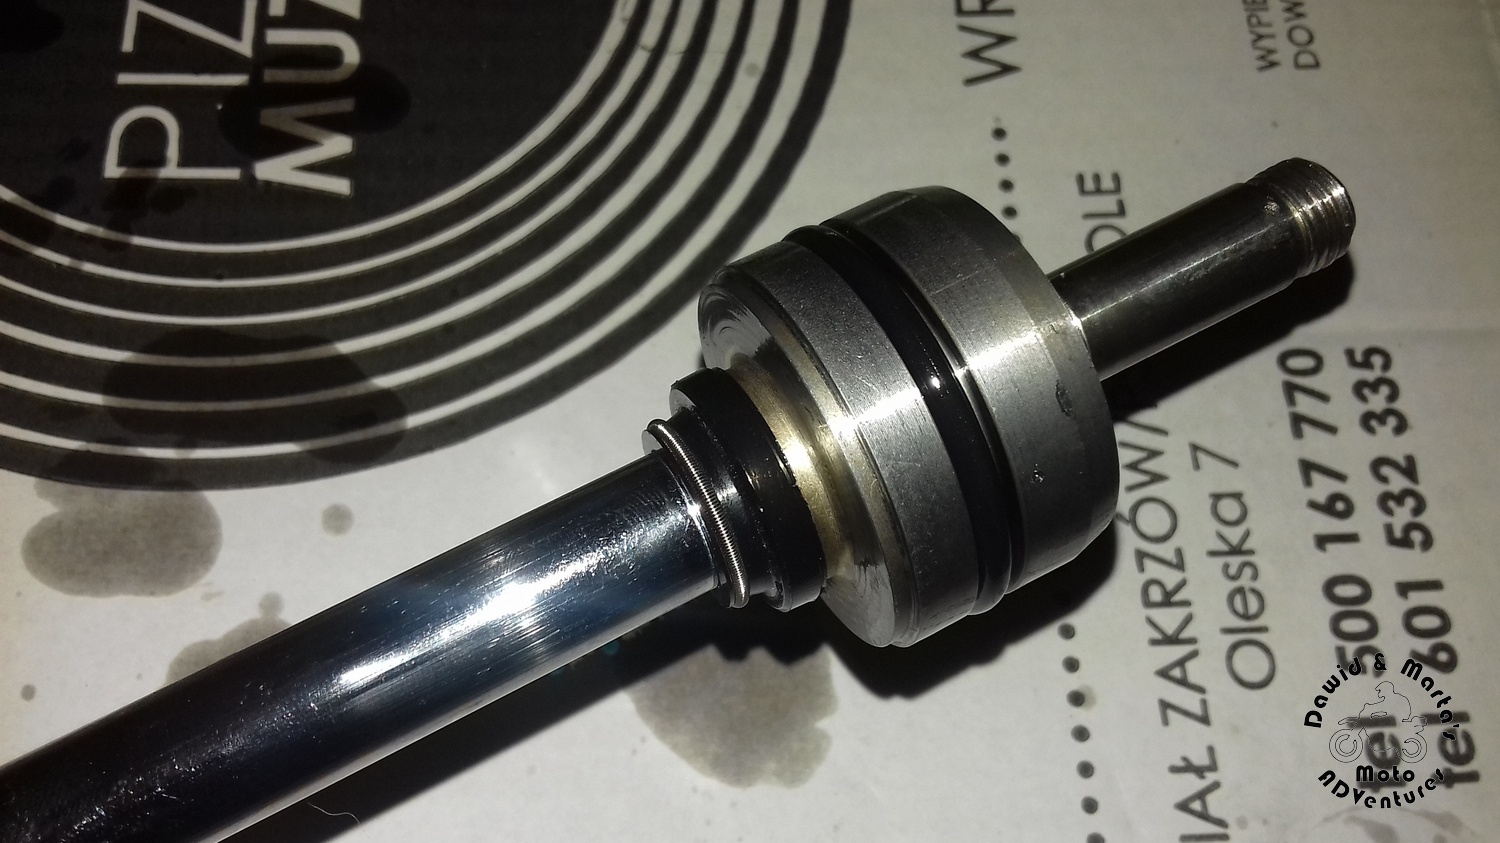
Step 11: Assembling the rear shock seal head.
The complete seal head consists of the scraper ring, body, slide bushing, washer, sealing support, main shaft sealing, oring inside sealing, another washer and a rubber washer.
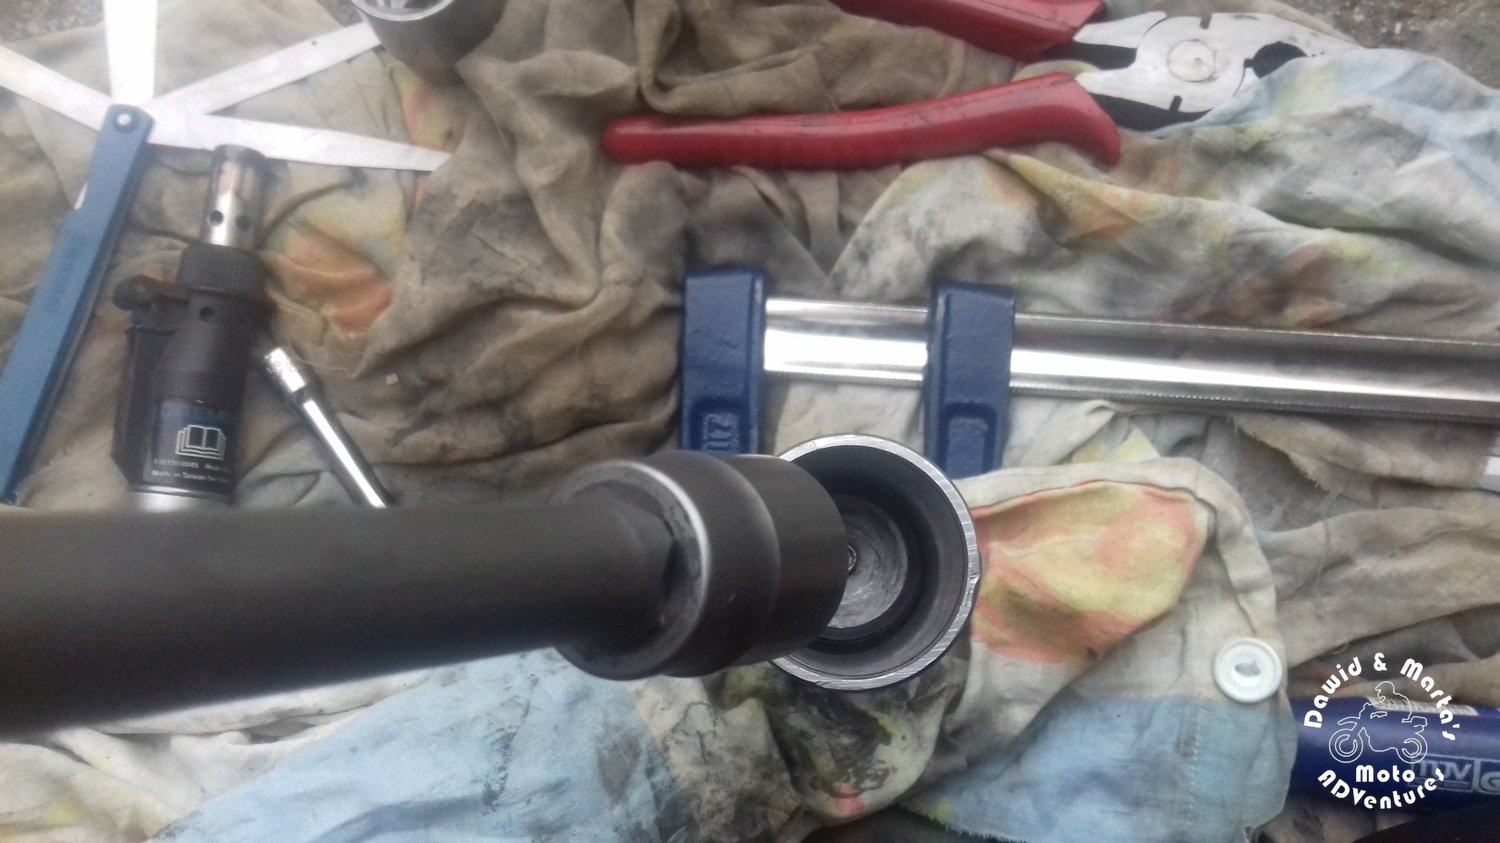
You can use another slide bushing to embed the target slide bushing into the seal head.
Put the other slide bushing on the shaft and next the target slide bushing, which you want to push into the seal head. Lubricate socket with the shock oil. Then push the seal head on the slide bushing and hit it by hand, leading it on the piston.
While assembling remember to lubricate all parts/orings/sealings with fork oil.
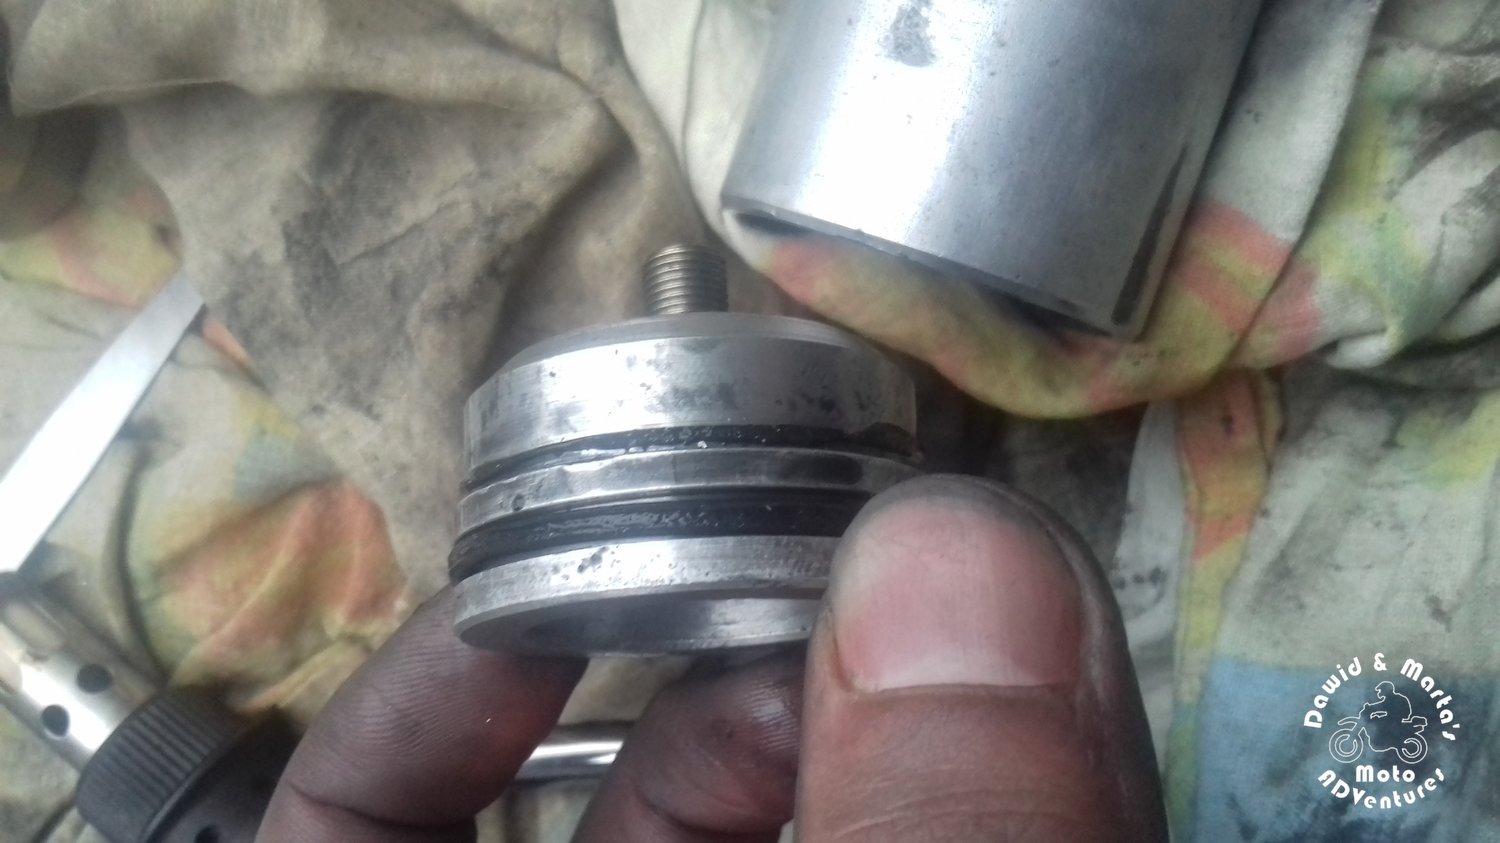
Step 12: Rear shock body assembling

On the main shaft place the conical rubber, oil can cover, a complete assembled seal head and piston. Degrease the piston thread and the nut with a brake cleaner. Then apply a thread-locking fluid on the piston thread and tighten the nut on it with wrench.
I tightened it to 47 Nm.
Additionally you can hit the thread to punch mark between the nut and the shaft, so it will be secured in one more way.
Step 13: Rear shock air can assembling
Assemble the air can valve just like you dismantled it.
Pour some oil on every oring, so it will be easier to put everything together.
When the valve is ready embed it in the socket. Remember to put in the washer into soccket!
Next put on the rubber cup on the air can cover.
Step 14: Rear shock spring preload nut assembling
Put on the threaded sleeve and two nuts (spring preload nut and nut holding the spring in place) on the rear shock tube
Step 15: Filling the rear shock with oil and deairing.

Contrary to appearances, deairing is quite easy.
Fill the tube with oil to the brim. Then push the piston inside.
In the rubber cup you will have whole lots of air. Change the valve position to open or soft. Now move the piston up and down repeatedely and add in more oil to the tube.
Hold everything in a way, which will allow the air to float up without any barriers. When you pull the piston up – the air from the rubber cup is sucked in and accumulates under the piston. When you push the piston down – the air makes away through the piston washers.
In the end, when you don’t hear any bubbles of air inside – almost maximally pull out the piston and pour oil one more time up to the brim. Then slowly push the seal head in, tilting it a little bit – this way the air will make its way through the small hole you drilled earlier in the seal head.
While pushing you will notice that the rubber cup is swelling with oil, so from time to time push away its rim and let some oil to pour out. Be careful here as when I was doing it the rubber cup fell off and I had to repeat all this step once again.
When the seal head will be pushed enough you can mount the securing ring. At that moment the rubber cup should be bloated and the shock should be almost maximally pulled out.
Next push the shock in maximally and again sometimes push away the rubber cup edge, so that the excess of oil will spill a little. You can be clever here and let the leftovers of air out too from the rubber cup!
Step 16: Assembling the rear shock air can
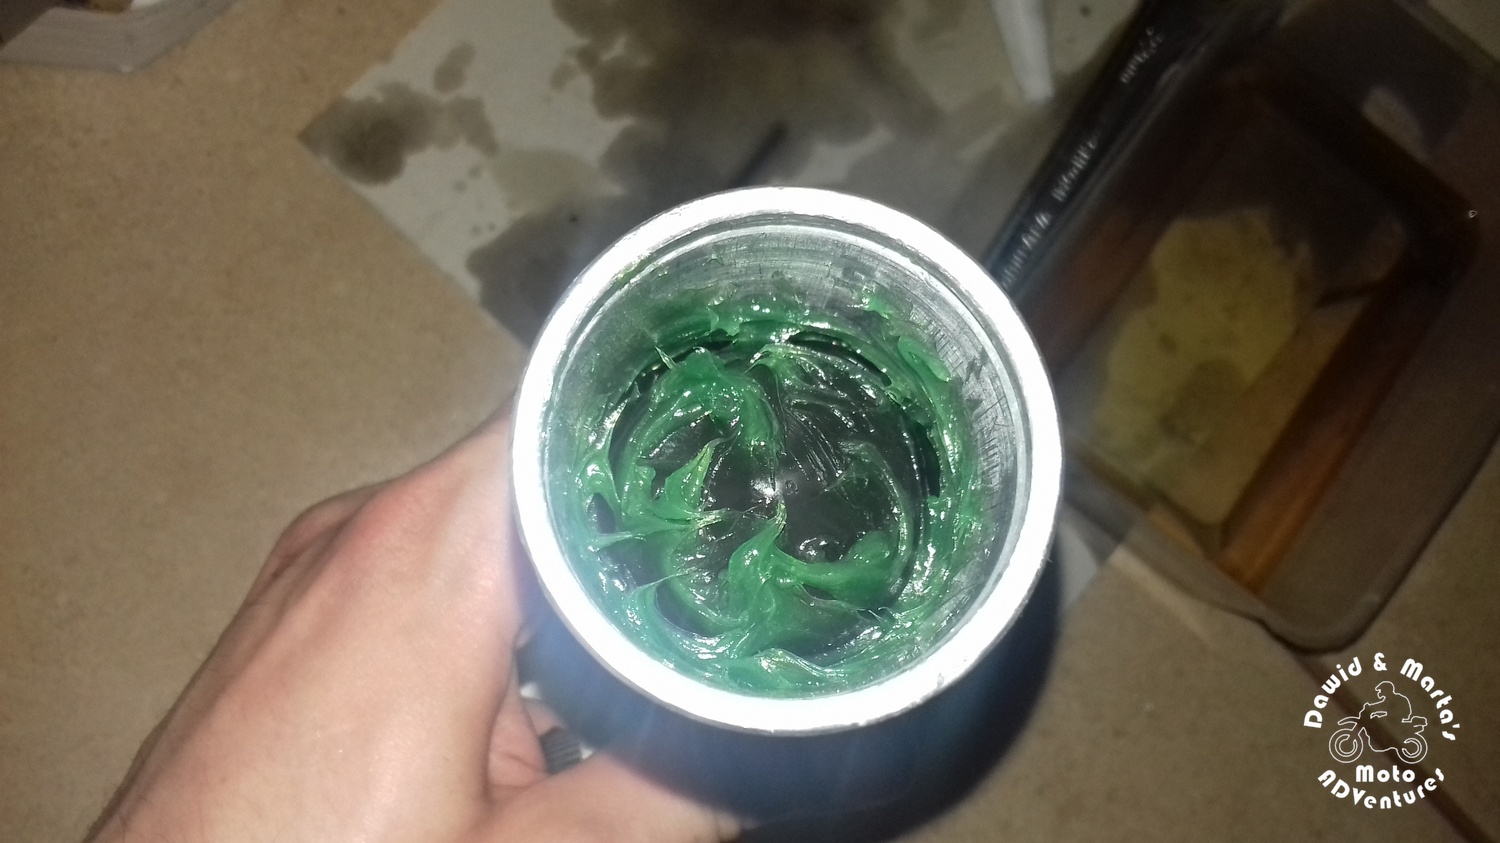
Slide the can into the cover with valve and a rubber cup. Put some grease inside, so the rubber cup won’t touch the metal directly. I used the wheel bearing grease – it is safe for rubber parts.
After that put on the second cover and screw in the air can valve.
Step 17: Pumping and waiting for the explosion!
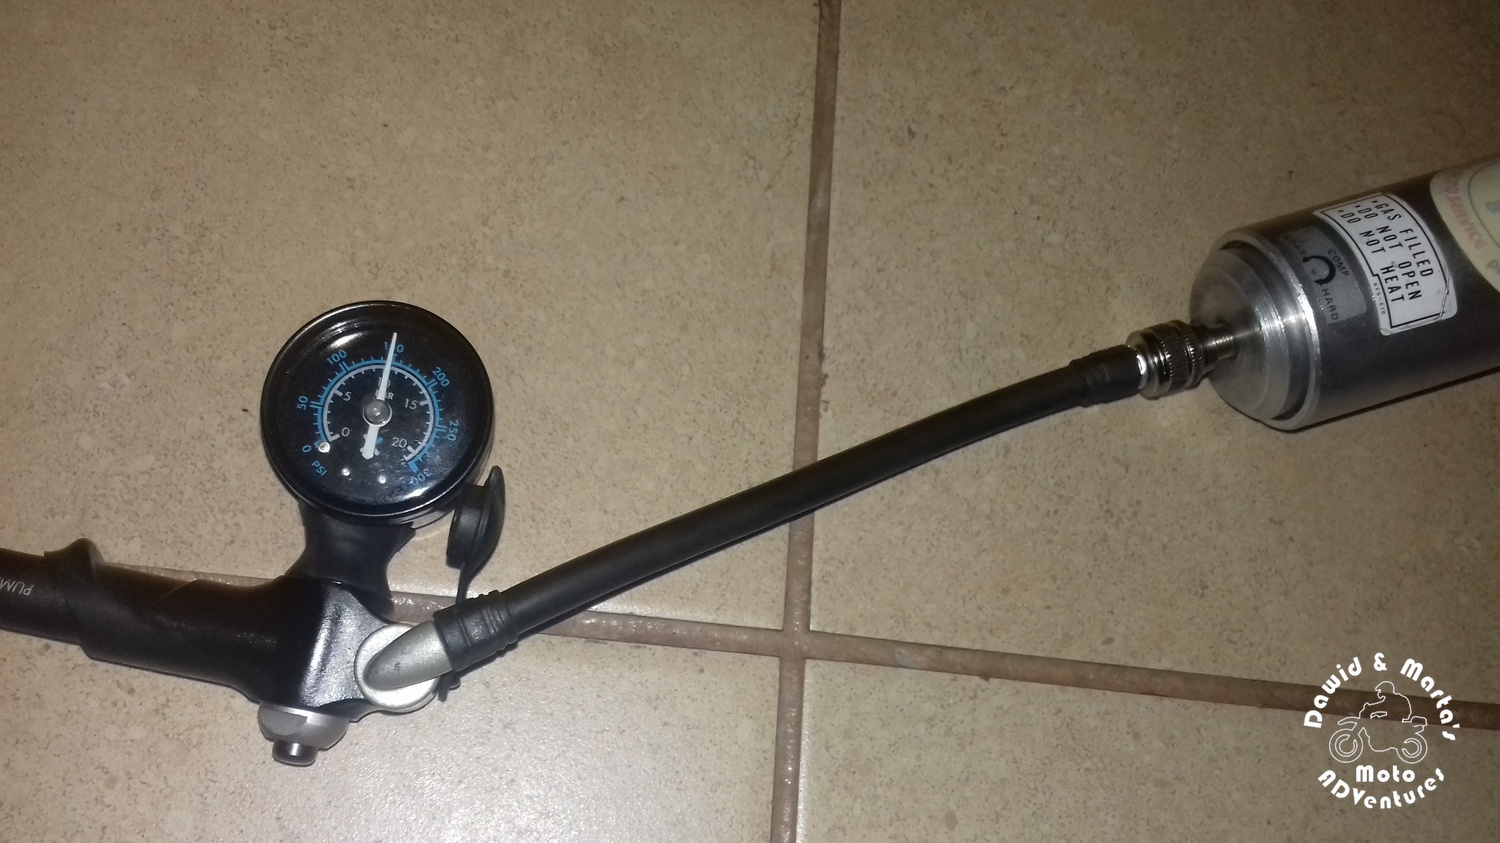
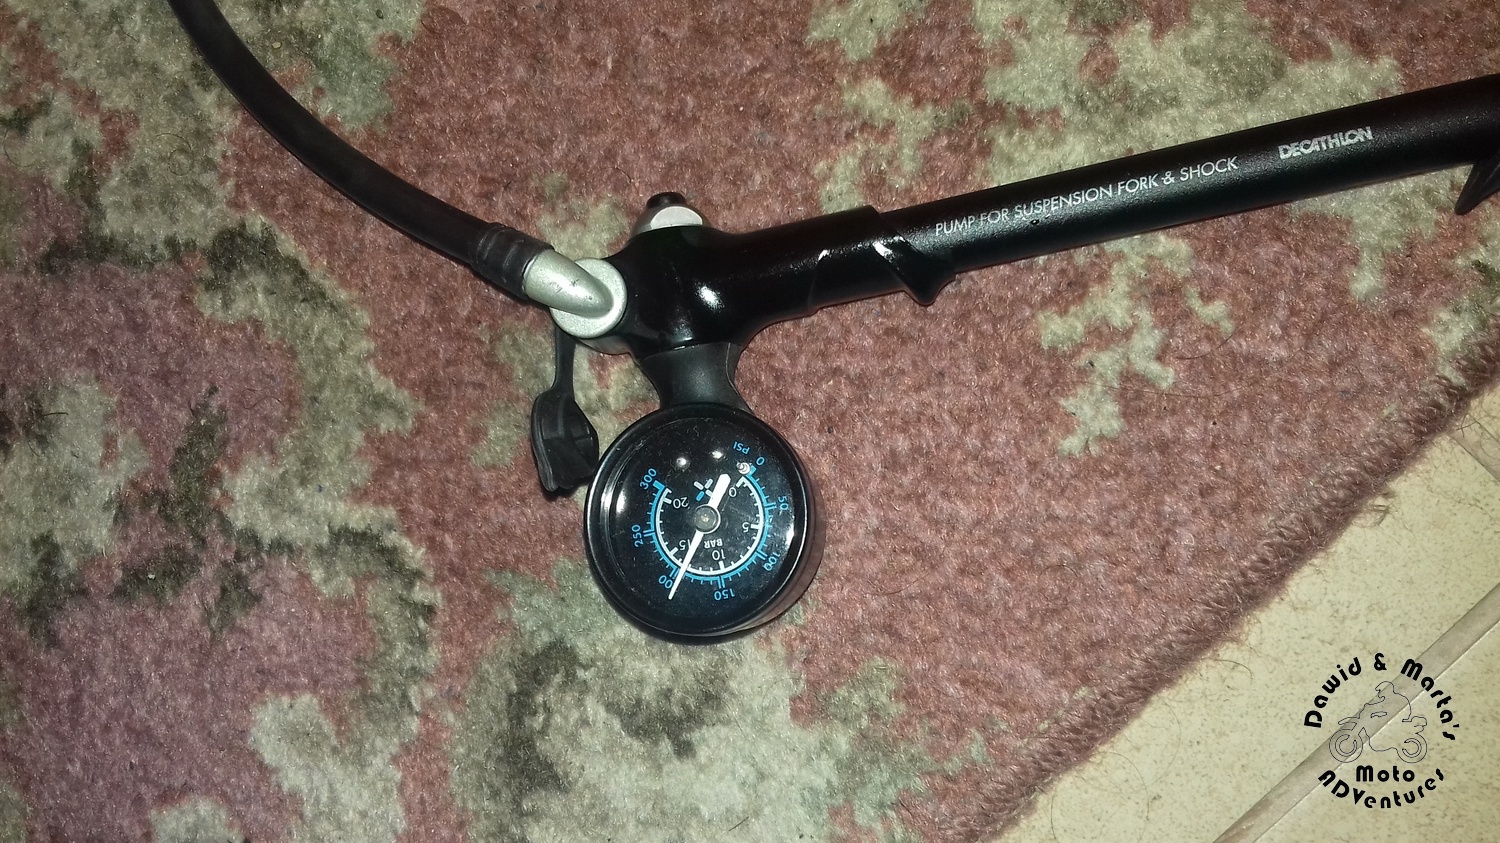
I pumped the rear shock up to 15 bars.
Step 18: Putting on the rear shock spring
Embed the rear shock cap with a hammer. But be careful and don’t hit the main shaft.
Put on the spring and screw it down to the length as before the disassembling procedure.
Step 19: The end!
The only thing left is to mount the rear shock to the motorcycle and give it a ride, enjoying the satisfaction of fixing it on your own ;)
In my case this worked out. I tested it on smaller rides during this season, as well as on the trip to Romania recently and nothing blew out ;)
Hope you like this tutorial and find it helpful. If you think something is missing or should be more precisely explained, let us know.
Have fun at the workbench :)
Comments